Crispy Cottage Cheese Chips are the revolutionary answer to every crunchy craving you have ever had while trying to maintain a high-protein lifestyle. These golden, aerated discs transform humble curds into a gourmet snack that rivals the most addictive potato chips on the shelf. If you have been searching for a way to turn that tub of cottage cheese in your fridge into something spectacular, this is the forensic culinary breakdown you need.
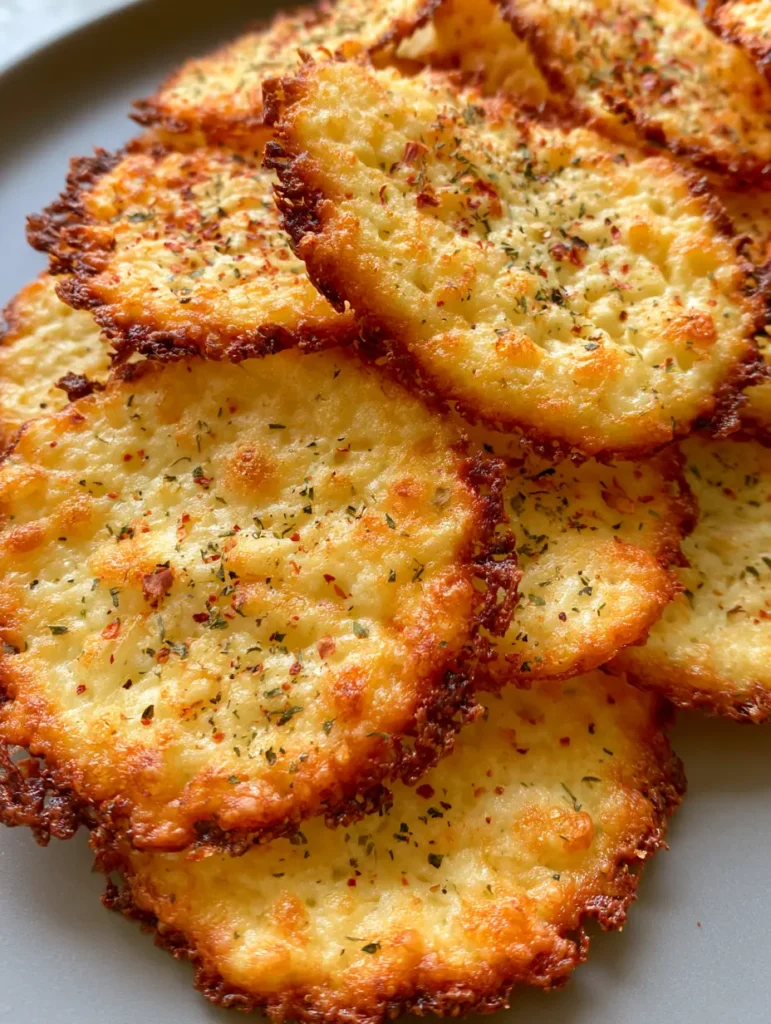
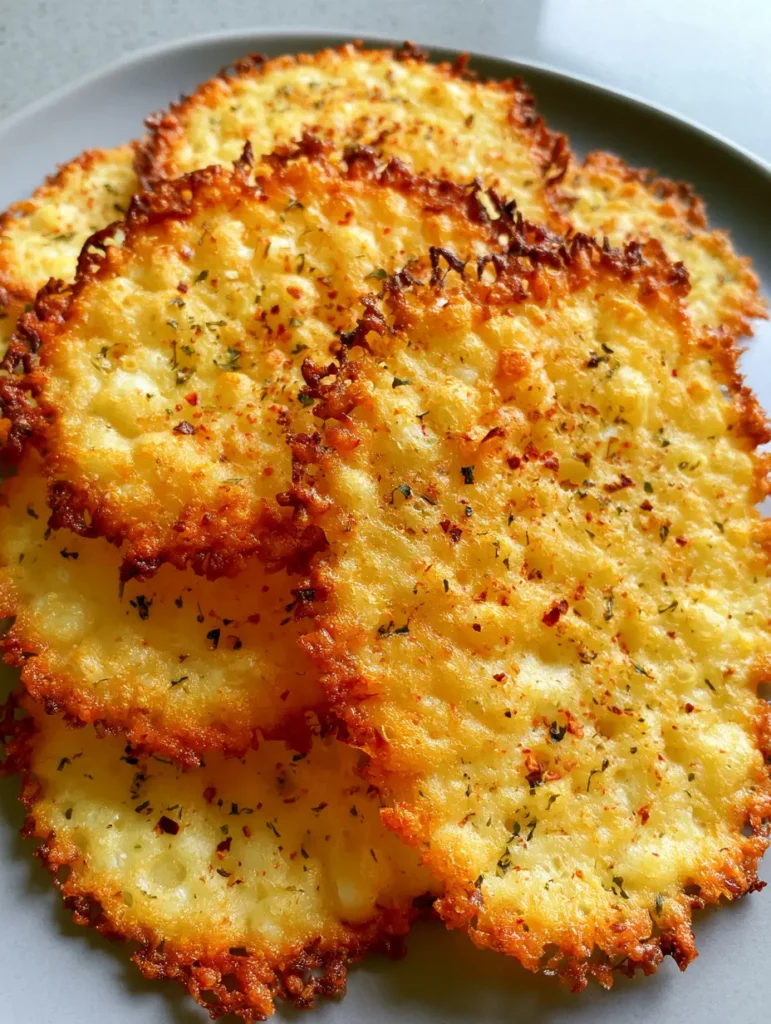
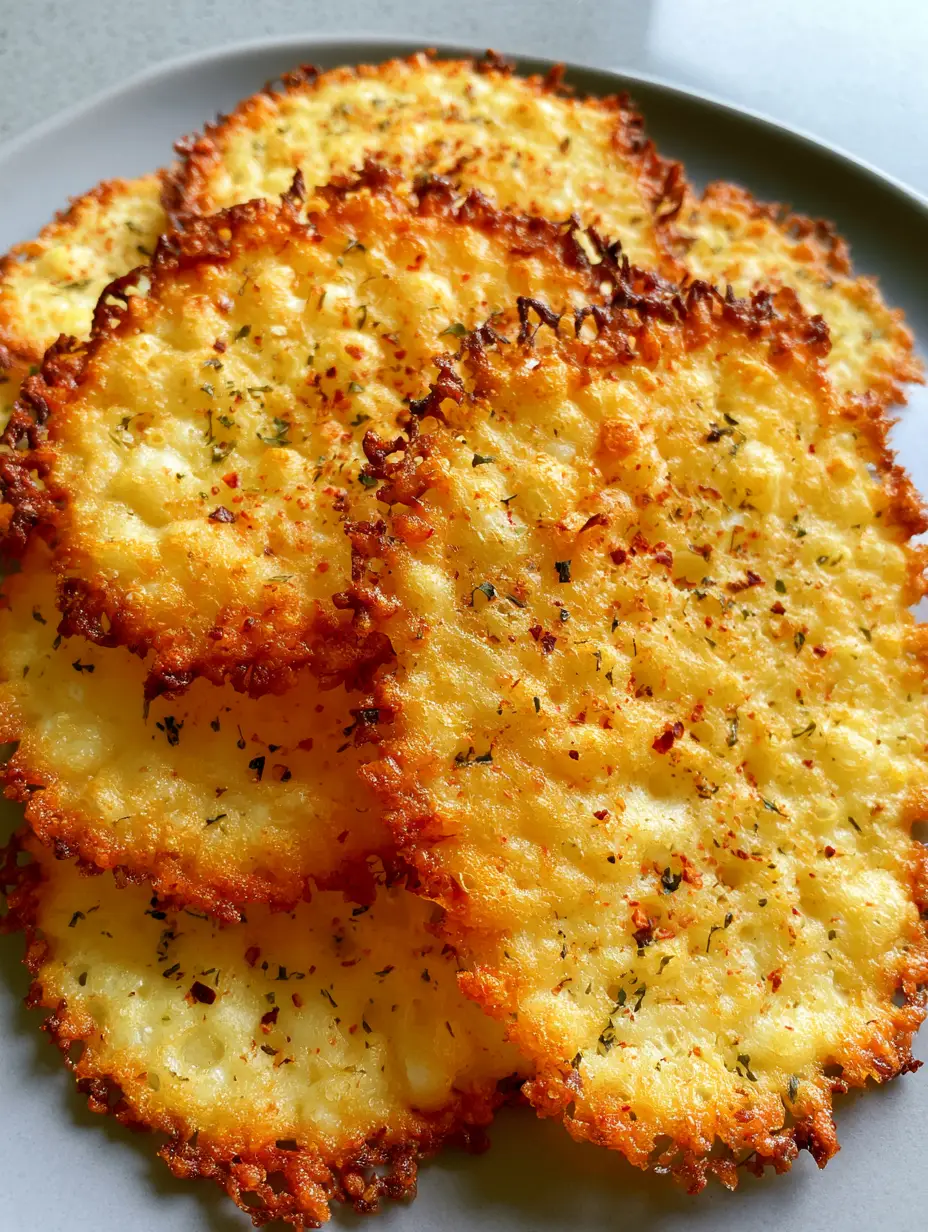
The magic of these Crispy Cottage Cheese Chips lies in the evaporation of moisture, leaving behind a delicate lattice of toasted milk solids and fats. As they bake, the edges transform into a brittle, lacy fringe that snaps with every bite, while the centers remain structurally sound and deeply savory. Each chip is a masterpiece of texture, boasting a vibrant golden-yellow hue that signals perfect caramelization.
Visually, these chips are stunning, featuring a bubbly and aerated surface that holds onto garnishes like dried oregano and crushed red pepper flakes with ease. Whether you are a keto devotee or just a lover of innovative snacks, mastering the art of the cottage cheese crisp will change your appetizer game forever. Much like our popular cottage cheese flatbread (coming soon), this recipe leverages the high protein content of dairy to create a structural marvel without a grain of flour in sight.
Why You Will Obsess Over These Golden Lacy Crisps
- Unbeatable Texture: Experience the contrast between the brittle, paper-thin lacy edges and the slightly sturdier, bubbly golden centers.
- High-Protein Fuel: Unlike traditional starch-based snacks, these chips are composed almost entirely of protein and healthy fats.
- Visually Stunning Plating: The vibrant yellow-gold color and the dusting of green oregano and red pepper flakes make these a photogenic addition to any charcuterie board.
- Minimalist Ingredient List: You only need a handful of pantry staples to achieve professional-grade results that look just like a handheld smartphone photo from a high-end kitchen.
The Science of Selecting Your Snack Ingredients
To achieve the visual and structural perfection of Crispy Cottage Cheese Chips, you must understand the role of each component. We aren’t just baking cheese; we are performing a controlled dehydration and frying process on a parchment sheet.
Full-Fat Cottage Cheese: Use 1 cup (225g) of 4% milkfat cottage cheese for the best results. The higher fat content is crucial for achieving those “brittle, lacy edges” described in our visual blueprint, as the fat fries the milk solids once the water evaporates.
Dried Oregano Flakes: 1 tsp (1g) of dried oregano provides an earthy, aromatic counterpoint to the richness of the cheese. These flakes become embedded in the bubbly surface, ensuring flavor in every bite.
Crushed Red Pepper Flakes: 1/2 tsp (1g) of red pepper flakes adds a vibrant pop of color and a gentle heat. Visually, these fine red flakes contrast beautifully against the golden-yellow cheese background.
Garlic Powder (Foundational): 1/2 tsp (1.5g) of garlic powder acts as an invisible flavor bridge. While it doesn’t change the look, it ensures the chips have a savory depth that keeps you coming back for more.
Sea Salt (Foundational): A tiny pinch (approx. 1/8 tsp) of fine sea salt enhances the natural flavors. Be cautious, as the cheese concentrates in flavor as it shrinks during the baking process.
Essential Tools for Aerated Cheese Perfection
To replicate the unedited, professional look of these chips, you need the right equipment to manage heat and moisture. A standard baking sheet is your primary tool, but the lining is what determines your success.
Parchment Paper or Silicone Mat: This is non-negotiable for preventing the lacy edges from sticking. High-quality parchment paper allows the cheese to release easily once it has fully cooled and hardened.
Small Cookie Scoop: To ensure even, circular cottage cheese chips, a scoop helps maintain consistent portion sizes. Consistency in size leads to consistency in “vibrant golden-yellow” coloring across the entire batch.
Cooling Rack: Once removed from the oven, moving the chips to a wire rack prevents steam from softening the bottoms. This step is vital for maintaining that brittle, lacy texture.
Step-by-Step Evolution: From Curd to Crisp
Preparing the Perfect Foundations
Preheat your oven to 350°F (175°C). While the oven reaches temperature, line a large baking sheet with a fresh piece of parchment paper. If you are looking for other crispy appetizers, you might also enjoy our crispy feta rolls (coming soon) for a different take on baked cheese.
If your cottage cheese is particularly watery, you may want to pulse it briefly in a blender for a smoother “thin circular” look, though keeping the curds intact creates a more “bubbly and aerated” texture. For this specific visual blueprint, we recommend keeping the curds whole for maximum surface area and lace-work.
Apportioning and Seasoning for Visual Impact
Place small mounds of cottage cheese, roughly 1 tbsp (15g) each, onto the prepared baking sheet. Space them at least 3 inches (7.5cm) apart, as these chips will spread significantly as the moisture leaves the cheese.
Using the back of a spoon, gently flatten each mound into a thin disc. Now, apply your garnishes: sprinkle the dried oregano and red pepper flakes evenly over the top of each disc. This ensures the herbs become “embedded” in the cheese as it melts and bubbles.
The Critical Baking Phase: Watching for Cues
Slide the tray into the center rack of the oven. Bake for 20 to 30 minutes, but start monitoring closely at the 18-minute mark. You are looking for specific sensory cues: the sound of the bubbling should slow down, and the edges should begin to turn a “darker brown.”
The centers will transition from a pale white to a vibrant golden-yellow. Once the edges are lacy and mahogany-colored, and the centers are bubbly and set, remove the tray from the oven. Do not touch them yet; they are still soft while hot.
The Hardening and Cooling Process
Allow the chips to sit on the hot baking sheet for 5 minutes. As they cool, the fats will re-solidify, and the lacy edges will become brittle and crisp. Transfer them carefully to a cooling rack using a thin spatula.
Expert Tips for the Ultimate Crunchy Experience
- Drain the Excess: If your cottage cheese has a lot of liquid in the tub, strain it through a fine-mesh sieve for 5 minutes. This speeds up the baking time and prevents the chips from becoming too greasy.
- Temperature Control: If the edges are burning before the centers are golden, lower your oven to 325°F (160°C) and bake for a few minutes longer.
- Uniformity Matters: Ensure your discs are of equal thickness. Thin spots will burn, while thick spots will remain chewy rather than crispy.
- Spice Variations: While oregano and red pepper are our blueprint standards, you can experiment with a dusting of smoked paprika for a different visual flair.
Maximizing Shelf Life and Freshness
Crispy Cottage Cheese Chips are best enjoyed within a few hours of baking to maintain their peak lacy texture. However, if you have leftovers, store them in an airtight container at room temperature for up to 2 days. To prevent moisture absorption, place a piece of parchment paper between layers.
If they lose their snap, you can briefly re-crisp them in a 300°F (150°C) oven for 3-5 minutes. Avoid the microwave at all costs, as it will turn your beautiful aerated chips into rubbery discs.
Pairing Your Chips for a Full Flavor Experience
These chips are incredibly versatile. They serve as a high-protein vessel for dips or as a crunchy side for a light lunch. Pair them with a creamy dip, or serve them alongside an easy chicken quesadilla recipe for a textures-of-cheese feast.
For a healthier spread, consider serving these alongside some air fryer green beans. The saltiness of the chips perfectly complements the snap of the fresh vegetables. If you are hosting a party, a stack of these overlapping on a grey surface—exactly like our visual prompt—makes for a stunning centerpiece next to crispy cajun shrimp.
Common Questions About Baking Cottage Cheese
Absolutely! Since they are made almost entirely of cheese and spices, they are very low in carbohydrates and high in protein.
Yes, you can air fry them at 350°F (175°C) for 8-12 minutes, but ensure you use a piece of parchment paper weighed down so the fan doesn’t blow the chips around.
Blending is not required. Keeping the curds intact actually helps create the ‘bubbly and aerated’ texture seen in the visual blueprint.
Look for the ‘lacy edges’ to turn a deep, dark brown and for the centers to stop bubbling vigorously and turn a vibrant golden-yellow.
Sogginess is usually caused by excess moisture. Ensure you are using full-fat cottage cheese and, if necessary, strain the curds before baking to remove excess liquid.
The Definitive Crispy Cottage Cheese Chips Recipe
Crispy Cottage Cheese Chips: The Ultimate High-Protein Crunchy Snack Guide
Ingredients
Equipment
Method
- Preheat your oven to 350°F (175°C). Line a large baking sheet with parchment paper to ensure the lacy edges release easily.
- Place 1 tablespoon (15g) mounds of cottage cheese onto the parchment, spacing them 3 inches (7.5cm) apart. Flatten each into a thin circular disc using the back of a spoon.
- Sprinkle the dried oregano, red pepper flakes, garlic powder, and salt over the discs. Bake for 20-30 minutes.
- Watch for the edges to turn a dark brown, lacy texture while the centers become vibrant golden-yellow and bubbly. The sizzle should mostly subside.
- Remove from the oven and let rest on the tray for 5 minutes until brittle. Transfer to a cooling rack to finish crisping.
Notes
Wait for the chips to cool completely for the best 'snap' texture.
Final Thoughts on This High-Protein Breakthrough
Mastering Crispy Cottage Cheese Chips is a rite of passage for the modern home cook looking to balance health and indulgence. By following the visual cues of lacy edges and golden centers, you ensure a snack that is as beautiful as it is delicious. We invite you to share your results and tag us in your creations.
If you enjoyed this recipe, please leave a comment below and let us know how your batch turned out! Don’t forget to follow us on Pinterest for more visually inspired recipes and culinary deep-dives. Happy snapping!