Air Fryer Green Beans are the ultimate testament to how high-heat convection cooking can transform a humble vegetable into a restaurant-quality side dish. If you have been searching for that perfect snap, accompanied by deep char marks and a light olive oil sheen, this recipe is your definitive guide. We aren’t just tossing beans in a basket; we are engineering a texture profile that balances a tender interior with a crisp, wrinkled exterior.
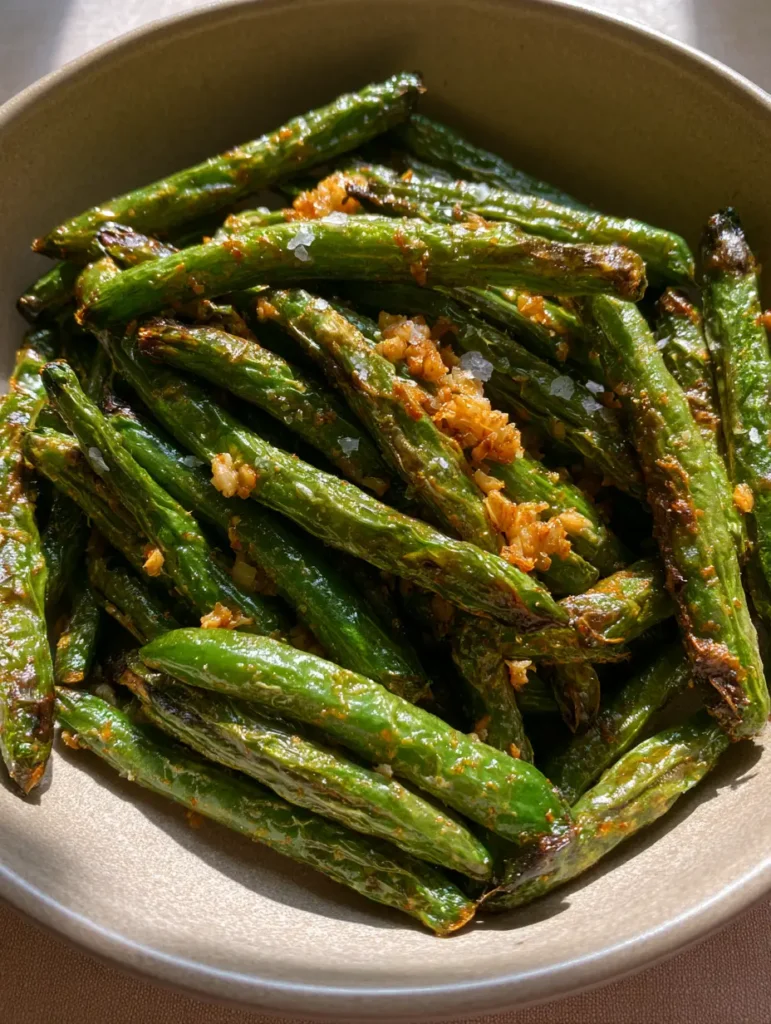
In this guide, you will learn the culinary science behind achieving those sought-after charred tips and how to perfectly time your minced garlic so it turns golden-brown rather than bitter and burnt. The visual appeal of these beans—served in a neutral matte ceramic bowl under natural light—is matched only by the intense, savory flavor of coarse sea salt flakes and cracked black pepper hitting the palate.
Why These Blistered Air Fryer Green Beans Actually Work
- Structural Integrity: By using fresh green beans, we maintain a crisp “snap” that frozen varieties simply cannot replicate in the dry heat of an air fryer.
- The Maillard Reaction: The high-velocity air creates rapid evaporation on the bean’s surface, leading to the beautiful blistering and wrinkled texture visible in professional culinary photography.
- Infused Aromatics: We don’t just add garlic; we saute it within the air fryer environment, ensuring the oils from the garlic permeate the olive oil coating on every single bean.
- Speed and Efficiency: Unlike traditional oven roasting, the air fryer achieves deep charring in under 10 minutes, making this a staple for busy weeknights.
Pantry Staples for the Ultimate Crispy Bean Texture
To achieve the visual result described in our blueprint, every ingredient must serve a structural or flavor-enhancing purpose. Here is what you need to gather for these Air Fryer Green Beans.
Fresh Green Beans (1 lb / 454g): Look for bright green, firm beans that snap easily when bent. Avoid beans with soft spots or significant brown bruising, as these will turn mushy rather than blistered.
Light Olive Oil (1 tbsp / 15ml): We use light olive oil specifically for its higher smoke point compared to extra virgin. This allows for the 400°F (200°C) heat to char the tips without the oil breaking down and smoking.
Fresh Garlic (3 cloves / 15g): Minced finely, these will become the “golden-brown sauteed bits” that provide a pungent, savory contrast to the earthy beans. Do not use jarred garlic, as the moisture content prevents proper browning.
Coarse Sea Salt (1/2 tsp / 3g): The large crystals provide a visual pop and a targeted burst of salinity that finer table salt cannot offer. This is the “crunch” factor seen in the top-down photography.
Cracked Black Pepper (1/4 tsp / 1g): Freshly cracked pepper provides a floral heat that cuts through the richness of the olive oil coating.
Essential Tools for Convection Veggie Success
Achieving the perfect Air Fryer Green Beans requires more than just the appliance. A large-capacity air fryer basket is essential to prevent overcrowding, which leads to steaming rather than blistering. You will also need a large mixing bowl to ensure every bean is evenly coated in oil and seasoning before they hit the heat.
A pair of silicone-tipped tongs is vital for tossing the beans halfway through the cook time. This ensures that the hot air reaches all surfaces of the bean mound, creating that uniform charred look on the tips. Finally, a sharp chef’s knife or kitchen shears will make quick work of trimming the tough stem ends of the fresh beans.
Transforming Raw Beans into Blistered Perfection
Preparing the Canvas
Begin by washing your 1 lb (454g) of green beans in cold water. It is critical to pat them completely dry with a lint-free kitchen towel. Any residual moisture will create steam in the air fryer, preventing the skins from wrinkling and charring.
Trim the stem ends by lining up a handful of beans and slicing the tough tips off in one motion. Once trimmed, place them in a large bowl. Drizzle the 1 tbsp (15ml) of light olive oil over the beans and toss vigorously until they have a light, even sheen.
The Art of Seasoning
Add your coarse sea salt and cracked black pepper to the oiled beans. By seasoning before cooking, the salt begins to draw out a tiny amount of surface moisture, which aids in the blistering process. Hold off on adding the minced garlic for the first few minutes of cooking to prevent it from burning to a crisp.
The High-Heat Air Fry Process
Preheat your air fryer to 400°F (200°C). Once hot, spread the beans in the basket. They can be slightly piled, but avoid filling the basket more than halfway. Set the timer for 8 minutes total.
At the 4-minute mark, open the basket. You should see the beans starting to turn a vibrant, darker green with slight wrinkling. Add the minced garlic now, tossing the beans with your tongs to distribute the garlic into the oil. This 4-minute window is the “sweet spot” that allows the garlic to reach a golden-brown sauteed state perfectly timed with the beans finishing.
Sensory Cues for Completion
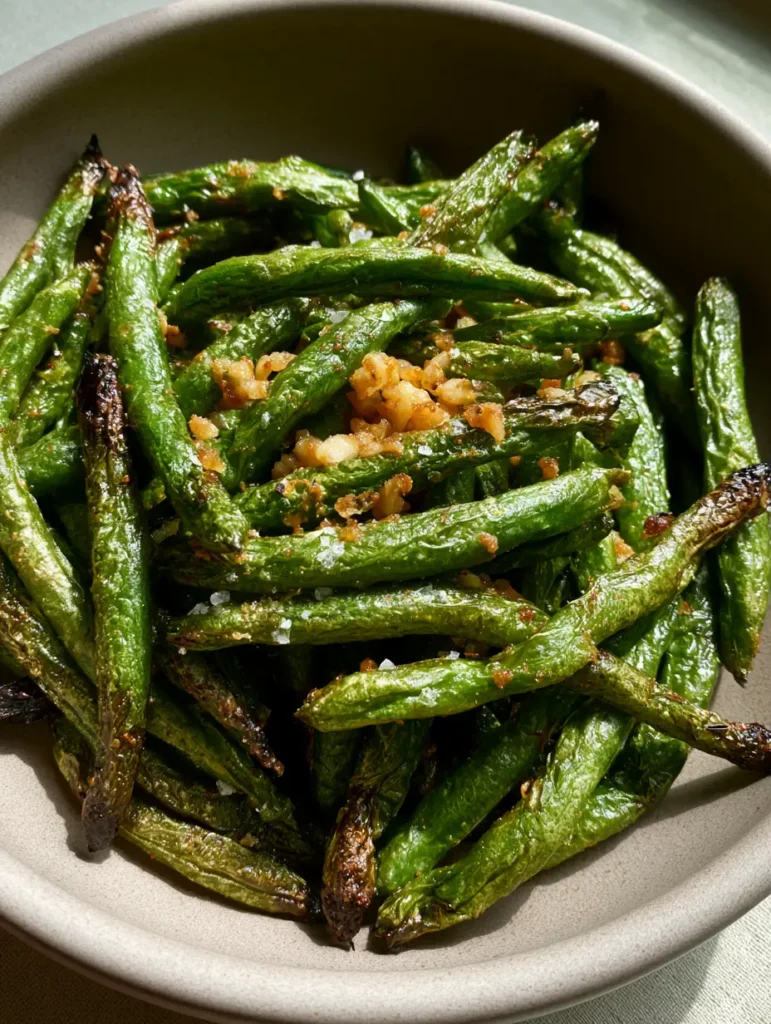
Continue cooking for the remaining 3-4 minutes. Listen for a light sizzling sound—this is the oil and garlic reacting to the heat. Visually, you are looking for the bean tips to be dark brown (almost blackened) and the skins to be significantly wrinkled. When you pull the basket, the aroma of toasted garlic should be immediate and intoxicating.
Expert Tips for Culinarily Superior Beans
- The “Single Layer” Myth: While most air fryer recipes demand a single layer, green beans actually benefit from a shallow mound. The contact between beans helps retain a juicy interior while the tips char.
- Garlic Timing: If you find your garlic is still too raw, mince it even finer. The smaller the particle, the faster it will saute in the residual heat.
- Preheating is Mandatory: Putting beans into a cold air fryer leads to a rubbery texture. You need that immediate blast of 400°F (200°C) air to shock the exterior into blistering.
- Varietal Differences: If using Haricots Verts (French green beans), reduce the cooking time by 2 minutes as they are much thinner and will burn quickly.
Optimal Storage and Reheating Guidelines
Air Fryer Green Beans are best enjoyed immediately to preserve the “snap” and the crispy garlic bits. However, if you have leftovers, store them in an airtight glass container in the refrigerator for up to 3 days.
To reheat, do not use a microwave, as this will make the beans soggy. Instead, place them back in the air fryer at 375°F (190°C) for 2-3 minutes. This will revive the light olive oil sheen and crisp up the garlic once again. We do not recommend freezing these once cooked, as the cellular structure of the bean collapses upon thawing, losing that signature wrinkled texture.
Perfect Pairings for Your Blistered Beans
These garlic-forward green beans are a versatile side that complements almost any protein. They pair exceptionally well with a parmesan crusted baked salmon for a healthy, high-protein dinner. The saltiness of the beans also cuts through the richness of a ground turkey skillet or serves as a fresh counterpoint to sheet pan chicken fajitas.
If you are looking for a comforting meal, serve these alongside a buffalo ranch chicken pasta bake. The charred tips of the beans provide a necessary texture contrast to the creamy pasta. For a plant-based feast, these beans are a natural fit next to marry me white beans.
Common Questions About Air Frying Green Beans
While you can, frozen beans contain more moisture and will not achieve the same crisp, blistered texture as fresh ones. They tend to be softer and less wrinkled.
Yes, you should remove the tough, fibrous stem end (the part where it was attached to the plant). The thin, wispy tail end is edible and adds to the charred aesthetic.
The key is to ensure the beans are bone-dry after washing and not to overcrowd the basket. Maximum airflow is essential for the wrinkling effect.
Yes! Preheating ensures the beans hit a hot surface immediately, which starts the blistering process instantly rather than steaming them as the unit warms up.
Garlic burns much faster than beans. To prevent this, always add your minced garlic halfway through the cook time so it only sautes for 3-4 minutes.
The Definitive Air Fryer Green Bean Recipe
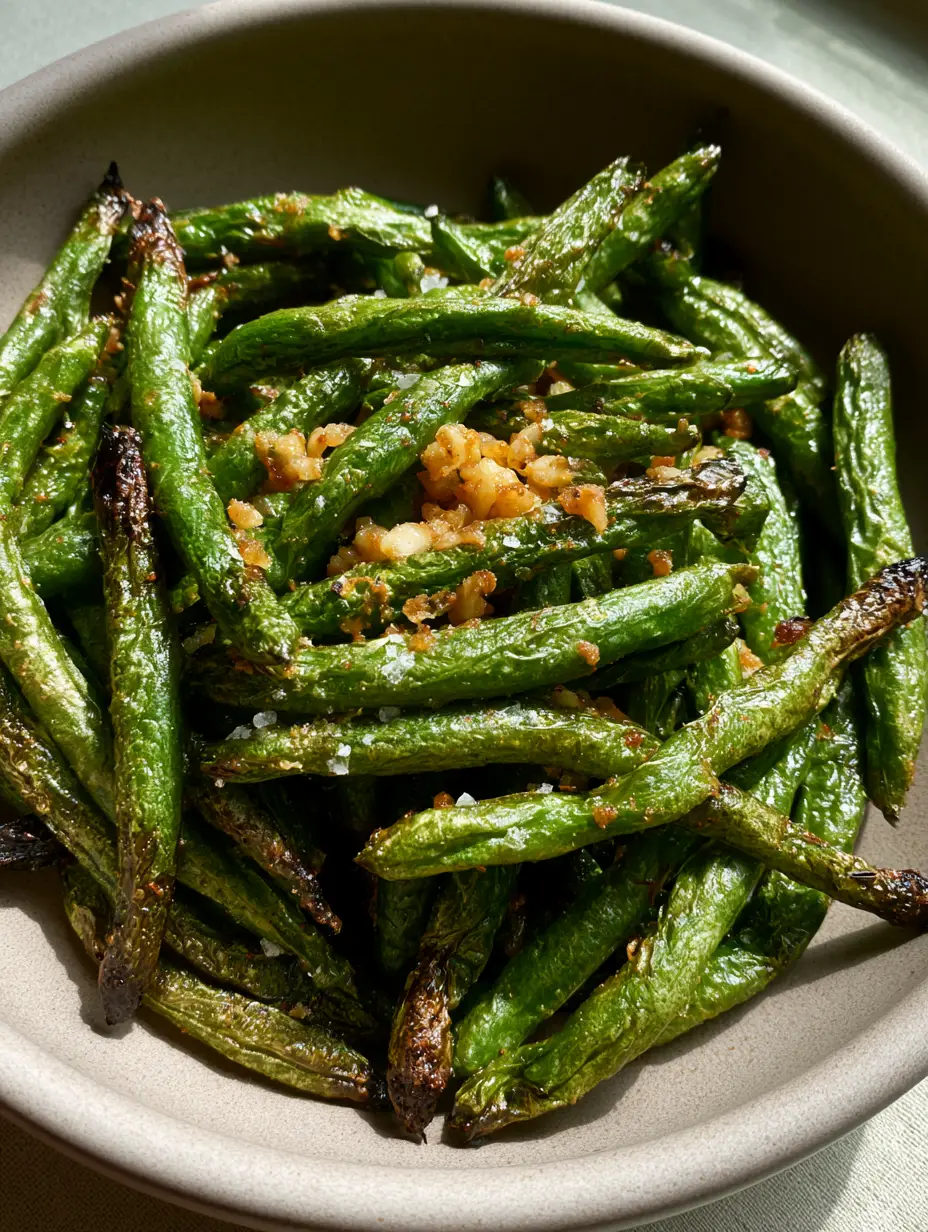
Air Fryer Green Beans with Blistered Garlic and Sea Salt
Ingredients
Equipment
Method
- Wash the fresh green beans and pat them thoroughly dry with a towel to ensure a crispy texture.
- Trim the stem ends and place beans in a bowl. Toss with 1 tbsp (15ml) light olive oil, sea salt, and black pepper.
- Preheat air fryer to 400°F (200°C). Air fry the beans for 4 minutes.
- Open the basket, add minced garlic, and toss. Cook for another 3-4 minutes until the beans are blistered and the garlic is golden-brown.
Notes
Add garlic halfway through to prevent burning while ensuring it sautes fully.
Conclusion: The Ultimate Healthy Side Dish
Mastering Air Fryer Green Beans is a gateway to faster, healthier, and more flavorful cooking. The combination of charred tips, sauteed garlic, and the specific crunch of coarse sea salt creates a sensory experience that rivals any deep-fried alternative. Whether you are prepping for a weeknight meal or a weekend dinner party, these beans provide the visual and culinary “wow” factor with minimal effort.
If you enjoyed this recipe, please leave a comment below and let us know how your blistering turned out! Don’t forget to follow us on Pinterest for more air fryer inspiration and share your photos with the hashtag #RusticCooks. Happy air frying!