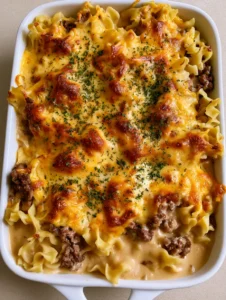
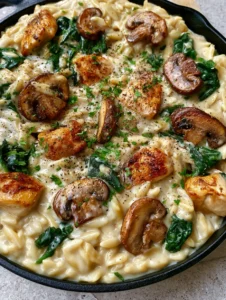
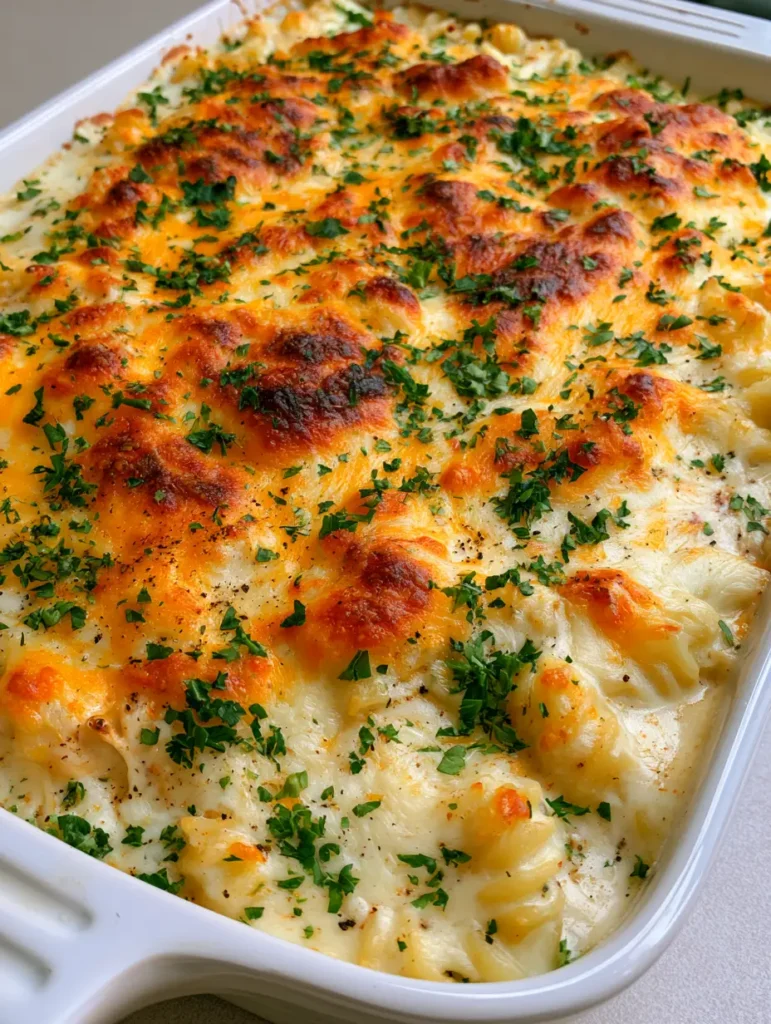
There is nothing quite as comforting as a Chicken Pasta Casserole fresh from the oven, especially when it arrives in a beautiful white ceramic baking dish, bubbling with life. Imagine a handheld smartphone photo capturing that exact moment: the soft morning daylight hitting a thick, velvety white cream sauce that has perfectly coated every single rotini spiral. The shredded chicken breast is tender, tucked beneath a heavy blanket of melted mozzarella and sharp cheddar that boasts those distinct, sought-after golden-brown charred patches.
This recipe is designed for the home cook who craves that restaurant-quality finish but needs the soul-warming simplicity of a one-pan wonder. By focusing on the contrast between the creamy interior and the toasted, crispy cheese topping, we elevate a humble weeknight staple into a culinary masterpiece. Whether you are hosting a casual family gathering or meal prepping for a busy week, this dish delivers on every sensory promise.
Why This Creamy Casserole Is a Weeknight Game Changer
- Textural Contrast: The combination of al dente rotini spirals and tender shredded chicken creates a satisfying bite that holds onto the thick, velvety sauce.
- The Ultimate Cheese Blend: We use a specific ratio of mozzarella for the “pull” and sharp cheddar for the “char,” ensuring a visually stunning and flavorful crust.
- Visual Presentation: Garnished with finely chopped fresh parsley and cracked black pepper, this dish looks as good on the table as it does in professional food photography.
- Versatile Base: This recipe serves as a foundational blueprint that you can adapt, similar to our popular creamy garlic parmesan chicken pasta.
The Essential Components for a Visual Masterpiece
To achieve the exact look of our visual blueprint, you need high-quality ingredients that behave predictably under heat. Each element in this Chicken Pasta Casserole serves a specific structural and flavor-focused purpose.
The Pasta and Protein Foundation
1 lb (450g) Rotini Pasta: The spiral shape is non-negotiable here; the ridges and twists are scientifically designed to trap the thick cream sauce, ensuring no bite is ever dry. Boil them in heavily salted water until just shy of al dente to prevent them from becoming mushy during the baking process.
3 cups (450g) Shredded Chicken Breast: For the most tender results, use poached chicken or a high-quality rotisserie chicken. The shredded texture allows the meat to integrate seamlessly with the pasta and sauce, unlike large chunks which can fall to the bottom of the dish.
The Velvety White Cream Sauce
4 tbsp (56g) Unsalted Butter: This provides the fat needed for our roux and adds a rich, nutty undertone to the base of our sauce. Using unsalted butter allows you to control the seasoning precisely, especially since the cheeses carry their own salt content.
1/4 cup (30g) All-Purpose Flour: When whisked into the melted butter, this creates the thickening agent that transforms milk and cream into a velvety coating. It is the “invisible” hero that keeps the casserole structurally sound.
2 cups (480ml) Whole Milk & 1 cup (240ml) Heavy Cream: This combination strikes the perfect balance between liquid hydration and decadent richness. The heavy cream is vital for achieving that “thick, velvety” look described in our Midjourney prompt.
1 tsp (5g) Garlic Powder & 1/2 tsp (2g) Onion Powder: These aromatics provide a deep savory floor for the sauce without the texture of raw aromatics, keeping the sauce smooth and pearlescent.
The Signature Cheese Topping and Finishing Touches
2 cups (225g) Shredded Mozzarella Cheese: Mozzarella is the king of meltability. It creates the bubbly, elastic layer that protects the pasta beneath from drying out in the oven’s heat.
1 cup (115g) Sharp Cheddar Cheese: We use cheddar specifically for the “toasted” effect. Cheddar has a lower moisture content and higher fat content than mozzarella, which allows it to develop those gorgeous golden-brown charred patches under the broiler.
1/4 cup (10g) Fresh Parsley: Finely chopped green parsley adds a burst of color and a fresh, herbaceous note that cuts through the richness of the dairy. It is the final visual pop that signals a “fresh from the oven” meal.
1/2 tsp (1g) Cracked Black Pepper: A light sprinkle of freshly cracked pepper adds heat and visual contrast against the white ceramic dish and golden cheese. Avoid pre-ground pepper for this; the coarse texture of cracked peppercorns is essential for the aesthetic.
Professional Equipment for the Perfect Bake
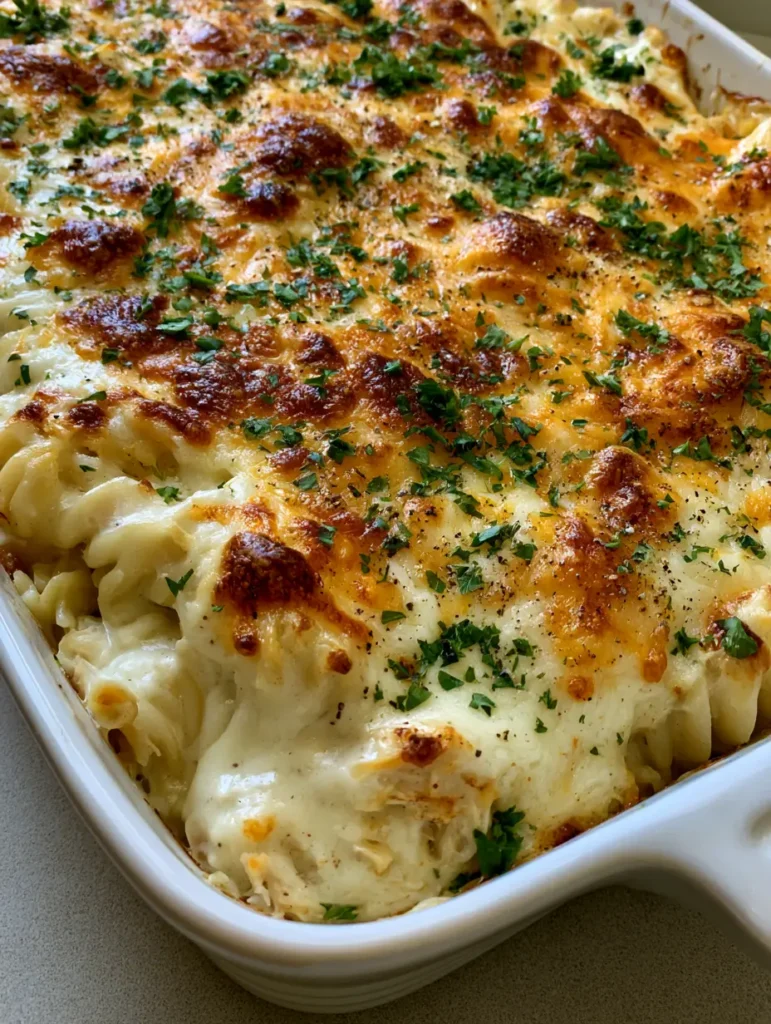
To replicate the authentic food photography style seen in our visual prompt, you need the right tools. A large rectangular white ceramic baking dish (approximately 9×13 inches or 23×33 cm) is the primary vessel. Ceramic is preferred over metal because it retains heat more evenly and provides a beautiful, clean aesthetic for serving directly at the table.
You will also need a large stockpot for boiling the rotini and a heavy-bottomed saucepan or Dutch oven for whisking the sauce. A balloon whisk is essential for ensuring your roux-based sauce is completely smooth and free of lumps. Finally, a handheld smartphone or camera is the best way to capture the “handheld photo” vibe of the finished dish sitting on your neutral countertop.
Step-by-Step Instructions: Mastering the Chicken Pasta Casserole
1. Prepare the Rotini and Chicken
Start by preheating your oven to 375°F (190°C). Bring a large pot of water to a rolling boil and add two tablespoons of salt. Cook the rotini for about 2 minutes less than the package directions for “al dente.” The pasta will continue to cook in the sauce while in the oven, and we want to avoid a soggy texture.
While the pasta boils, shred your cooked chicken breast. Aim for long, thin shards rather than cubes. Once the pasta is done, drain it well and return it to the pot. Toss the shredded chicken in with the pasta so they are evenly distributed before the sauce is added.
2. Whisking the Velvety White Sauce
In a medium saucepan over medium heat, melt the butter until it begins to foam. Whisk in the flour and cook for 1-2 minutes until the mixture smells slightly nutty and looks like pale sand. This “roux” stage is critical for removing the raw flour taste.
Slowly pour in the milk and heavy cream, whisking constantly to prevent lumps. Continue to cook and whisk for 5-7 minutes. You are looking for a specific sensory cue: the sauce should be thick enough to coat the back of a spoon and have a glossy, velvety sheen. Stir in your garlic powder, onion powder, and a pinch of salt.
3. Assembly and the “Cheese Blanket”
Pour the cream sauce over the chicken and rotini mixture. Use a large spatula to fold everything together until every spiral is heavily coated. Transfer the mixture into your white ceramic baking dish, smoothing the top with your spatula.
Combine the shredded mozzarella and cheddar in a small bowl. Sprinkle this mixture generously over the top, ensuring you cover all the edges. This “cheese blanket” acts as a seal, trapping moisture inside the casserole while the top undergoes the Maillard reaction.
4. The Bake and Broil for Charred Patches
Place the dish in the center of the oven and bake for 20-25 minutes. The sauce should be bubbling around the edges. To achieve the specific look from the Midjourney prompt, turn your oven to the “Broil” setting for the final 2-3 minutes. Watch closely! You want distinct golden-brown charred patches to form on the sharp cheddar portions of the topping.
Remove the dish from the oven and let it rest for 5 minutes. This resting period allows the sauce to set slightly so it doesn’t run when served. Immediately garnish with the finely chopped fresh parsley and a light sprinkle of cracked black pepper.
Expert Tips for Casserole Success
- Don’t Overcook the Pasta: If the rotini is fully soft before it goes into the oven, it will lose its spiral definition in the final dish. Aim for “firm to the bite.”
- Use Freshly Shredded Cheese: Pre-shredded cheese is coated in potato starch to prevent clumping, which can hinder the perfect “melt” and “char.” Grate your own mozzarella and cheddar for the best visual and textural results.
- Control the Sauce Consistency: If your sauce seems too thick before adding it to the pasta, whisk in a splash of chicken broth or extra milk. It should look like a thick gravy.
- The Broiler is Your Friend: The difference between a “yellow” casserole and a “gourmet” casserole is that final blast of high heat to get the toasted cheese patches.
Creative Pairings and Side Dishes
A rich Chicken Pasta Casserole pairs beautifully with light, acidic sides that balance the creaminess of the white sauce. A crisp green salad with a lemon vinaigrette or roasted balsamic broccoli are excellent choices.
If you love the flavor profile of this dish, you might also enjoy our marry me chicken pasta for a sun-dried tomato twist, or our chicken spinach alfredo (coming soon) for an extra dose of greens. For those who prefer a different pasta shape, the creamy chicken bowtie pasta offers a similar velvety experience with a fun visual variation. If you’re looking for something with a bit more kick, don’t miss our buffalo ranch chicken pasta bake.
Storage, Reheating, and Freezing
To Store: Keep leftovers in an airtight container in the refrigerator for up to 3-4 days. The ceramic dish can be covered with foil, but transferring to a smaller container helps maintain moisture.
To Reheat: The best way to maintain the “velvety” texture is to reheat in the oven at 350°F (175°C) covered with foil. If using a microwave, add a teaspoon of milk to the bowl and cover it to prevent the cheese from becoming rubbery.
To Freeze: This casserole freezes exceptionally well. Assemble the dish but do not bake it. Wrap tightly in plastic wrap and then foil. Freeze for up to 3 months. Thaw in the refrigerator overnight before baking according to the standard instructions.
Frequently Asked Questions
Yes, you can assemble the entire dish, cover it, and refrigerate it for up to 24 hours before baking. You may need to add 5-10 minutes to the baking time if it’s coming straight from the fridge.
Absolutely! Rotisserie chicken is perfect for this recipe as it is already tender and easy to shred, which saves time and adds a great depth of flavor.
The key is to make a generous amount of roux-based white sauce and slightly undercook your pasta. This ensures the pasta absorbs the sauce without drying out the entire dish during the bake.
Rotini is highly recommended because its spiral shape and ridges are specifically designed to hold onto thick cream sauces, providing the best flavor in every bite.
This usually happens if the dish isn’t close enough to the heat source or if the broiler wasn’t used. A quick 2-3 minute broil at the end is essential for that toasted finish.
The Ultimate Creamy Chicken Pasta Casserole Recipe
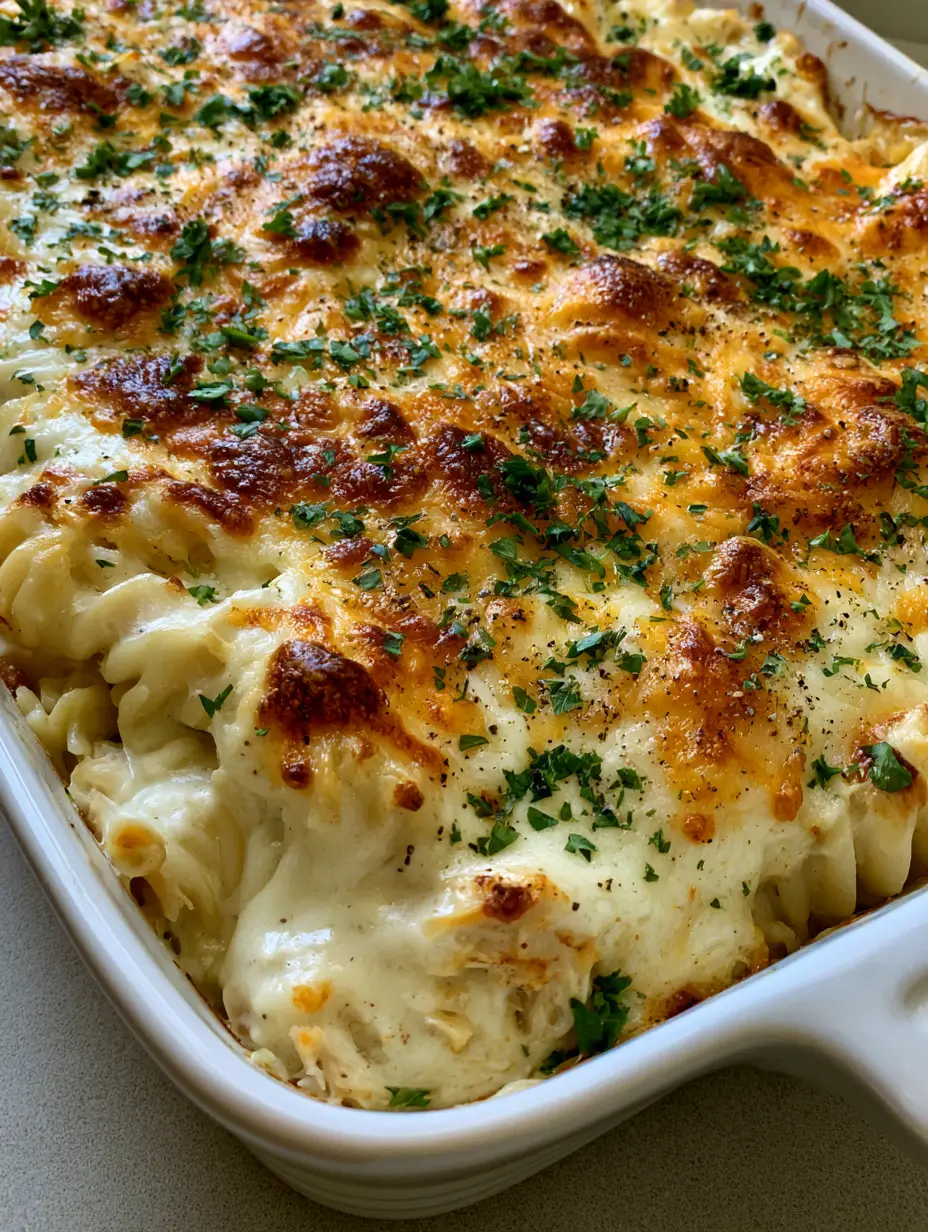
Chicken Pasta Casserole with a Bubbly Golden-Brown Cheese Crust
Ingredients
Equipment
Method
- Preheat oven to 375°F (190°C). Cook rotini in salted boiling water for 2 minutes less than package instructions. Drain and set aside in a large pot with shredded chicken.
- In a saucepan, melt butter. Whisk in flour for 1-2 minutes until nutty and pale sand colored.
- Gradually whisk in milk and heavy cream. Simmer and whisk for 5-7 minutes until the sauce is thick and velvety. Stir in garlic and onion powder.
- Pour the white cream sauce over the pasta and chicken. Fold until heavily coated and transfer to the white ceramic dish.
- Cover the top with mozzarella and cheddar cheese. Bake for 20-25 minutes until bubbling.
- Broil for 2-3 minutes until golden-brown charred patches form. Rest for 5 minutes, then garnish with fresh parsley and cracked black pepper.
Notes
Ensure the rotini is undercooked before baking to maintain texture.
Closing & Call to Action
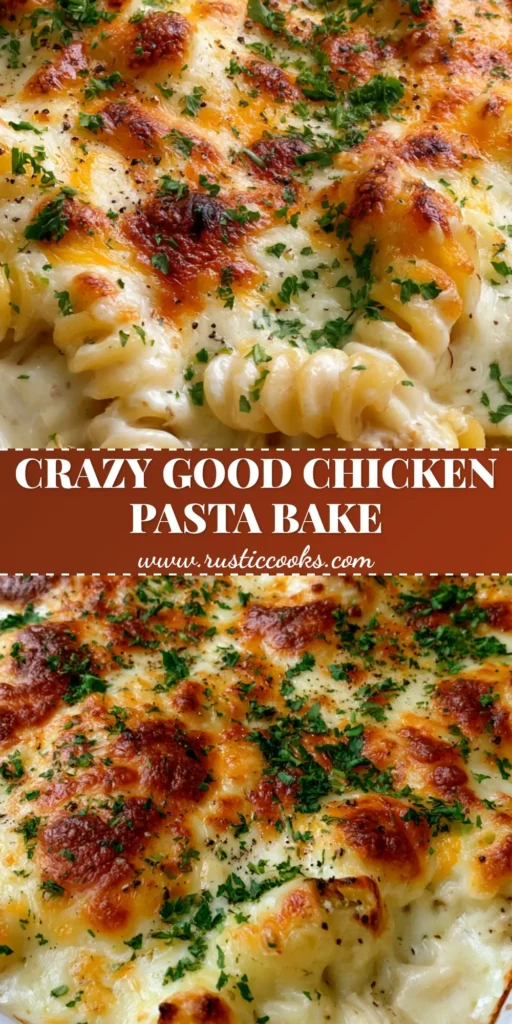
This Chicken Pasta Casserole is the epitome of home-cooked comfort. With its bubbly cheese topping, tender shredded chicken, and perfectly coated rotini, it’s a dish that invites everyone to the table. The contrast of the golden-brown charred patches against the fresh green parsley makes it a visual triumph that tastes even better than it looks.
If you enjoyed this recipe, please leave a comment below and let us know how your cheese crust turned out! Don’t forget to follow us and share your creations on Pinterest. Your feedback helps our community of home cooks grow, and we love seeing this casserole in your kitchens!