There is a specific, nostalgic comfort found in the perfect cookie, but when you transition to gluten-free baking, that comfort often comes with a compromise in texture. These Oat Flour Peanut Butter Cookies shatter that precedent, offering a thick, soft-baked experience that rivals any traditional bakery recipe. By utilizing the fine, nutty texture of oat flour, we achieve a crumb that is both tender and structurally sound, perfectly capturing that classic “melt-in-your-mouth” quality.
Imagine a stack of dense, golden-brown discs arranged on a minimalist matte white plate, their surfaces etched with deep, rustic fork patterns. As you lift one, the light catches the coarse sea salt garnish, promising a sophisticated balance to the rich, creamy peanut butter base. This isn’t just a healthy alternative; it is a culinary upgrade that focuses on depth of flavor and a superior, moist center that stays soft for days.
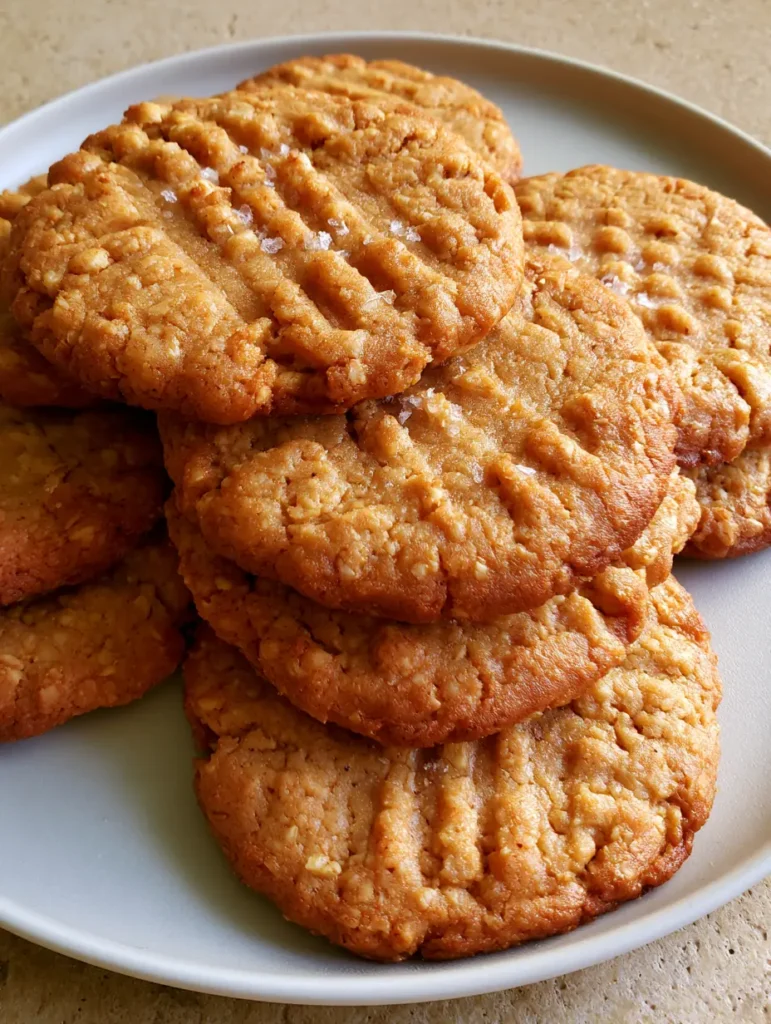
Why These Oat Flour Treats Will Become Your New Pantry Staple
- Unrivaled Texture: The use of finely ground oat grains creates a soft, pillowy interior that avoids the grittiness often associated with alternative flours.
- Perfect Visual Geometry: The deep criss-cross fork indentations aren’t just for show; they create additional surface area for those perfectly golden-brown, crispy edges.
- Balanced Flavor Profile: A generous dusting of coarse sea salt cuts through the richness of the creamy peanut butter, elevating the cookie from simple to gourmet.
- Natural Ingredients: Built on a foundation of whole-grain oat flour, these cookies provide a more sustained energy release than those made with refined white flour.
The Anatomy of a Perfect Oat Flour Peanut Butter Cookie
Finely Ground Oat Flour: 2 cups (180g). This is the structural backbone of our recipe; its unique protein structure allows for a soft crumb without the need for gluten. If you are a fan of unique flour bases, you might also enjoy the texture of a chocolate pistachio tart.
Creamy Peanut Butter: 1 cup (250g). We use a creamy, emulsified peanut butter to ensure the dough remains cohesive and the final cookies have a rich, velvety mouthfeel. The oils in the peanut butter act as a primary fat source for that moist center.
Salted Butter (Softened): 1/2 cup (113g). While peanut butter provides fat, the addition of dairy butter introduces moisture and helps achieve those signature golden-brown edges seen in the visual blueprint.
Light Brown Sugar: 3/4 cup (150g). The molasses content in brown sugar is the secret to a chewy, soft-baked texture and a deep, caramelized flavor profile.
Granulated White Sugar: 1/4 cup (50g). This helps create the “matte finish” on the exterior and contributes to the slight crispness of the fork-pressed ridges.
Large Egg (Room Temperature): 1 unit. The egg acts as the primary binder, ensuring the Oat Flour Peanut Butter Cookies don’t crumble when you take that first bite.
Pure Vanilla Extract: 1 tsp (5ml). A foundational aromatic that enhances the nutty notes of both the oats and the peanuts.
Baking Soda: 1/2 tsp (3g). This provides the necessary lift to ensure the cookies are thick and soft rather than flat and hard.
Fine Sea Salt: 1/4 tsp (1.5g). Incorporated into the dough to season the oats from within.
Coarse Sea Salt: 1 tbsp (15g). Used exclusively for garnishing the tops to provide that visual and textural “pop” described in our visual blueprint.
Essential Tools for Professional Results
To achieve the specific aesthetic of a minimalist matte white plate presentation, you will need a few key tools. A standard baking sheet lined with parchment paper ensures even heat distribution for those golden edges. A heavy-duty wire whisk or a stand mixer is essential for aerating the butter and sugars properly. Most importantly, a sturdy dinner fork is required to create the iconic deep criss-cross pattern that defines the visual appeal of these cookies. If you enjoy using simple tools for high-impact results, check out our guide on making sourdough discard naan.
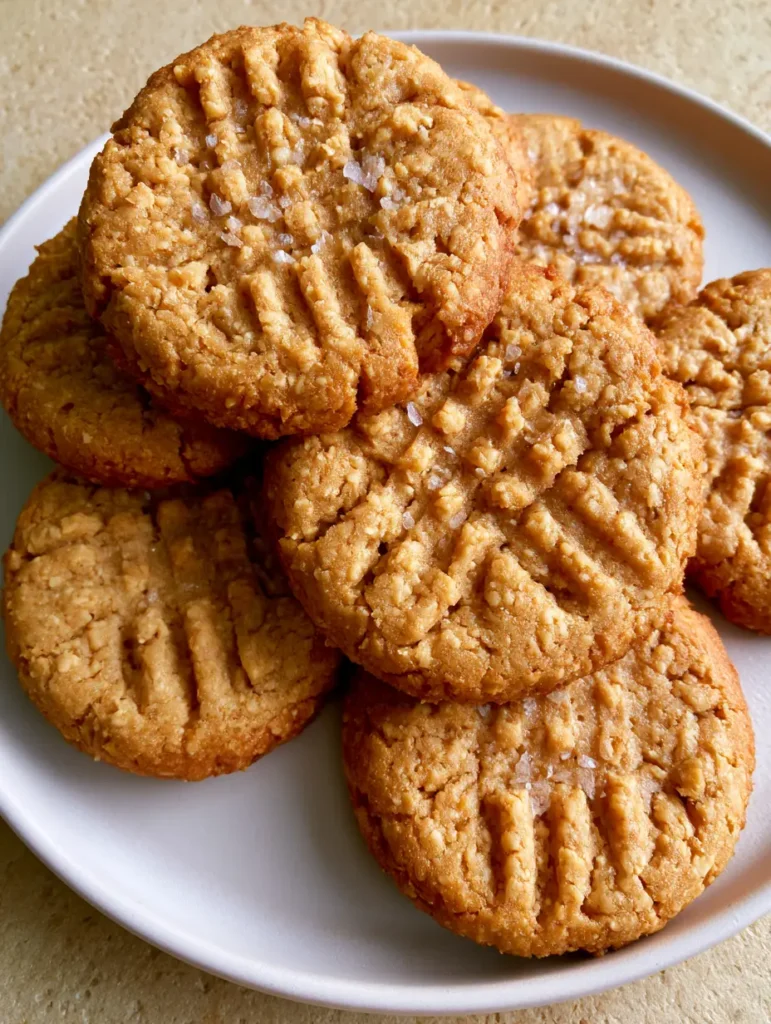
Mastering the Dough: Step-by-Step Instructions
Creaming for Structure and Aeration
In a large mixing bowl, combine your softened salted butter, creamy peanut butter, brown sugar, and white sugar. Beat these together for at least 3 minutes until the mixture is pale, fluffy, and significantly lightened in texture. This step incorporates micro-bubbles of air that will expand in the oven, ensuring your cookies stay thick and soft rather than becoming dense bricks.
Incorporating the Binder and Aromatics
Add the room-temperature egg and the pure vanilla extract to the creamed mixture. Continue to beat until the egg is fully emulsified and the batter looks glossy. If your egg is too cold, it may cause the butter to seize, resulting in an uneven bake, so ensure all ingredients are at an even temperature before beginning.
Folding in the Oat Flour Base
Slowly add the oat flour, baking soda, and fine sea salt to the wet ingredients. Use a spatula to fold the mixture until no dry streaks of oat grains remain visible. The dough should be thick, slightly tacky, and hold its shape perfectly when rolled into a ball. If you find the dough too soft, chill it for 15 minutes to firm up the fats.
Creating the Iconic Visual Pattern
Scoop approximately 2 tablespoons (30ml) of dough and roll it into a smooth ball. Place the balls 2 inches (5cm) apart on your prepared baking sheet. Take a dinner fork and press down firmly in one direction, then rotate the fork 90 degrees and press again. You are looking for deep, visible indentations that will hold their shape during the baking process, creating a rustic, handcrafted look.
Baking to Golden Perfection
Bake in a preheated oven at 350°F (175°C) for 10-12 minutes. The “Visual Cue” to look for is a set matte finish on the top and edges that have just begun to turn a delicate golden-brown. Do not overbake; the centers should still look slightly soft, as they will continue to firm up on the hot pan. Immediately after removing from the oven, sprinkle a light dusting of coarse sea salt over the warm surfaces.
Expert Tips for Success with Oat Flour
- Measure by Weight: Oat flour is much lighter than all-purpose flour. Using a scale to measure 180g will ensure your cookies aren’t dry or crumbly.
- Let the Dough Rest: If time permits, let the dough sit for 10 minutes before scooping. This allows the oat grains to fully hydrate, resulting in a smoother texture.
- Natural vs. Conventional Peanut Butter: For the most consistent results, use a conventional “no-stir” creamy peanut butter. Natural varieties with oil separation can sometimes lead to a greasy cookie.
- The Salt Timing: Always apply the coarse sea salt while the cookies are hot. The residual heat helps the crystals adhere to the surface so they don’t fall off during plating.
Pairing Suggestions and Serving Ideas
These Oat Flour Peanut Butter Cookies are incredibly versatile. For a decadent dessert spread, serve them alongside salted caramel pretzel cheesecake bites to lean into the sweet and salty theme. If you’re looking for a cozy afternoon snack, a warm stack of these cookies pairs beautifully with a hot cup of coffee, perhaps even inspired by the flavors of coffee sugar cookies. For a more balanced meal, consider these as a treat following a savory dinner of marry me white beans.
Storage and Preservation
To maintain that “soft-baked” moisture, store the cookies in an airtight container at room temperature for up to 5 days. Placing a small piece of bread in the container is an old baker’s trick to keep them soft by providing a source of humidity. For longer storage, these cookies freeze exceptionally well. Wrap them individually in plastic wrap and store in a freezer bag for up to 3 months. Thaw at room temperature for 30 minutes before serving to restore the texture of the fine oat grains.
Frequently Asked Questions
Yes, you can blend rolled oats in a high-speed blender until they reach a fine, powder-like consistency. Be sure to sift the flour afterward to remove any large bits of oat grain.
While possible, natural peanut butter that requires stirring can be inconsistent. For the specific thick and soft texture shown, a conventional creamy peanut butter is recommended.
Chilling is not strictly required if your butter was only slightly softened, but if your kitchen is warm or the dough feels greasy, a 15-minute chill will help the cookies stay thick.
Press the fork firmly into the dough ball until it is about halfway flattened. Dip the fork in a little extra oat flour if it sticks to the peanut butter dough.
This usually happens if the cookies are moved while too warm or if not enough binder (egg) was used. Oat flour lacks gluten, so it relies on the egg and the cooling process to set structurally.
The Ultimate Oat Flour Peanut Butter Cookie Recipe
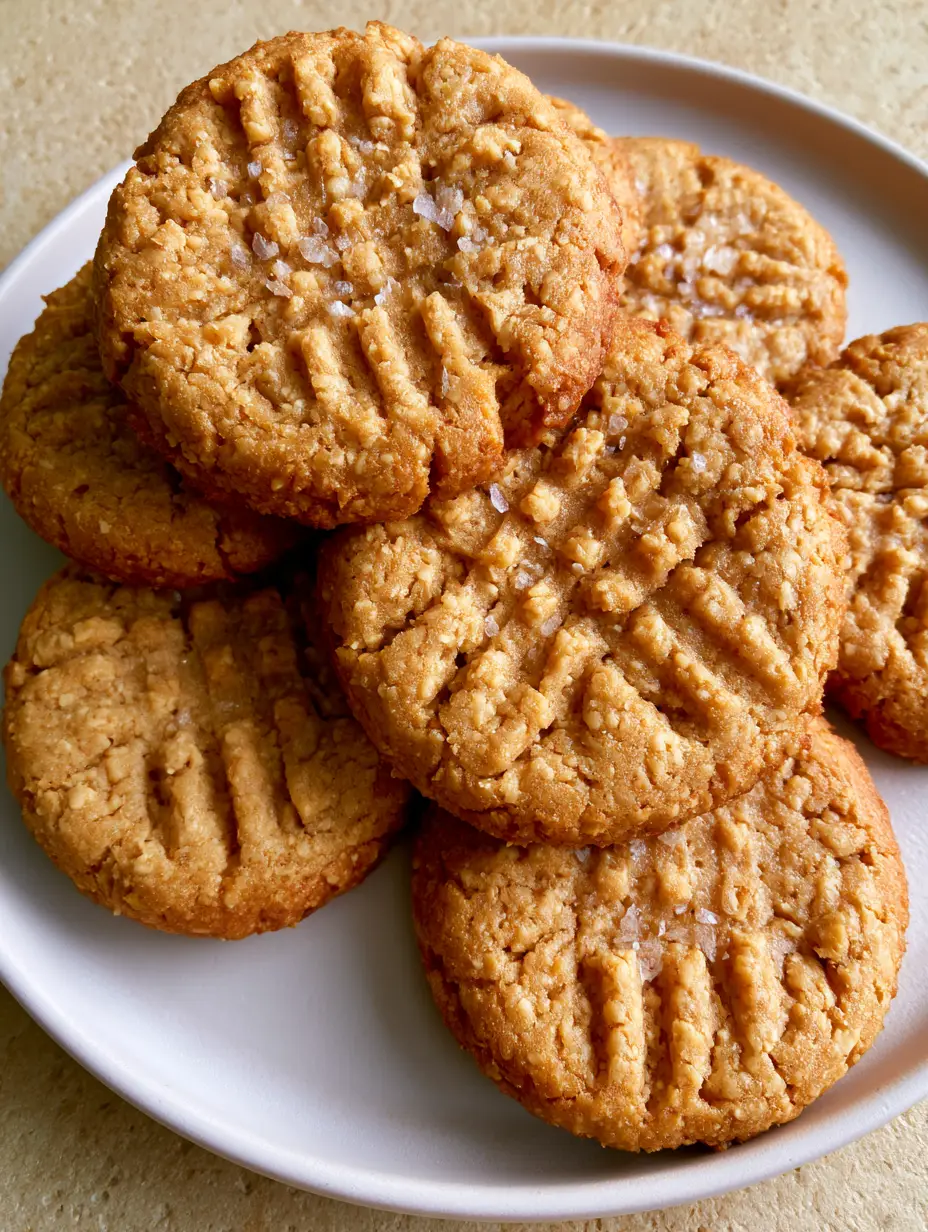
Oat Flour Peanut Butter Cookies: Thick, Soft, and Salt-Kissed
Ingredients
Equipment
Method
- Beat the softened salted butter, creamy peanut butter, brown sugar, and white sugar in a large bowl for 3 minutes until light and fluffy.
- Incorporate the egg and vanilla extract, beating until the mixture is glossy and well emulsified.
- Fold in the oat flour, baking soda, and fine sea salt until no dry grains remain. Let dough rest for 10 minutes.
- Roll 2 tablespoons of dough into balls. Use a fork to create a deep criss-cross pattern on top of each ball.
- Bake at 350°F (175°C) for 10-12 minutes until edges are golden-brown and the finish is matte.
- Immediately sprinkle with coarse sea salt while the cookies are still warm from the oven.
Notes
If the dough is too soft to handle, chill it for 15 minutes before rolling into balls.
Conclusion: The Best of Both Worlds
In the world of gluten-free baking, these Oat Flour Peanut Butter Cookies stand out as a triumph of texture and flavor. By combining the wholesome nature of oats with the indulgence of creamy peanut butter and sea salt, you create a treat that satisfies both the health-conscious baker and the dedicated cookie lover. We invite you to try this recipe and see the golden-brown results for yourself. If you enjoyed this recipe, please leave a comment below and share your photos with us on Pinterest!