Sheet Pan Chicken Fajitas are the ultimate solution for those craving the sizzle of a traditional cantina experience without the heavy lifting of multiple pans. This recipe captures the essence of high-heat roasting, delivering tender strips of chicken and vegetables with those signature charred, blistered edges that define authentic fajitas. By utilizing a dark metallic baking sheet, we maximize heat absorption to ensure every bite is infused with a deep, smoky flavor profile.
The beauty of this method lies in the “set it and forget it” simplicity that busy weeknights demand. Unlike stovetop versions where you must stand over a hot flame, these Sheet Pan Chicken Fajitas rely on the consistent, dry heat of the oven to caramelize the natural sugars in the bell peppers and red onions. The result is a vibrant, restaurant-quality meal that looks as impressive as it tastes, finished with a burst of fresh cilantro and zesty lime.
The Secrets to Achieving Restaurant-Quality Char and Texture
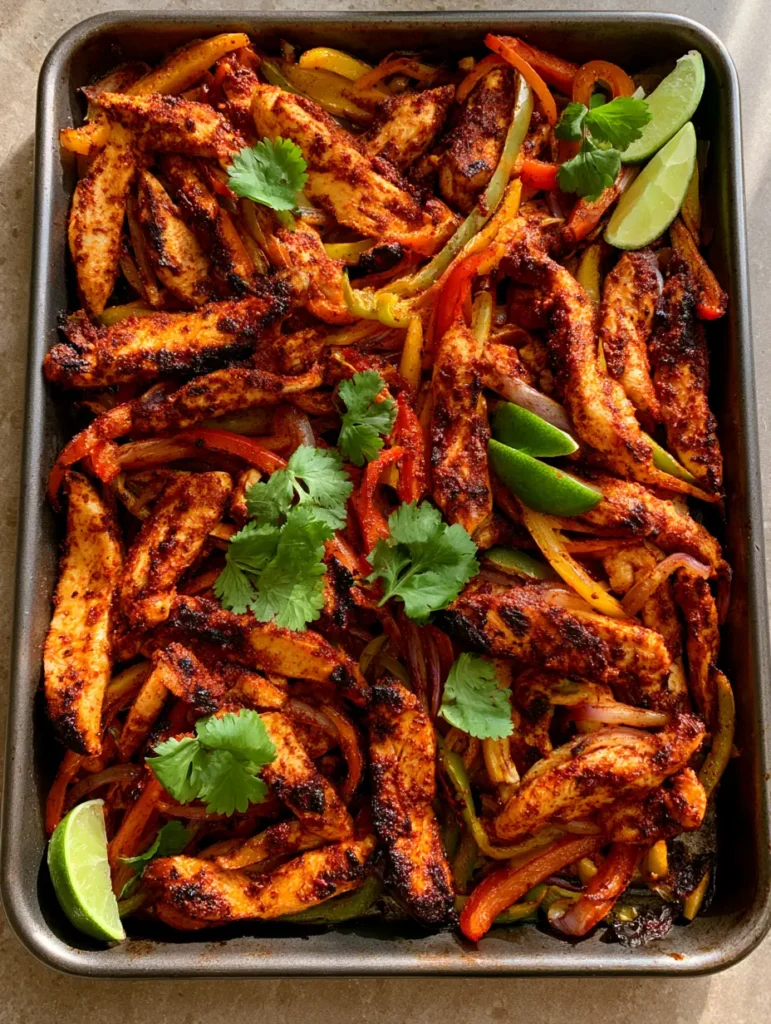
- High-Heat Conductivity: Using a dark metallic sheet pan ensures the bottom of the chicken and peppers sear effectively, mimicking a cast-iron skillet.
- The “Dark Red” Spice Rub: A heavy coating of smoky chili seasoning provides not just heat, but a rich, mahogany color and a crusty exterior.
- Strategic Slicing: Cutting chicken and vegetables into uniform, thin slivers ensures they finish cooking at the exact same moment.
- Vibrant Contrast: The combination of blistered red onions and charred tricolor peppers creates a visual and flavor-packed masterpiece.
- Fresh Finishes: Adding whole cilantro leaves and lime wedges at the very end provides the essential acid and herbal notes to cut through the smoky richness.
Essential Components for the Perfect Sheet Pan Chicken Fajitas
Sliced Chicken Breast: We use 1.5 lbs (680g) of boneless, skinless chicken breast, sliced into 1/2-inch (1.25cm) strips. This lean protein acts as the perfect canvas for our heavy spice rub and stays juicy when roasted quickly at high temperatures.
The Tricolor Pepper Medley: One red, one yellow, and one green bell pepper provide a spectrum of sweetness and a slight bitter edge. Their thin walls allow them to soften rapidly while the skin develops those coveted charred, blistered spots under the heat.
Blistered Red Onions: One large red onion, cut into thin wedges, adds a jammy sweetness and a pop of color. As they roast, the edges become crispy and slightly blackened, providing a wonderful textural contrast to the soft peppers.
Roasted Vegetable Oil: Using 3 tbsp (45ml) of a high-smoke point oil like avocado or grapeseed oil is non-negotiable. It coats the ingredients to facilitate the Maillard reaction, ensuring everything roasts rather than steams.
Smoky Chili Seasoning: This custom blend includes 2 tbsp (15g) of smoked paprika, chili powder, cumin, and garlic powder. It creates that “dark red spice rub” visual described in our blueprint, delivering a deep, earthy warmth to every bite.
Foundational Seasonings: Don’t forget 1 tsp (6g) of kosher salt and 1/2 tsp (3g) of cracked black pepper. These “invisible” ingredients are scientifically required to draw out moisture and enhance the inherent flavors of the poultry and produce.
The Garnish Duo: 1/4 cup (10g) of fresh cilantro leaves and 2 bright green lime wedges add the final sensory layer. The lime juice brightens the smoky fats, while the cilantro provides a cooling, peppery finish.
Tools Required for One-Pan Success
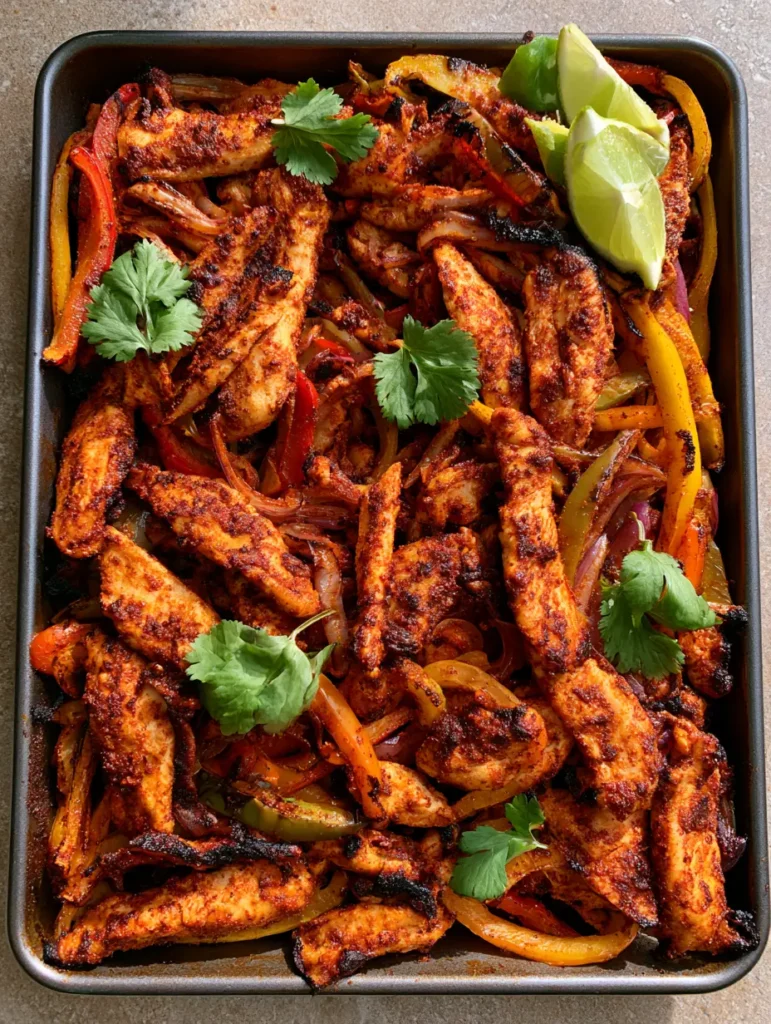
To achieve the handheld smartphone photo look from our prompt, you need a dark, heavy-duty metallic baking sheet. Dark pans absorb more radiant heat than light-colored aluminum pans, which is the secret to getting those dark, blistered edges on the peppers without overcooking the chicken. You will also need a sharp chef’s knife for precision slicing and a large mixing bowl to ensure the chicken and vegetables are “heavily seasoned” before they hit the pan.
Step-by-Step Evolution of the Perfect Roast
Preheating for Impact
Start by preheating your oven to 425°F (220°C). A hot oven is critical; if the temperature is too low, the vegetables will release their juices and steam, preventing the charred, blistered edges we are looking for. If you have a convection setting, use it to circulate the air for even better browning.
The Seasoning Ritual
In a large bowl, toss your chicken strips, peppers, and onions with the roasted vegetable oil. Once coated, sprinkle the smoky chili seasoning over the top. Use your hands to massage the rub into every crevice until the mixture takes on a dense, dark red hue, ensuring no piece of chicken is left bare.
Arranging the Sheet Pan
Spread the mixture onto your dark metallic baking sheet in a “dense layer.” You want the ingredients to be close together but not stacked high. This density allows for a mix of textures—some edges will char against the metal, while others will stay tender and juicy in the center of the pan.
Monitoring the Visual Cues
Slide the pan into the oven and roast for 18–22 minutes. At the 15-minute mark, look for the chicken to be opaque and the pepper skins to start bubbling. Continue roasting until you see distinct charred, blackened edges on the onions and peppers. The smell should be intoxicatingly smoky and savory.
The Finishing Flourish
Remove the pan from the oven and immediately squeeze one lime wedge over the hot chicken to deglaze the pan slightly. Scatter the fresh whole cilantro leaves across the top. The residual heat will wilt the cilantro just enough to release its aroma without losing its vibrant green color.
Expert Tips for Sheet Pan Mastery
- Dry the Protein: Always pat your chicken dry with paper towels before slicing. Excess moisture is the enemy of a good sear and will dilute your spice rub.
- Don’t Crowd the Pan: If your baking sheet is small, split the ingredients between two pans. Overcrowding leads to steaming, which ruins the “blistered” texture.
- The Broiler Trick: If your chicken is cooked but your peppers aren’t charred enough, pop the pan under the broiler for 2 minutes at the very end. Keep a close eye on it!
- Acid Balance: If the dish feels “heavy,” add an extra squeeze of lime. The citric acid acts as a flavor enhancer, much like salt does.
Smart Storage and Meal Prep Advice
These fajitas are excellent for meal prep. Store leftovers in an airtight container in the refrigerator for up to 4 days. When reheating, avoid the microwave if possible; a quick flash in a hot skillet or back in the oven at 350°F (175°C) will help maintain the texture of the charred peppers.
You can also freeze the seasoned, uncooked mixture in a gallon-sized freezer bag. When you’re ready for a “dump and bake” dinner, simply thaw in the fridge overnight and spread onto the sheet pan as directed. It’s even faster than ordering takeout!
What to Serve with Your Fajitas
While these Sheet Pan Chicken Fajitas are a meal on their own, they pair beautifully with warm flour tortillas, avocado slices, or a side of cilantro lime rice. If you have leftover chicken, it makes a fantastic addition to an easy chicken quesadilla recipe the next day.
For those who love a variety of Mexican-inspired flavors, consider serving these alongside some high protein chicken enchiladas for a weekend feast. If you prefer a slower pace, our slow cooker fiesta chicken offers a similar flavor profile with even less active work. For a fun twist on the classic, try using the leftovers in hot honey chicken quesadillas (coming soon) for a sweet and spicy kick.
Frequently Asked Questions
Yes! Chicken thighs are more forgiving and remain juicy at high heat. They may require an extra 2-3 minutes of roasting time compared to breast meat.
The key is using a dark metallic pan, which absorbs more heat, and ensuring the peppers are sliced thinly. If needed, turn on the broiler for the last 90 seconds of cooking.
Sogginess is caused by overcrowding the pan or roasting at too low a temperature. Use a large sheet pan so ingredients stay in a single layer, and ensure your oven is preheated to at least 425°F (220°C).
Absolutely. The chicken and peppers hold up well in the fridge for 4 days. Reheat them in a skillet for 2 minutes to revive the charred texture.
Choose an oil with a high smoke point, such as avocado, grapeseed, or canola oil. Avoid extra virgin olive oil for this recipe as it can smoke and become bitter at 425°F.
The Ultimate Sheet Pan Chicken Fajita Recipe
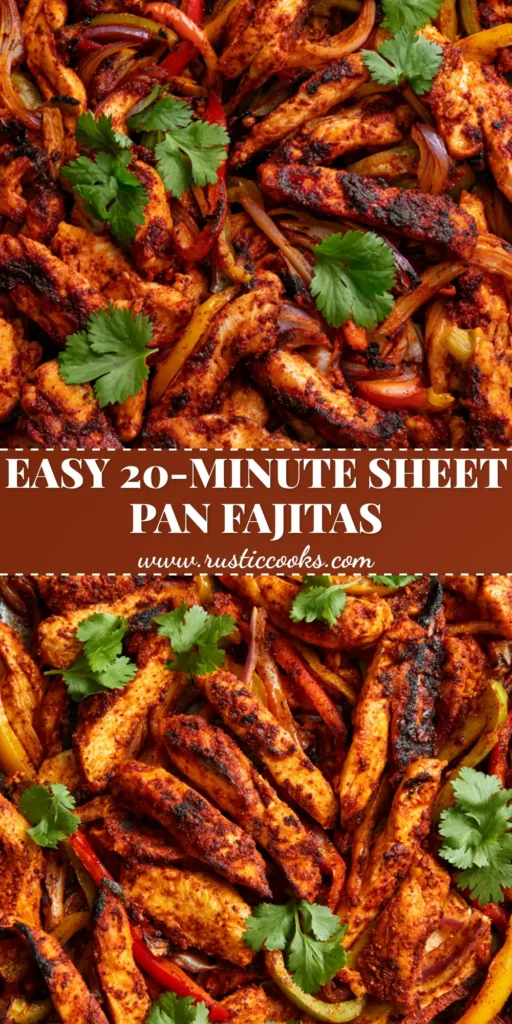
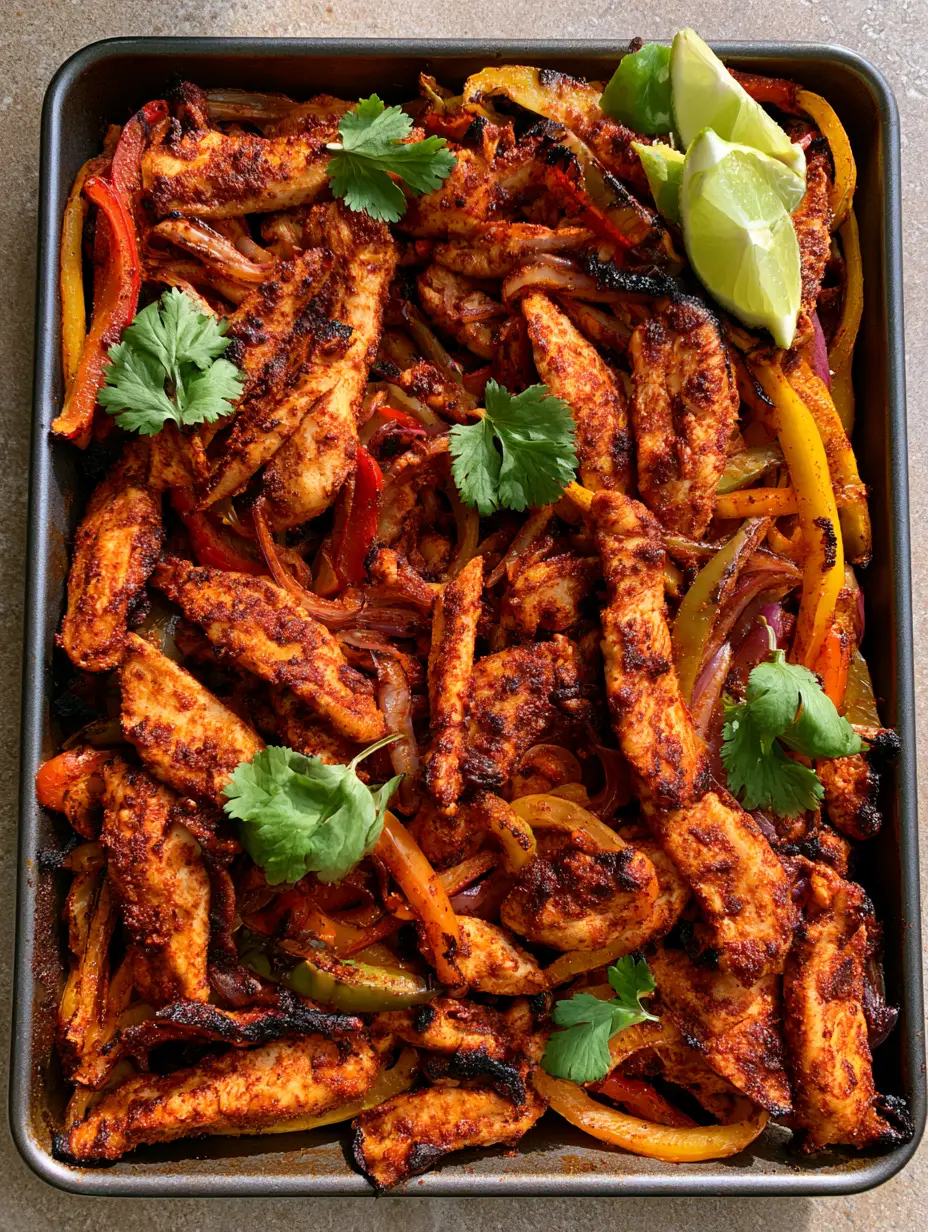
Sheet Pan Chicken Fajitas with Charred Peppers and Smoky Chili Rub
Ingredients
Equipment
Method
- Preheat your oven to 425°F (220°C). Position a rack in the center of the oven.
- In a large bowl, combine the sliced chicken, peppers, and onions. Add the oil and toss to coat. Sprinkle with the smoky chili seasoning, salt, and pepper, tossing until everything is heavily and evenly coated in the dark red spice rub.
- Spread the mixture in a dense, even layer across a dark metallic baking sheet.
- Roast for 18-22 minutes. Look for the chicken to be cooked through and the peppers and onions to have distinct charred, blistered edges.
- Remove from the oven. Immediately squeeze fresh lime juice over the pan and scatter with whole cilantro leaves. Serve warm with tortillas.
Notes
If vegetables aren't charred enough after 20 minutes, use the broiler for 1-2 minutes.
Bring the Sizzle Home Today!
We hope you love these Sheet Pan Chicken Fajitas as much as we do. They are the perfect embodiment of efficient, flavor-forward cooking that doesn’t sacrifice quality for speed. The combination of smoky spices, tender chicken, and blistered vegetables creates a sensory experience that is truly unmatched for a one-pan meal.
If you made this recipe, please leave a comment and a rating below—we love hearing your feedback! Don’t forget to save this recipe to your “Easy Dinners” board on Pinterest so you can find it whenever the fajita craving strikes. Happy cooking!