There is a specific culinary magic that happens when the pillowy sweetness of a tropical bun meets the aggressive saltiness of a sharp melted cheese. This Hawaiian Roll Grilled Cheese isn’t just a sandwich; it’s a sensory experience designed for those who crave the ultimate cheese pull and a golden-brown, buttery crunch. By utilizing the unique structure of pull-apart rolls, we create a 3×4 grid of gooey perfection that is as beautiful to look at as it is to eat.
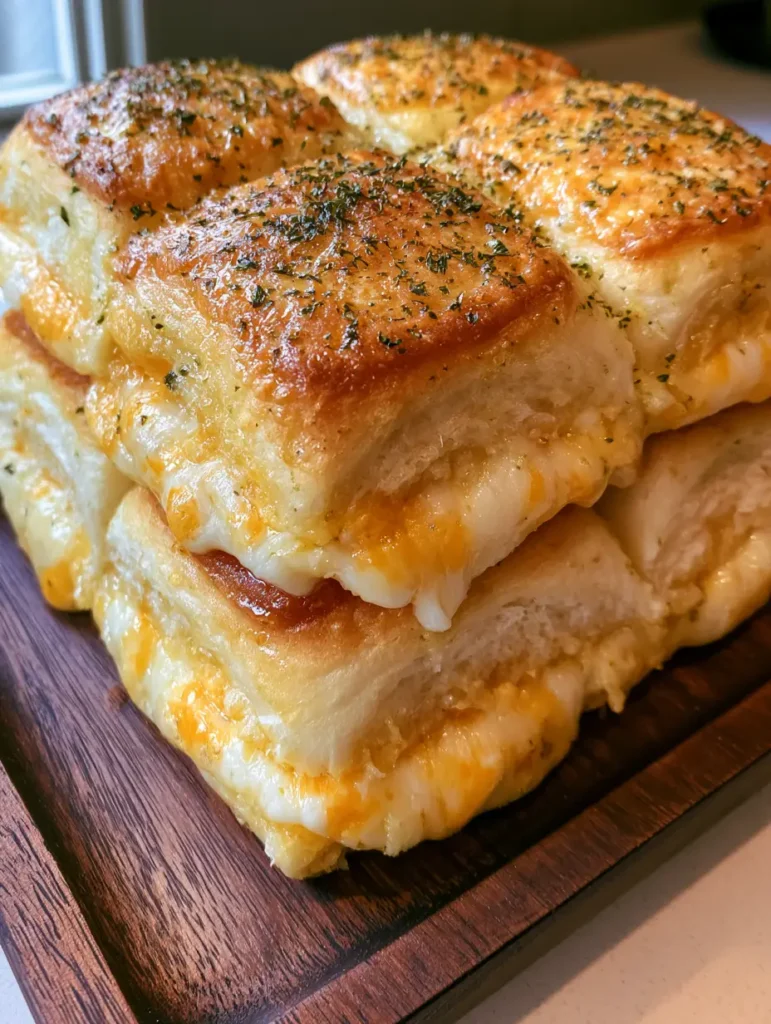
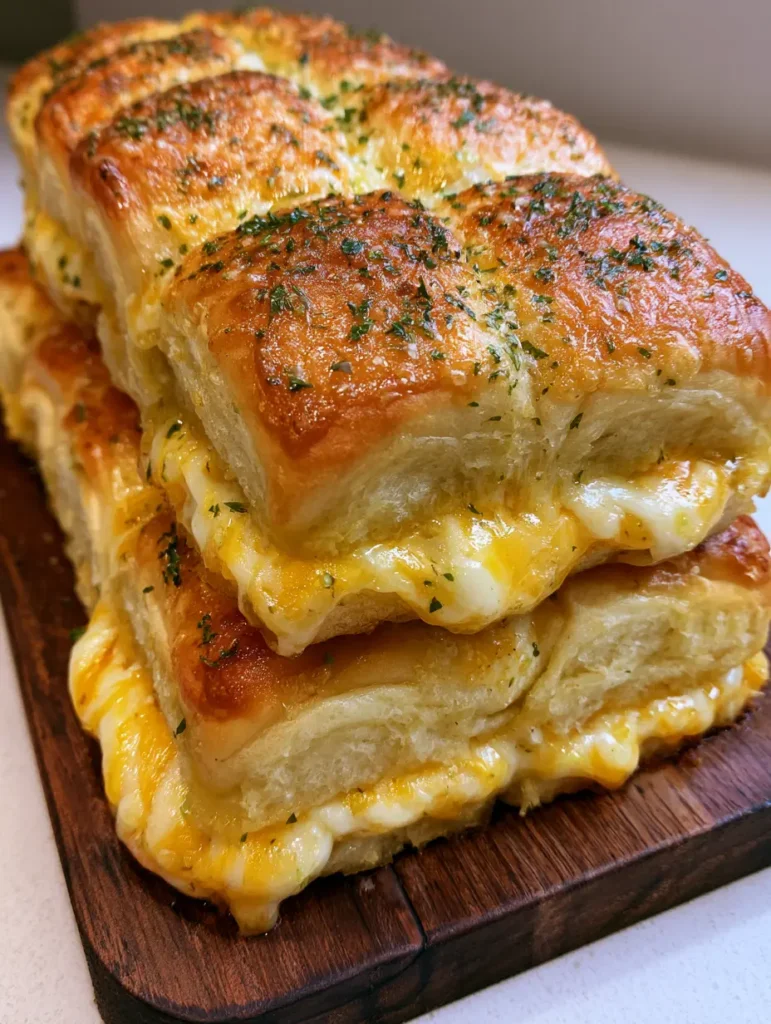
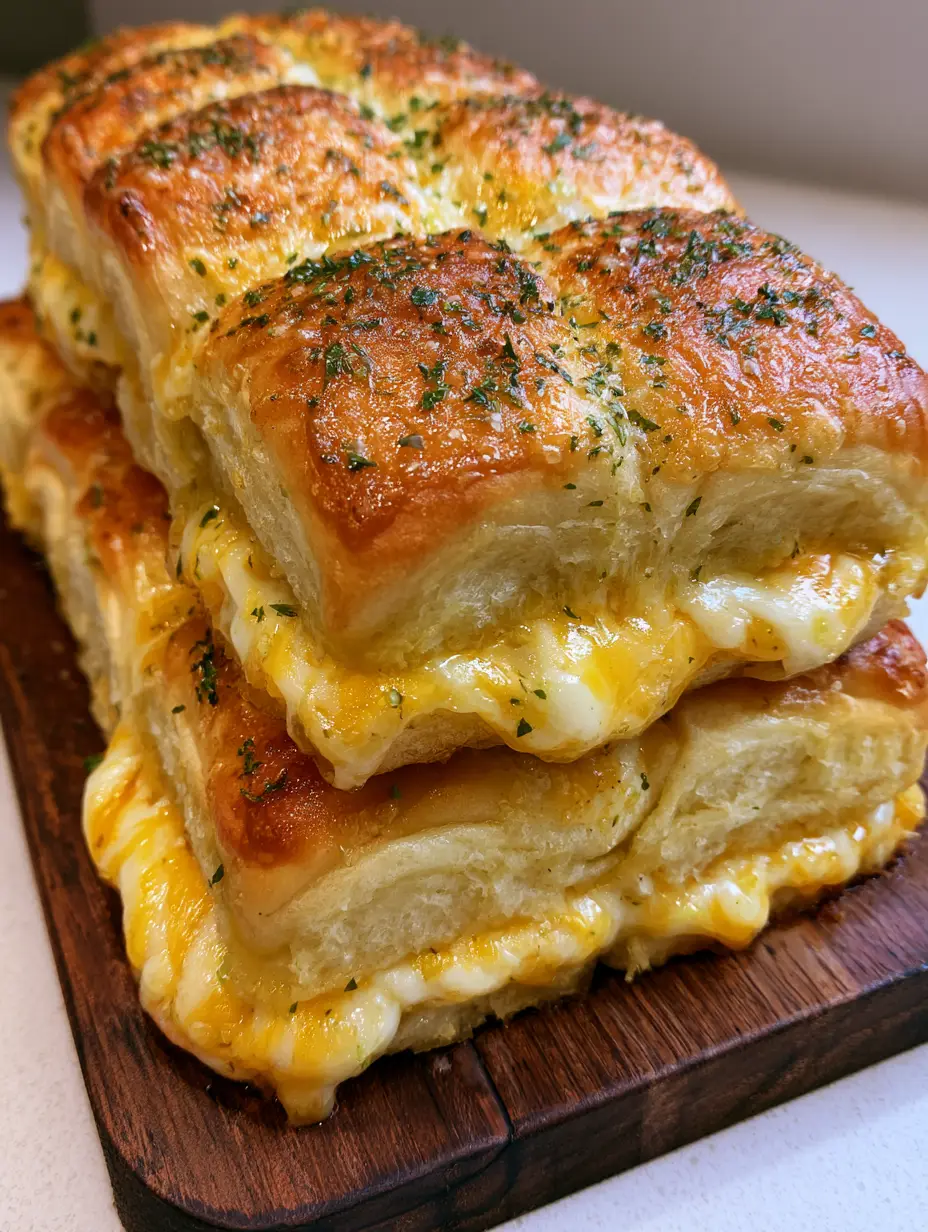
Inspired by the handheld ease of classic sliders, these mini grilled cheese sandwiches elevate the humble snack into a gourmet appetizer or a comforting weeknight dinner. The crust features a visible glisten of melted garlic butter, finished with a fine dusting of dried parsley flakes that pop against the toasted exterior. If you’ve ever enjoyed a garlic bread grilled cheese, you know that the infusion of aromatics into the crust is the secret to a professional-grade finish.
Whether you are serving a crowd or looking for a nostalgic treat, this recipe focuses on the forensic details: the white Monterey Jack’s creaminess, the sharp cheddar’s bite, and that unmistakable soft, pillowy bread layer. Every bite provides a deep-dive into textural contrast, moving from a crisp, seared top to a soft, steamy interior.
Why These Mini Pull-Apart Sandwiches Define Comfort Food
- The Perfect Sweet-and-Salty Balance: The sugar content in the Hawaiian rolls caramelizes beautifully, providing a counterpoint to the savory, sharp cheeses.
- Effortless Batch Cooking: Instead of flipping individual sandwiches, we toast the entire 3×4 grid at once for consistent results and a stunning presentation.
- Visual Texture: The garlic butter glaze creates a shimmering, golden-brown crust that stays crispy without becoming greasy.
- Structural Integrity: Using a blend of Monterey Jack and Sharp Cheddar ensures a thick, oozing layer that holds the rolls together while providing an elite cheese pull.
The Essential Components for a Glistening Garlic Butter Crust
To achieve the high-resolution, unedited look of a professional kitchen, every ingredient must serve a specific structural and flavor purpose. We don’t just use butter; we build a glaze that penetrates the top layer of the bread while creating a protective seal for the cheese inside.
Hawaiian Sweet Rolls (12-pack / 340g): These are the foundation of the dish. Their high fat and sugar content allow them to toast faster than standard white bread, resulting in a deeper mahogany color.
Sharp Cheddar Cheese (6 oz / 170g): We recommend grating your own from a block. Pre-shredded cheeses are coated in potato starch, which prevents that thick, oozing melt we see in the visual prompt.
Monterey Jack Cheese (6 oz / 170g): This is our “utility” cheese. It has a high moisture content and a low melting point, providing the “white” gooey visual that complements the orange cheddar.
Unsalted Butter (4 tbsp / 56g): By using unsalted butter, we control the sodium level while ensuring the rolls get that characteristic glisten. Ensure it is fully melted before whisking in your aromatics.
Garlic Powder (1 tsp / 5g): While fresh garlic is great, powder provides a more uniform distribution within the glaze, preventing burnt bits of garlic on the top of your rolls.
Dried Parsley Flakes (1/2 tsp / 1g): These provide the essential visual contrast. The fine green specks break up the monochromatic golden tones of the toasted bread.
Salt and Black Pepper: A small pinch of each is added to the butter glaze to sharpen the flavors of the fats. Even sweet rolls need a savory backbone.
Necessary Tools for Forensic Culinary Accuracy
Achieving the perfect 3×4 grid requires more than just a pan. You need a large serrated knife to slice the entire block of rolls in one clean motion without squishing the delicate crumb. A silicone pastry brush is also vital; it allows you to paint the garlic butter into every crevice, ensuring no “dry spots” remain.
For the cooking process, a heavy-bottomed skillet or a sheet pan can be used, but for the best “handheld photo” results, a cast-iron press or a second weighted baking sheet ensures the rolls make full contact with the heat source. This mimics the results of a professional panini press in a home kitchen environment.
Step-by-Step Instructions for the Perfect Hawaiian Roll Grilled Cheese
Preparing the Bread Foundation
Keep the 12-pack of Hawaiian rolls intact; do not pull them apart yet. Use a long serrated knife to slice the entire block horizontally, creating a top “slab” and a bottom “slab.”
Place the bottom slab on a clean work surface. If you like a little extra zing, you can spread a thin layer of the same base used in our cowboy cream cheese for a spicy kick, though classic butter is the traditional choice here.
Layering the Oozing Cheese Core
Distribute the grated sharp cheddar evenly across the bottom slab, reaching all the way to the edges. Follow this with a dense layer of the white Monterey Jack.
The goal is to create a thick, 1/2-inch (1.25cm) layer of cheese. Place the top slab of rolls back onto the cheese, pressing down gently to “lock” the layers together before cooking.
Executing the Glistening Garlic Butter Glaze
In a small microwave-safe bowl, melt the 4 tbsp (56g) of butter. Whisk in the garlic powder, a pinch of salt, and the dried parsley flakes until the mixture is homogenous.
Using your pastry brush, paint the top of the rolls generously. Look for the butter to pool slightly in the “valleys” between the individual rolls; this is what creates those deep golden highlights in the final photo.
The Searing and Toasting Process
Heat a large non-stick skillet over medium-low heat. Place the entire grid of rolls into the pan. To get that perfectly flat, toasted top, place a second heavy pan on top of the rolls for 2-3 minutes.
Carefully flip the entire grid using two large spatulas. Toast the buttered top side until the cheese is visibly melting out the sides and the crust has achieved a deep, golden-brown hue. You are looking for a “visible glisten” and a slight crackle when touched with a spatula.
Expert Tips for Success
- Low and Slow is Key: Because Hawaiian rolls contain more sugar than sourdough or white bread, they burn easily. Keep your heat at medium-low to allow the cheese to melt fully before the bread gets too dark.
- The Grate Debate: Always grate your cheese fresh. The difference in “stretch” and “ooze” between block cheese and bagged cheese is scientifically significant due to the absence of anti-caking agents.
- The Parsley Timing: Add the dried parsley to the butter before brushing. This “fries” the herb slightly in the fat, making it more fragrant and ensuring it sticks to the bread rather than falling off.
- Symmetry Matters: For that perfect 3×4 grid look, ensure your cheese layer is flat. An uneven cheese layer will cause the rolls to tilt, leading to uneven browning.
Storage, Reheating, and Make-Ahead Advice
These sliders are best enjoyed immediately while the natural daylight hits that buttery crust, but they can be stored. Place leftovers in an airtight container in the refrigerator for up to 3 days. To maintain the “pillowy” texture, avoid the microwave for reheating.
Instead, place the sandwiches back in a skillet over low heat or in an oven at 350°F (175°C) for 5-8 minutes. This will re-crisp the exterior without making the bread rubbery. We do not recommend freezing these, as the high moisture content in the Monterey Jack can make the sweet rolls soggy upon thawing.
What to Serve with Mini Grilled Cheese Sandwiches
Since these rolls are rich and buttery, they pair excellently with acidic or hearty side dishes. A classic tomato soup is the gold standard, but for something more substantial, consider serving them alongside a baked macaroni and cheese for a true cheese-lover’s feast.
If you’re hosting a game day, these sliders complement a buffalo chicken cheese bake or even some crispy cottage cheese chips for a variety of textures. The sweetness of the rolls also makes them a surprising but delicious side for a turkey spinach mushroom skillet.
Frequently Asked Questions
Yes! You can bake the entire grid at 350°F (175°C) for 15-20 minutes. Cover with foil for the first 10 minutes to melt the cheese, then remove the foil to brown the garlic butter tops.
You can, but mince it very finely. Fresh garlic can burn quickly in a skillet, so garlic powder is often preferred for an even, golden-brown crust without bitter burnt bits.
No, it is much easier to toast them as a single grid. This keeps the cheese inside and allows you to slice them into individual portions right before serving for that ‘pull-apart’ effect.
A combination of Sharp Cheddar for flavor and Monterey Jack for melting properties is ideal. You could also add Gruyère or Mozzarella for an even more dramatic cheese pull.
Hawaiian rolls have a high sugar content which causes them to brown quickly. Ensure your skillet heat is on medium-low and use a lid or weight to help the heat penetrate the cheese faster.
The Ultimate Hawaiian Roll Grilled Cheese Recipe
Hawaiian Roll Grilled Cheese: The Ultimate Buttery Pull-Apart Sliders
Ingredients
Equipment
Method
- Using a serrated knife, slice the entire 12-pack of Hawaiian rolls in half horizontally to create a top and bottom slab.
- Layer the grated sharp cheddar and Monterey Jack evenly across the bottom slab of rolls.
- Mix melted butter, garlic powder, and parsley. Brush the top slab of the rolls generously with the mixture.
- Place the sandwiches in a skillet over medium-low heat. Press down with a weight and cook for 3-4 minutes per side until the crust is golden-brown and cheese is melted.
Notes
Cook over medium-low heat to prevent the sugar in the rolls from burning.
Closing and Call to Action
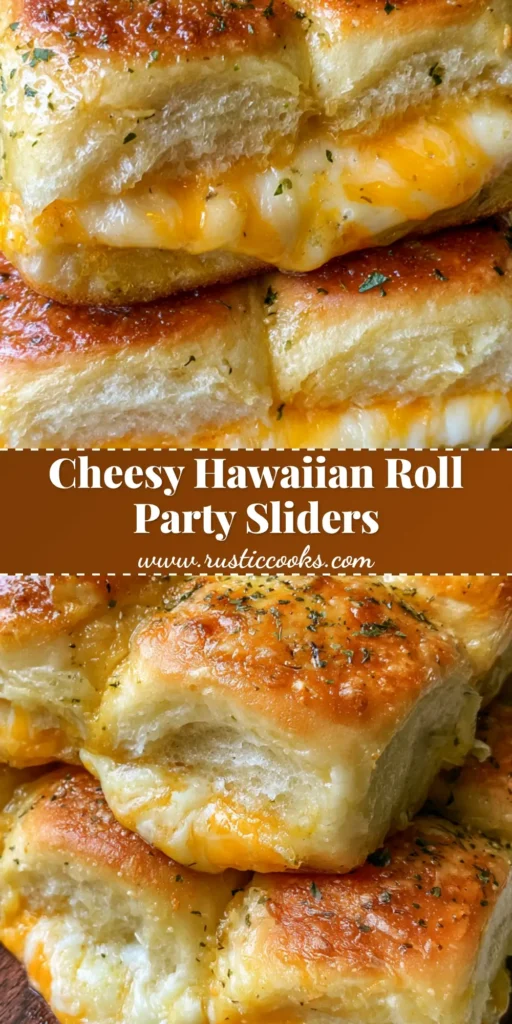
The Hawaiian Roll Grilled Cheese is a masterclass in simple ingredients executed with forensic precision. By focusing on the contrast between the sweet, toasted rolls and the sharp, gooey interior, you create a dish that is both a visual masterpiece and a crowd-pleasing comfort food. The garlic butter glaze is the finishing touch that takes this from a standard sandwich to a gourmet pull-apart experience.
Did you manage to get that perfect cheese pull? We want to see your results! Leave a comment below or share your photos on social media. For more buttery, cheesy inspiration, be sure to follow us on Pinterest and save this recipe to your “Comfort Food” board!