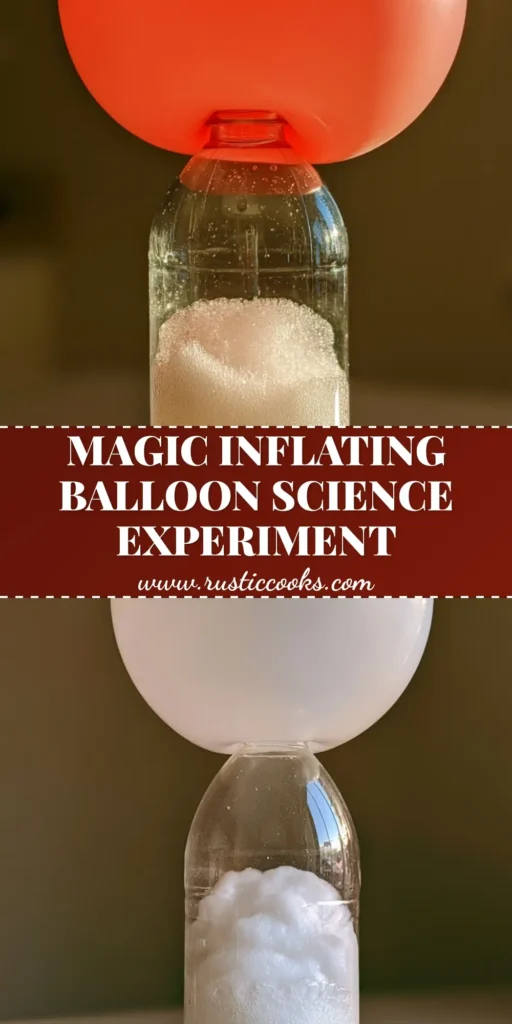
The Baking Soda Balloon Experiment is a classic kitchen science staple that never fails to elicit gasps of wonder from kids and adults alike. There is something inherently magical about watching a limp latex balloon transform into a perfectly smooth, inflated sphere without anyone blowing into it. This experiment is more than just a party trick; it is a vivid, tactile demonstration of a high-energy acid-base chemical reaction occurring right on your kitchen counter.
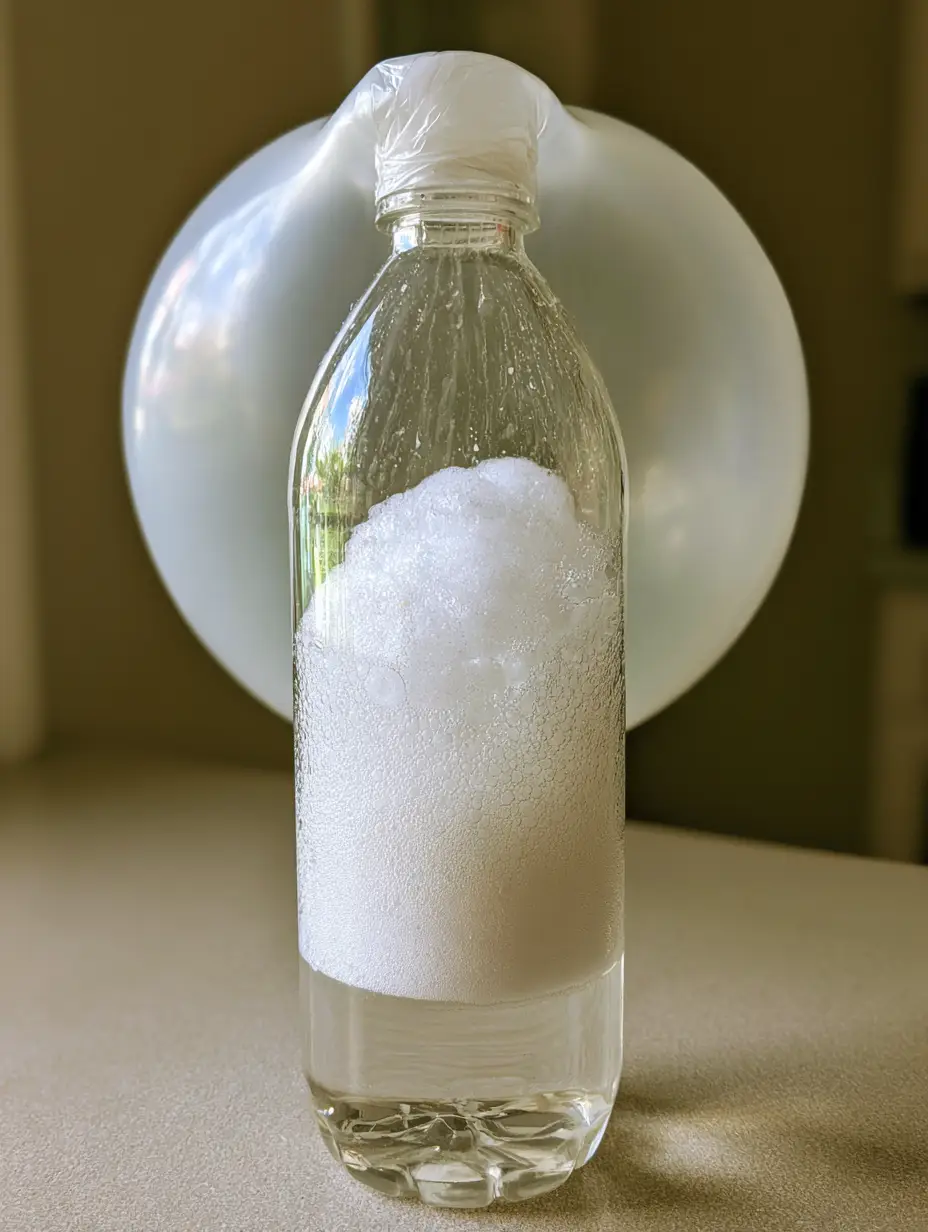
In this guide, we will walk you through the precise steps to achieve that iconic look: a clear plastic bottle filled with a swirling vortex of white fizzy foam and active carbon dioxide bubbles. By the end of this activity, you will have a vibrant, fully inflated balloon and a deeper understanding of the “invisible” ingredients that make our favorite baked goods rise. It is the perfect precursor to a afternoon spent making fun family dinner ideas with the whole crew.
Whether you are a homeschooling parent, a curious hobbyist, or just looking for a way to liven up a rainy afternoon, this experiment delivers high-impact results with simple pantry staples. Let’s dive into the chemistry of the fizz!
Why You Will Love This DIY Science Project
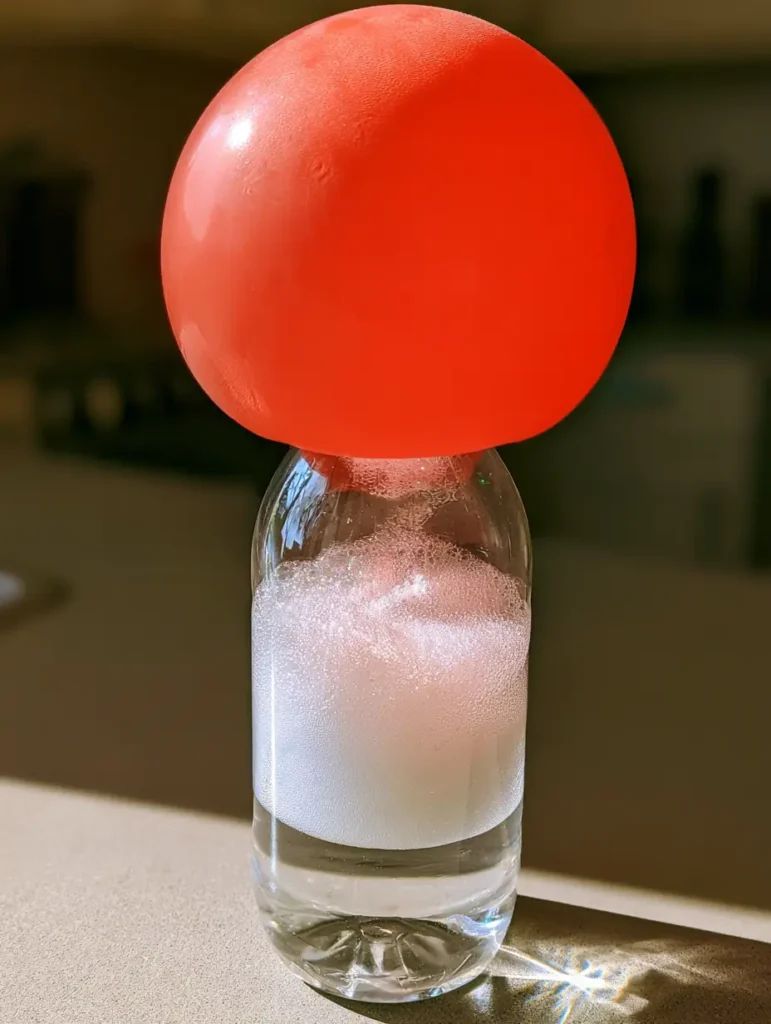
- Instant Visual Gratification: Watch in real-time as the dense, fizzy white foam erupts and the balloon expands into a large, matte sphere.
- Foundational Chemistry: This project offers a clear visual representation of gas production, a concept essential for understanding everything from soda carbonation to bread rising.
- Minimal Cleanup: Using a clear plastic bottle keeps the “volcano” contained, making this a mess-free alternative to the traditional baking soda volcano.
- Sensory Engagement: Between the rhythmic “hiss” of the bubbles and the stretching texture of the latex, this is a multi-sensory learning experience.
The Anatomy of the Fizz: Essential Ingredients
To achieve the perfect reaction shown in our visual blueprint, you need a specific ratio of acid to base. While the ingredients are simple, their quality and temperature can affect the speed of the inflation.
1/2 cup (120ml) Distilled White Vinegar: This clear liquid acts as our acetic acid. It is the primary reactant that will “attack” the baking soda to release carbon dioxide gas.
2 tbsp (30g) White Baking Soda Powder: Also known as sodium bicarbonate, this basic powder is the source of the carbon dioxide. Ensure your baking soda is fresh for the most vigorous, bubbly foam.
1 (12-inch / 30cm) Latex Balloon: A bright, vibrant balloon provides the best visual contrast. A standard size ensures there is enough volume for the gas to expand without popping the latex.
1 Clear Plastic Bottle (16.9 oz / 500ml): A standard water or soda bottle is ideal because the narrow neck allows for a tight seal with the balloon rim. The clarity is crucial for observing the active carbon dioxide bubbles.
Equipment Needed for Success
While you don’t need a lab coat, having these specific tools will ensure your experiment runs smoothly and looks professional on your neutral kitchen counter.
- Small Funnel: This is the secret to getting the baking soda into the balloon without a mess. If you don’t have one, you can roll up a piece of paper into a cone shape.
- Measuring Cup (Liquid): For accurately dosing the 1/2 cup (120ml) of vinegar.
- Measuring Spoon (Dry): To ensure you use exactly 2 tbsp (30g) of baking soda powder.
- Paper Towels: Just in case a few stray bubbles escape during the balloon attachment phase.
Step-by-Step Instructions: Inflating the Balloon
1. Prepare the Chemical Chamber
Start by placing your clear plastic bottle on a flat, stable kitchen counter. Carefully pour 1/2 cup (120ml) of distilled white vinegar into the bottle. You want the bottle to be filled roughly one-third of the way; this leaves enough “headspace” for the white fizzy foam to rise without overflowing immediately.
2. Charge the Balloon
Stretch the neck of your latex balloon slightly to loosen it. Insert the funnel into the neck of the balloon. Measure out 2 tbsp (30g) of white baking soda powder and pour it into the funnel, shaking gently until all the powder has settled into the bulb of the balloon. This “invisible” prep is what makes the final inflation look like magic.
3. Create the Airtight Seal
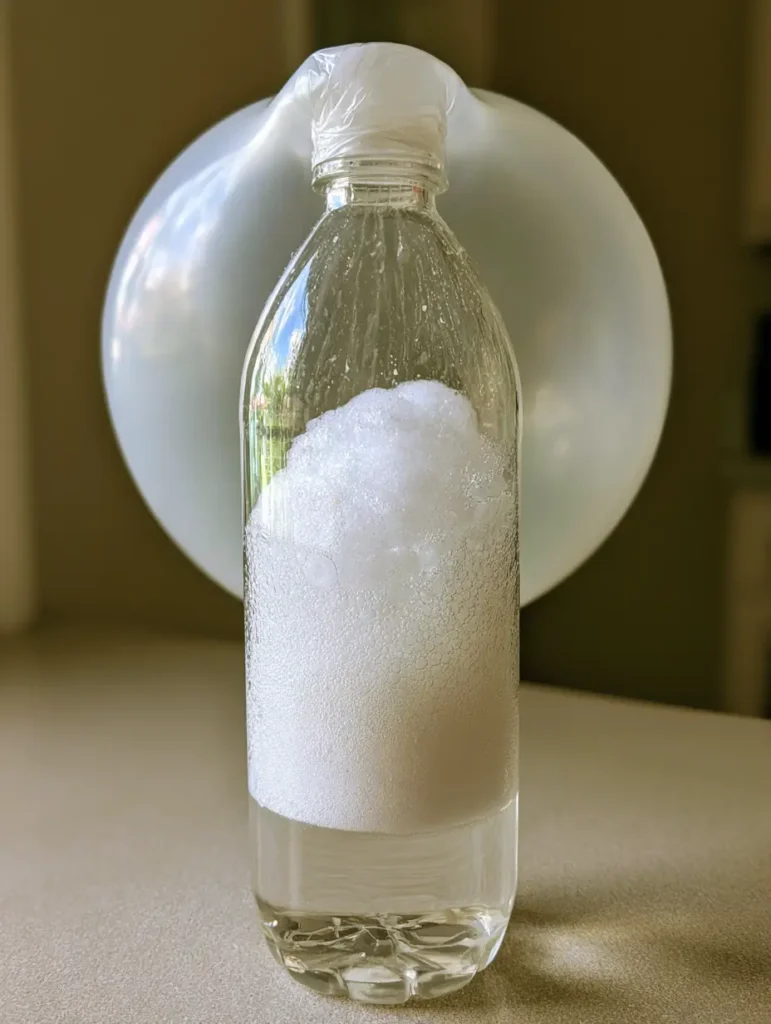
This is the most critical step for a successful Baking Soda Balloon Experiment. Carefully stretch the rim of the balloon over the mouth of the plastic bottle. Make sure you do this without tipping the baking soda into the vinegar yet! The balloon should hang down to the side, containing the powder securely while the rim creates a tight, leak-proof seal around the bottle’s neck.
4. Trigger the Chemical Reaction
When you are ready, lift the balloon up so that it stands vertically over the bottle. The baking soda will fall directly into the vinegar. Almost instantly, you will hear a loud “hiss” and see a thick layer of white fizzy foam erupting at the bottom. Watch as active carbon dioxide bubbles race toward the top of the bottle and begin to inflate the latex into a smooth, vibrant sphere.
5. Observe and Document
The balloon will continue to grow as long as the reaction is active. Notice the soft natural daylight reflecting off the plastic and the matte texture of the fully inflated balloon. Once the fizzing subsides, the balloon will remain inflated, trapped by the gas pressure created inside the bottle.
Expert Tips for the Most Dramatic Results
- Temperature Matters: Use room temperature vinegar. Cold vinegar slows down the molecular movement, which can lead to a sluggish reaction and a smaller balloon.
- The Snap Test: Before attaching the balloon, give it a few good stretches. A “pre-stretched” balloon offers less resistance to the gas, allowing it to inflate more easily.
- Swirl for More Fizz: If the reaction seems to be dying down but the balloon isn’t full, gently swirl the bottle. This mixes any remaining baking soda at the bottom with the vinegar to trigger a second wave of bubbles.
- Avoid Overfilling: Do not fill the bottle more than halfway with vinegar. If the foam reaches the neck of the bottle and enters the balloon, the weight of the liquid may cause the balloon to flop over or even pop.
The Science Explained: Why Does It Inflate?
“When vinegar (an acid) and baking soda (a base) mix, they undergo a two-step chemical reaction. First, they create carbonic acid, which is unstable. It immediately decomposes into water and carbon dioxide gas. Because the gas needs more space than the liquid and solid reactants, it rises, fills the bottle, and eventually pushes its way into the balloon, stretching the latex.”
This same principle of gas expansion is what makes your ricotta cannoli squares so light or helps a baked macaroni and cheese develop those tiny air pockets in the sauce. Understanding how gas behaves is a fundamental skill for any elite home cook.
After the Experiment: Clean Up and Storage
The Baking Soda Balloon Experiment is non-toxic, but it should be handled with care. Once you are finished, carefully pinch the neck of the balloon and remove it from the bottle. You can tie it off, though be warned: carbon dioxide molecules are smaller than regular air and may leak out faster, causing the balloon to deflate over 24 hours.
The liquid left in the bottle is mostly water and sodium acetate (a type of salt). It can be safely poured down the drain. Rinse the bottle thoroughly if you plan to reuse it for another round of science. If you’re looking for something more substantial to do in the kitchen now that the lab is closed, consider prepping some ham and cheese egg muffins for tomorrow’s breakfast.
What to Pair with Your Science Lesson
Learning works best on a full stomach! After you’ve mastered the chemistry of the balloon, keep the family theme going with these delicious, kid-friendly recipes:
- The Ultimate Comfort Meal: Pair your science afternoon with a hearty tater tot casserole.
- Sweet Rewards: Celebrate a successful experiment with chewy rice krispie chocolate chip cookies.
- Quick Dinner: If the experiment took longer than expected, a one pot chicken sausage orzo is a lifesaver.
Frequently Asked Questions
Yes! Any vinegar will work because the key reactant is acetic acid. However, white vinegar is preferred for the best visual result as it keeps the liquid clear, making the white fizzy foam stand out.
Usually, the balloon will stay inflated for several hours. Because carbon dioxide molecules are quite small, they will eventually permeate the latex, causing the balloon to slowly shrink over 24 to 48 hours.
The balloon is filled with carbon dioxide (CO2), the same gas we breathe out. While safe in this small quantity, the balloon will not float like a helium balloon because CO2 is heavier than the surrounding air.
The most common reason is an air leak. Ensure the balloon’s rim is tightly sealed around the bottle neck. Also, check that your baking soda is fresh and that you used at least 1/2 cup of vinegar.
Baking Soda Balloon Experiment Recipe Card
Baking Soda Balloon Experiment: How to Inflate a Balloon with Science
Ingredients
Equipment
Method
- Pour 1/2 cup (120ml) of distilled white vinegar into the clear plastic bottle.
- Using a funnel, add 2 tbsp (30g) of white baking soda powder into the latex balloon.
- Stretch the balloon rim over the bottle mouth without dropping the powder in yet.
- Lift the balloon to drop the soda into the vinegar; watch the fizzy foam and bubbles inflate the balloon.
Notes
Use room temperature vinegar for a faster chemical reaction.
Join the Rustic Cooks Community!
Did your balloon reach epic proportions? We want to see your Baking Soda Balloon Experiment in action! Tag us in your photos and let us know what color balloon you chose. For more family-friendly kitchen projects and “edible science,” be sure to sign up for our newsletter.
Don’t forget to save this project to your favorite board on Pinterest so you can find it next time you need a quick and easy activity for the kids!