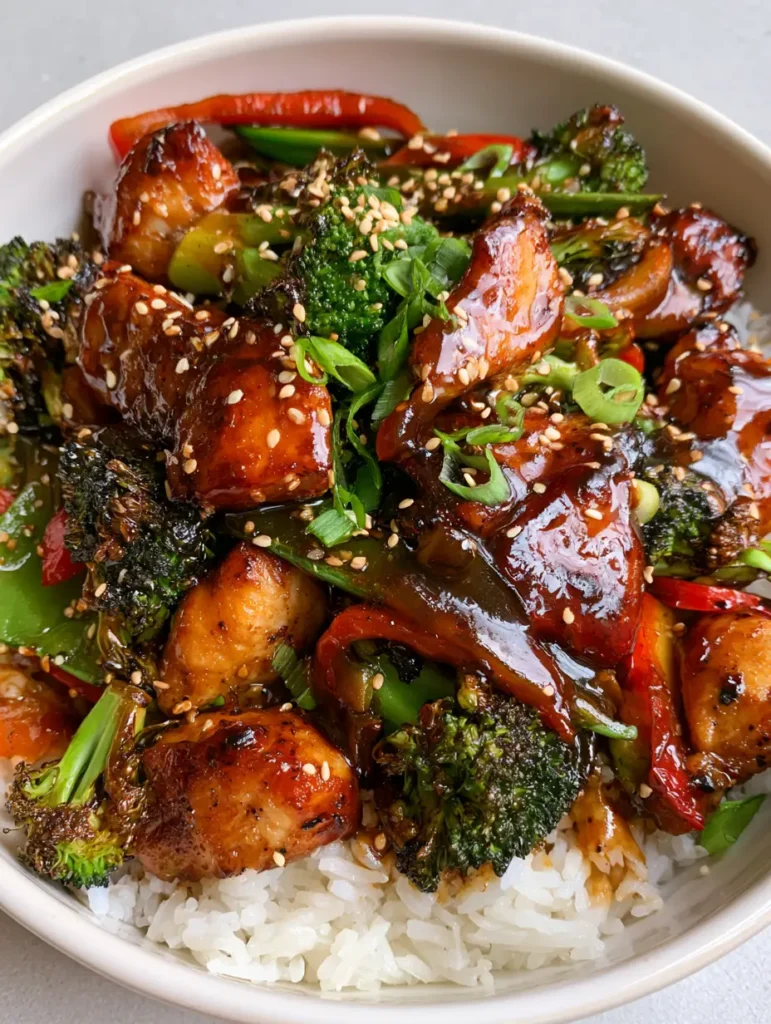
There is a specific kind of magic in a perfectly executed Teriyaki Chicken Stir Fry. You know the one—the kind you see in a vibrant smartphone photo, where the natural window light catches the reflective, amber-hued glaze of a thick sauce clinging to every morsel. It is a dish defined by contrast: the soft, fluffy cloud of jasmine rice against the deep, caramelized sear of golden-brown chicken breast chunks.
When you recreate this Teriyaki Chicken Stir Fry at home, you aren’t just making dinner; you are performing a culinary feat of texture and color. Every bite delivers the crunch of vibrant green charred broccoli florets, the snap of fresh peas, and the sweet-savory punch of a homemade glaze that puts bottled versions to shame. This guide will walk you through the forensic details of achieving that high-gloss, restaurant-quality finish right in your own kitchen.
Why This Homemade Teriyaki Chicken Stir Fry Beats Your Local Takeout
- The Perfect Sear: We use high-heat techniques to ensure chicken breast chunks achieve a deep golden-brown caramelized exterior without drying out.
- Textural Harmony: By timing our vegetables correctly, we achieve charred broccoli and crisp snap peas that maintain their structural integrity.
- Glossy Sauce Mastery: Our cornstarch-thickened glaze is translucent and dark brown, designed specifically to “cling” to the ingredients for that iconic reflective sheen.
- Aromatic Foundation: Fresh ginger and garlic provide a flavor depth that pre-packaged stir-fry kits simply cannot replicate.
The Anatomy of a Perfect Stir-Fry: Ingredients and Substitutions
Chicken Breast: 1.5 lbs (680g) of boneless, skinless chicken breast, cut into bite-sized 1-inch (2.5cm) pieces. Chicken breast provides the lean, clean canvas necessary for the dark sauce to pop visually while absorbing the ginger and garlic aromatics.
Jasmine Rice: 1.5 cups (300g) dry jasmine rice, thoroughly rinsed to remove excess starch. This ensures the rice remains fluffy and distinct rather than clumping together, providing the ideal white base for the colorful stir-fry.
Broccoli Florets: 3 cups (225g) of fresh broccoli florets, cut into small, uniform pieces. Fresh broccoli is essential for achieving those charred, slightly smoky edges while maintaining a vibrant green core.
Red Bell Pepper: 1 large (150g) red bell pepper, sliced into thin strips. These provide a necessary pop of sweetness and a brilliant red hue that contrasts beautifully with the green vegetables.
Snap Peas: 1.5 cups (150g) of sugar snap peas, trimmed. These add a “fresh” crunch and structural variety to the bowl, staying crisp even under the heat of the wok.
Soy Sauce: 0.5 cup (120ml) of low-sodium soy sauce. This forms the salty, savory base of our glaze; using low-sodium allows us to control the seasoning precisely without over-salting the dish.
Honey or Brown Sugar: 0.25 cup (85g) of honey. This provides the sweetness required for the “teriyaki” profile and acts as a primary agent in achieving the glossy, reflective finish seen in professional photography.
Rice Vinegar and Mirin: 2 tbsp (30ml) of each. These acids cut through the sugar and salt, providing a bright finish that wakes up the palate.
Cornstarch: 1 tbsp (8g) mixed with 1 tbsp (15ml) cold water. This “slurry” is the secret to a thick, translucent sauce that coats rather than runs.
Foundational Aromatics: 1 tbsp (15g) freshly grated ginger and 3 cloves of minced garlic. These should be fresh—never powdered—to achieve the pungent, authentic scent of a high-end Teriyaki Chicken Stir Fry.
Essential Culinary Tools for a Professional Stir-Fry Texture
To achieve the “char” and “sear” described in our visual blueprint, a heavy-bottomed skillet or a carbon steel wok is non-negotiable. These vessels retain high heat, allowing the chicken to caramelize quickly rather than steaming in its own juices. You will also need a fine-mesh strainer to rinse your jasmine rice until the water runs clear, ensuring that fluffy, individual grain texture.
A sharp chef’s knife is vital for creating those uniform red bell pepper strips and finely sliced green scallions. Finally, have a small whisk and bowl ready for your cornstarch slurry; this ensures your sauce is smooth and free of white clumps, maintaining that “dark brown translucent” aesthetic.
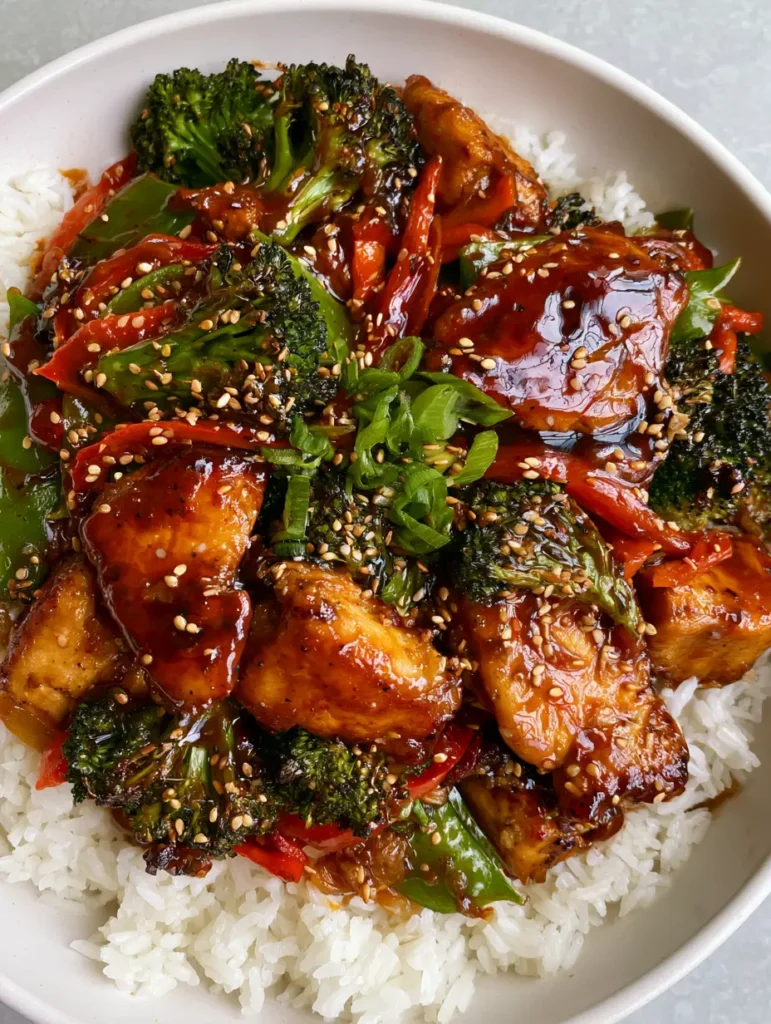
A Step-by-Step Guide to Mastering the Ultimate Stir-Fry Technique
Preparing the Fluffy Jasmine Rice Foundation
Begin by rinsing 1.5 cups (300g) of jasmine rice under cold water until the cloudy starch is gone. Combine with 1.75 cups (420ml) of water in a pot, bring to a boil, then cover and simmer on the lowest heat for 15 minutes. Let it sit, covered, for another 5 minutes before fluffing with a fork; it should look like a bed of white clouds.
Achieving the Golden-Brown Chicken Sear
Pat your chicken chunks bone-dry with paper towels—this is the most important step for browning. Heat 2 tbsp (30ml) of high-smoke point oil (like avocado or vegetable oil) in your wok over medium-high heat until it shimmers. Add the chicken in a single layer and leave it undisturbed for 3 minutes until a deep golden-brown crust forms before flipping.
Charring the Vegetables for Maximum Flavor
Remove the chicken and add another splash of oil. Toss in the broccoli florets and red bell pepper strips; let them sit against the hot metal until you see black, charred spots on the broccoli edges. Add the snap peas and a splash of water, covering for 60 seconds to “flash-steam” them into a vibrant, neon green while keeping them crisp.
Thickening the Glossy Teriyaki Glaze
Whisk together the soy sauce, honey, ginger, garlic, vinegar, and mirin, then pour it into the pan with the vegetables and chicken. Once the liquid bubbles, stir in your cornstarch slurry. Watch closely: within 30-60 seconds, the sauce will transform from a thin liquid into a thick, glossy, dark brown glaze that clings to every piece of chicken and broccoli.
Pro-Level Troubleshooting for Your Teriyaki Chicken Stir Fry
- Avoid the “Soggy Veg” Syndrome: Never crowd the pan. If your skillet is small, sear the chicken and vegetables in batches to maintain high heat and prevent steaming.
- The Secret to Gloss: If your sauce looks matte or cloudy, it needs more heat to fully activate the cornstarch. If it’s too thick, whisk in a tablespoon of water to loosen the sheen.
- Internal Temperature: Use an instant-read thermometer to ensure the chicken reaches 165°F (74°C). The high-heat sear should get you there exactly as the sauce reaches its peak thickness.
- Garnish for Contrast: Only add the sliced scallions and toasted sesame seeds at the very last second. This preserves the bright green color of the onions and the crunch of the seeds against the sticky glaze.
How to Store and Reheat Your Leftover Chicken Bowls
This Teriyaki Chicken Stir Fry stores remarkably well, making it a premier choice for meal prep. Place the rice on one side of a container and the stir-fry on the other to prevent the rice from becoming overly saturated. It will stay fresh in the refrigerator for up to 4 days.
When reheating, add a teaspoon of water to the container before microwaving. This creates a small amount of steam that thins the sauce back to its original glossy state and prevents the chicken from drying out. Avoid freezing the vegetables, as the snap peas and peppers will lose their “crisp” texture upon thawing.
What to Serve with Teriyaki Chicken for a Complete Feast
While this bowl is a complete meal on its own, it pairs beautifully with other Asian-inspired textures. If you’re looking for an appetizer, these Chicken Lettuce Wraps offer a cooling, crisp contrast to the warm stir-fry. For those who love a bit of crunch, serving the chicken alongside Teriyaki Chicken Wonton Tacos can turn a simple dinner into a fusion party.
If you prefer a noodle base instead of rice, you can easily swap the jasmine rice for some Sticky Garlic Chicken Noodles. And for a completely different flavor profile later in the week, try our Korean BBQ Chicken Bowls to keep your meal rotation exciting and vibrant.
Frequently Asked Questions
While you can, frozen vegetables often release too much moisture, preventing the ‘char’ we want on the broccoli. If using frozen, thaw and pat them bone-dry before adding to the wok.
The secret is the cornstarch slurry. Ensure you whisk the cornstarch with cold water before adding it to the boiling sauce. The high heat activates the starch, turning it from cloudy to a clear, reflective dark brown glaze.
Always rinse your jasmine rice in a fine-mesh strainer until the water runs clear. This removes surface starch that causes clumping. Also, follow the 1:1.25 rice-to-water ratio for perfectly distinct grains.
If you don’t have mirin, you can substitute it with dry sherry or extra rice vinegar mixed with a half-teaspoon of sugar to mimic the sweet acidity.
Tough chicken usually results from overcooking or failing to sear at a high enough temperature. Use high heat to get a golden crust quickly (3-4 minutes per side), ensuring the center stays juicy while the exterior caramelizes.
The Ultimate Teriyaki Chicken Stir Fry Recipe
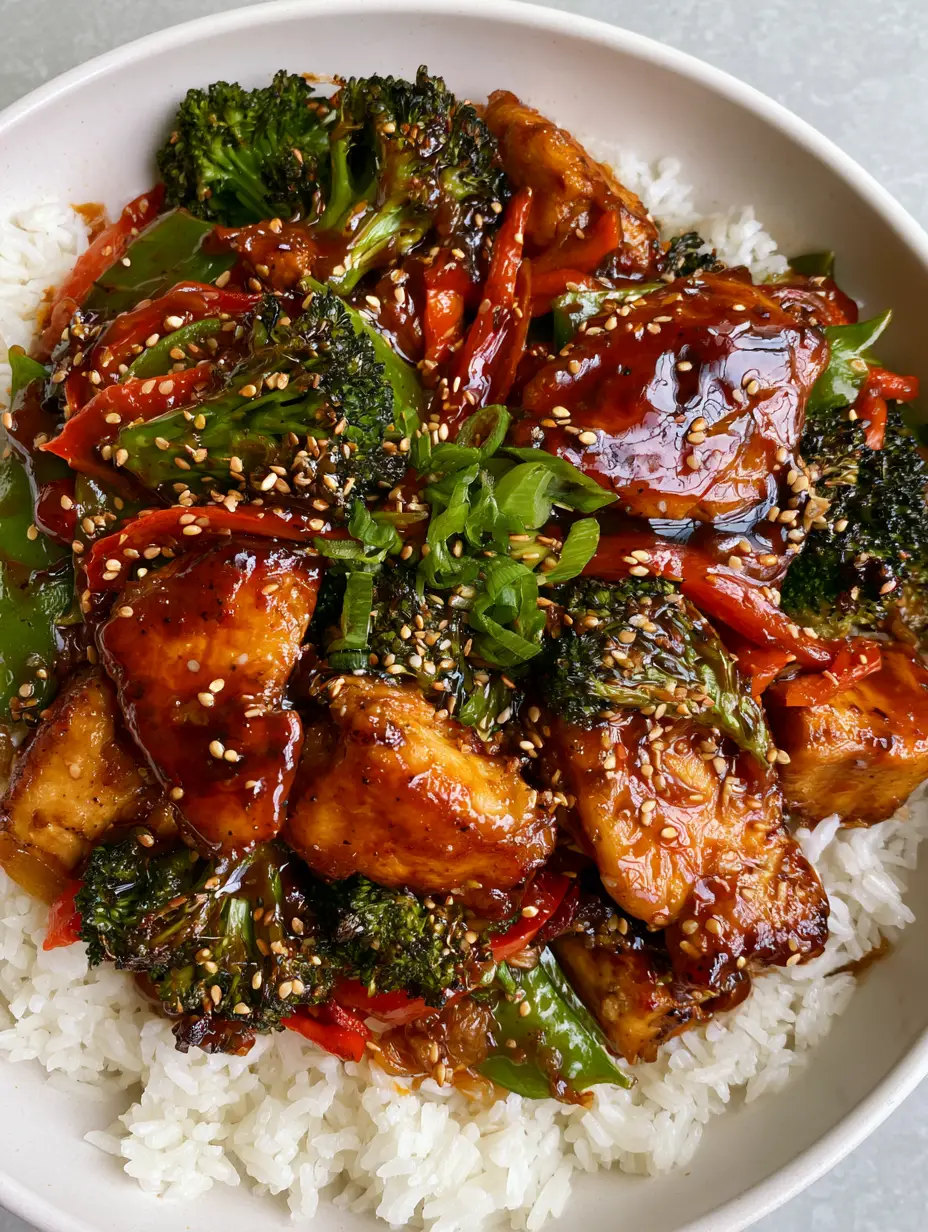
Teriyaki Chicken Stir Fry with Glossy Sauce and Charred Broccoli
Ingredients
Equipment
Method
- Rinse jasmine rice. Combine with water in a pot, boil, then simmer covered for 15 minutes. Let sit for 5 minutes then fluff.
- Pat chicken dry. Heat oil in wok. Sear chicken chunks until a deep golden-brown caramelized exterior forms (about 3-4 mins per side). Remove chicken.
- Add broccoli and peppers to the hot wok. Cook until broccoli edges are charred. Add snap peas and a splash of water; cover for 1 minute to flash-steam.
- Add ginger, garlic, soy sauce, honey, and vinegar to the pan. Return chicken. Stir in cornstarch slurry and cook until sauce is thick, glossy, and dark brown.
- Serve over rice and scatter with toasted white sesame seeds and fresh scallions.
Notes
Use a high-smoke point oil like avocado or grapeseed to handle the high heat required for charring broccoli.
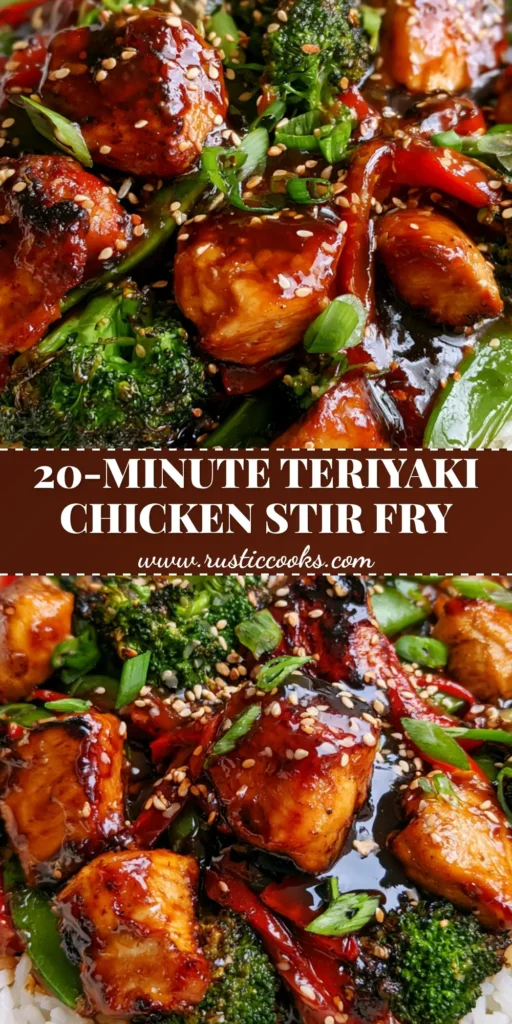
The Final Word on This Better-Than-Takeout Classic
The beauty of a Teriyaki Chicken Stir Fry lies in the balance of its parts: the salt of the soy, the sweet of the honey, and the sharp bite of fresh ginger. When you see that thick, dark brown sauce clinging to the charred broccoli and seared chicken, you’ll know you’ve mastered a foundational culinary skill. It is a visually stunning, nutritionally balanced meal that satisfies the craving for comfort food without the heavy feel of traditional takeout.
If you loved the glossy finish and vibrant colors of this recipe, please leave a comment below and tell us how yours turned out! Don’t forget to share your smartphone photos of the final dish with us on Pinterest and sign up for our newsletter for more forensic recipe breakdowns.