The Lightning in a Jar Experiment is more than just a simple science demonstration; it is a captivating visual journey that transforms a few basic household items into a miniature weather system. By combining water, shaving cream, and concentrated dyes, you can recreate the dramatic beauty of a storm cloud releasing its energy in a controlled, tabletop environment.
There is something deeply satisfying about watching the first drops of “lightning” break through a fluffy white barrier. This activity perfectly captures the contrast between a serene, opaque foam and the jagged, electric-like streaks that descend into the crystal-clear depths of a mason jar.
Whether you are looking for a rainy day activity or a way to teach the principles of density and saturation, this experiment offers a front-row seat to the wonders of fluid dynamics. Let’s dive into how you can achieve these stunning swirling plumes and realistic atmospheric reflections right in your own kitchen.
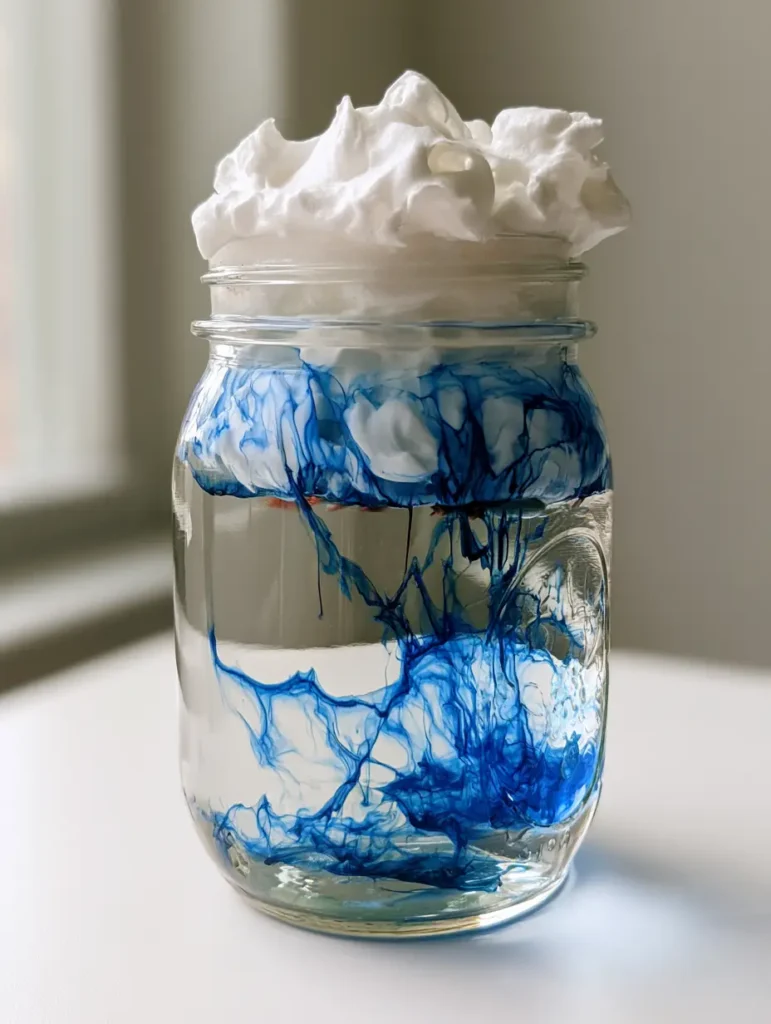
Why This Visual Weather Simulation is a Must-Try Activity
- Instant Gratification: Unlike many science projects that take hours or days, the Lightning in a Jar Experiment provides immediate visual feedback as soon as the first drop hits the “cloud.”
- Stunning Visual Contrast: The stark difference between the billowing white shaving cream and the intense blue liquid dye creates a high-contrast aesthetic that is perfect for photography.
- Tactile Learning: This project engages multiple senses, from the soft “hiss” of the shaving cream canister to the sight of jagged blue streaks mimicking natural lightning.
- Low-Cost Education: Using only a few pantry and bathroom staples, you can demonstrate complex concepts like solubility and the water cycle.
The Essential Elements for Your Desktop Storm
To recreate the exact look of our Lightning in a Jar Experiment, you will need a specific set of components that interact to create that signature “electric” look. Each ingredient serves a vital structural or visual purpose in our miniature atmosphere.
2 cups (480ml) Room Temperature Water
Using water at room temperature is crucial because it prevents condensation from forming on the outside of the glass, ensuring a clear view of the blue pigment streaks. It acts as the “atmosphere” through which your lightning will travel.
1/2 cup (120ml) Opaque White Shaving Cream Foam
Ensure you use a foam-based shaving cream rather than a gel to achieve the “billowing cloud” effect seen in the visual blueprint. This thick layer represents the cloud, holding the dye until it becomes too heavy to stay suspended.
1 tbsp (15ml) Concentrated Blue Liquid Food Coloring
The concentration of the dye is what creates those sharp, jagged plumes instead of a diluted wash. Use a high-quality liquid or even a slightly thinned gel to ensure the color “strikes” through the foam with intensity.
1 clear Glass Mason Jar (approx. 16 oz or 475ml)
A smooth-sided clear glass jar is essential for visibility. The glass walls allow natural light to create realistic reflections, highlighting the swirling motion of the blue dye as it descends.
Tools Required for Precision and Aesthetics
While the ingredients are simple, the way you assemble them determines the quality of your Lightning in a Jar Experiment. You don’t need lab-grade equipment, but these specific tools help in achieving a professional result.
A small pipette or glass dropper is highly recommended for controlled “strikes.” This allows you to place the dye precisely where you want it on the cloud’s surface. A white wooden tabletop or a clean white surface is also helpful to provide a neutral background that makes the blue streaks pop.
If you are planning to document your experiment, a smartphone with a shallow depth of field (Portrait Mode) will help capture the handheld, authentic feel of the original prompt. Soft natural daylight from a side window will provide the best lighting to showcase the “electric” textures within the water.
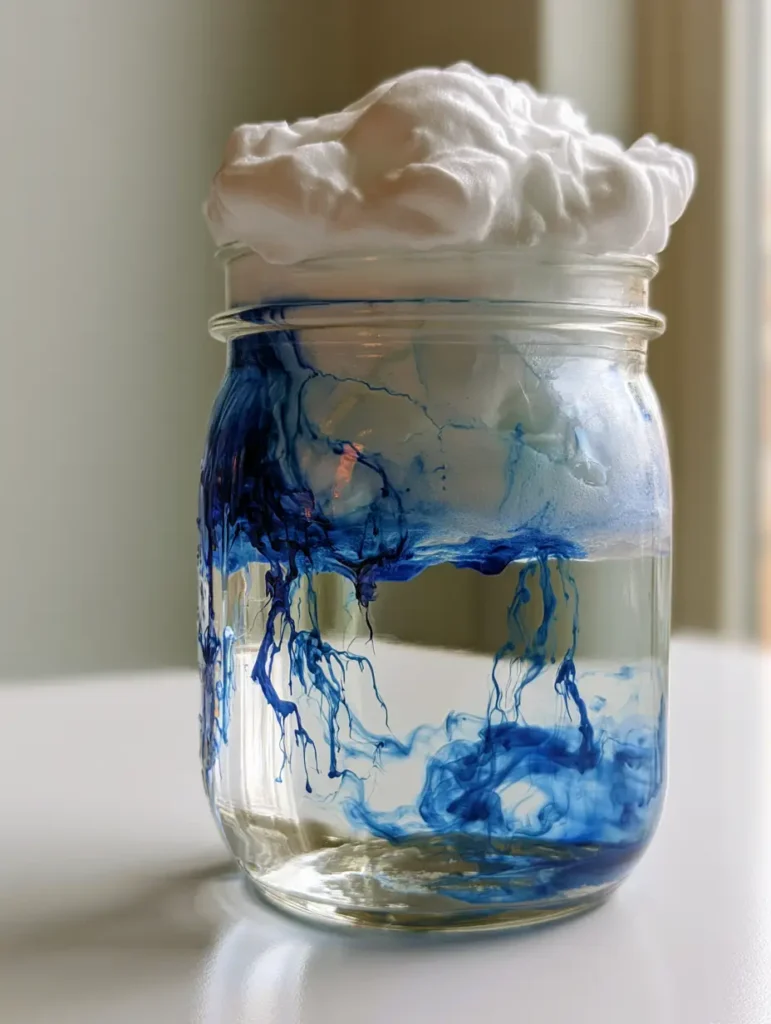
Step-by-Step: Creating Your Own Stormy Masterpiece
Preparing Your Atmospheric Base
Start by filling your clear glass mason jar about two-thirds full with the 2 cups (480ml) of room temperature water. It is important to leave enough headspace at the top of the jar for your “cloud” to sit without overflowing.
Ensure the water is still and clear before proceeding. If you see tiny air bubbles on the side of the glass, let the jar sit for a minute so they can dissipate, ensuring an unobstructed view of the swirling plumes later on.
Building the Billowing Cloud Layer
Shake your shaving cream canister vigorously for 10 seconds to ensure the foam is at its maximum fluffiness. Carefully spray the 1/2 cup (120ml) of shaving cream directly onto the surface of the water.
Aim for a thick, billowing layer that rises slightly above the rim of the jar. The foam should be opaque and white, mimicking a heavy cumulus cloud. Avoid smoothing the top; the natural peaks and valleys help the dye find different paths through the “cloud.”
Simulating the Lightning Strike
Now comes the most critical part of the Lightning in a Jar Experiment. Using your dropper or the tip of the food coloring bottle, place 5-10 concentrated drops of the blue liquid dye onto various points of the shaving cream.
Wait for a few seconds as gravity takes over. You will see the blue liquid slowly permeate the foam. Suddenly, the dye will “break” through the bottom of the foam layer, creating jagged, electric-like streaks that dart toward the bottom of the jar.
Observing the Swirling Plumes
Once the initial streaks have formed, watch as the dye begins to plume and swirl in the water. Because the dye is denser than the water, it will continue to fall, creating beautiful, smoke-like patterns that resemble a localized storm.
Look for the visual cues of “electric” textures—these are the thin, fast-moving trails of pigment that haven’t yet dispersed into the wider plumes. The soft side-lighting will reveal these delicate structures against the darker, swirling background.
Expert Tips for a Perfect Weather Simulation
- The Saturation Secret: If the dye isn’t breaking through the foam quickly enough, you can “prime” a small spot by adding a teaspoon of water over the dye to help it sink.
- Temperature Control: Avoid using ice-cold water. Cold water increases the density of the atmosphere, which can make the dye plumes move too slowly and lose their “jagged” lightning appearance.
- Foam Density: If your shaving cream is too “airy,” the dye will fall through instantly. If it’s too thick, it won’t fall at all. A 1-inch (2.5cm) layer is usually the sweet spot for the best Lightning in a Jar Experiment results.
- Clean Glass: Any smudges or fingerprints on the outside of the mason jar will ruin the “electric” clarity of your photos. Wipe the jar down with a lint-free cloth before you begin.
Maintenance and Longevity of Your Experiment
This experiment is a “living” art piece that changes every minute. In the first 5-10 minutes, you will see the most defined streaks. After about 30 minutes, the dye will have fully saturated the water, turning it a deep, uniform blue, and the foam “cloud” will begin to lose its volume.
Since this uses shaving cream, it is not edible or meant for long-term storage. Once the colors have fully blended, the experiment has reached its conclusion. Simply pour the contents down the drain and rinse the jar with warm, soapy water to remove any residue.
What to Pair With This Educational Activity
Science experiments are always better when paired with other creative projects or some themed snacks. If you’re doing this as part of a “Science Saturday,” consider building a full curriculum around sensory play.
For more glowing science fun, try creating some glow-in-the-dark moon rocks to accompany your lightning storm. If the kids get hungry during their observations, these fried chicken sliders make for a perfect, easy-to-hold lunch between experiments.
If you’re hosting a science-themed party, you might also enjoy serving a colorful cucumber beetroot salad which offers another great lesson in natural pigments and dyes. Or, for a sweet treat that looks as good as this experiment, try a southern peach cobbler cheesecake for dessert.
Frequently Asked Questions
No, gel shaving cream is too dense and doesn’t contain the air pockets needed to create the billowing cloud effect. Stick to traditional foam shaving cream for the best visual results.
Absolutely! While blue creates a realistic ‘stormy’ look, you can use purple for a galactic effect or green for a ‘toxic storm’ simulation. The science remains the same.
The key is using highly concentrated food coloring and applying it in small, specific drops rather than a large amount at once. This forces the pigment to find narrow paths through the foam.
Yes, as long as it is supervised. While the ingredients are household items, shaving cream and food coloring should not be ingested. It’s a great sensory activity for young children to watch.
The food coloring is denser than the shaving cream foam. As it saturates the foam, it becomes heavy enough for gravity to pull it through into the water, creating the ‘lightning’ effect.
The Final Result: Your Lightning in a Jar
The Lightning in a Jar Experiment is a masterclass in simplicity and visual impact. By the end of this activity, you will have a stunning piece of temporary art that mimics the power and beauty of a thunderstorm. The way the blue dye swirls and streaks through the clear water is truly mesmerizing, making it a favorite for photographers and science enthusiasts alike.
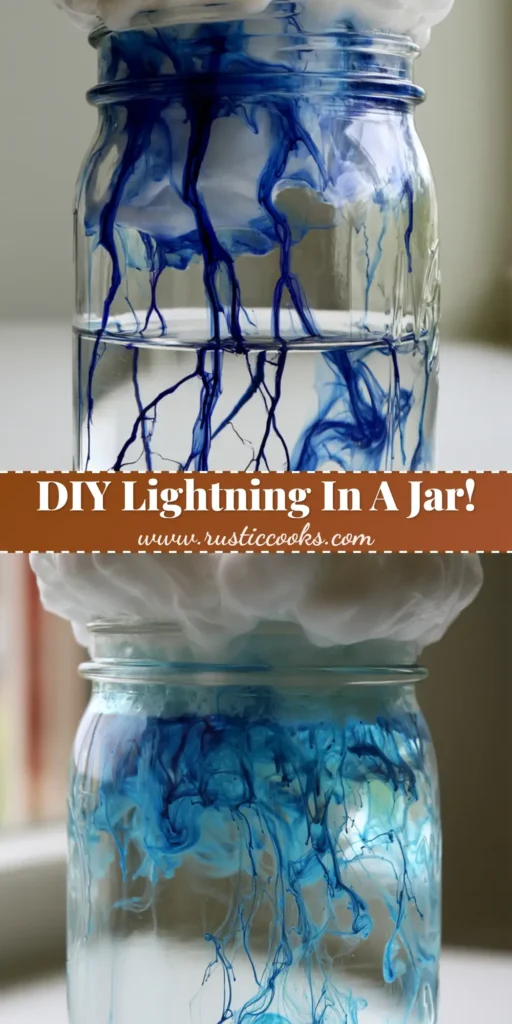
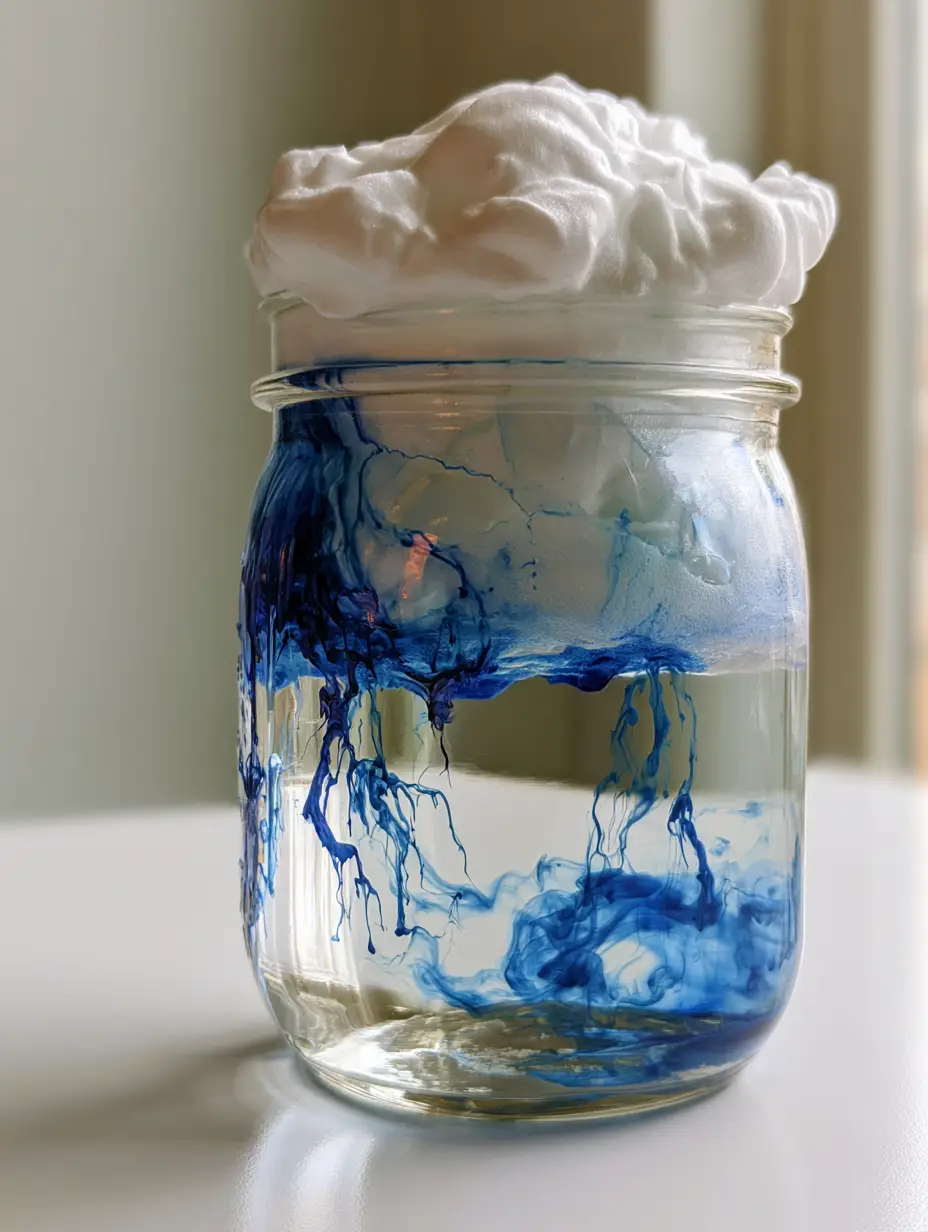
Lightning in a Jar Experiment: A Mesmerizing Science Activity for All Ages
Ingredients
Equipment
Method
- Fill the mason jar two-thirds full with room temperature water (2 cups/480ml). Ensure the water is still and clear.
- Shake the shaving cream and spray a thick, billowing 1/2 cup (120ml) layer of foam on top of the water until it reaches the rim.
- Using a dropper, place 5-10 drops of concentrated blue food coloring onto the foam and watch as jagged, electric-like streaks fall into the water.
Notes
Ensure you use foaming shaving cream, as gel will not create the necessary cloud texture.
Bring the Storm to Life Today!
We hope you enjoy this atmospheric journey as much as we did! This experiment is a wonderful reminder that science is all around us, even in the most mundane household items. It’s a perfect way to spark curiosity in children or to simply enjoy a moment of mindful observation.
If you tried this experiment, we’d love to hear how your “lightning” turned out! Did you use different colors? Did you capture a perfect photo of the swirling plumes? Leave a comment below and share your results with our community. Don’t forget to follow us on Pinterest for more creative ideas and science-inspired recipes!