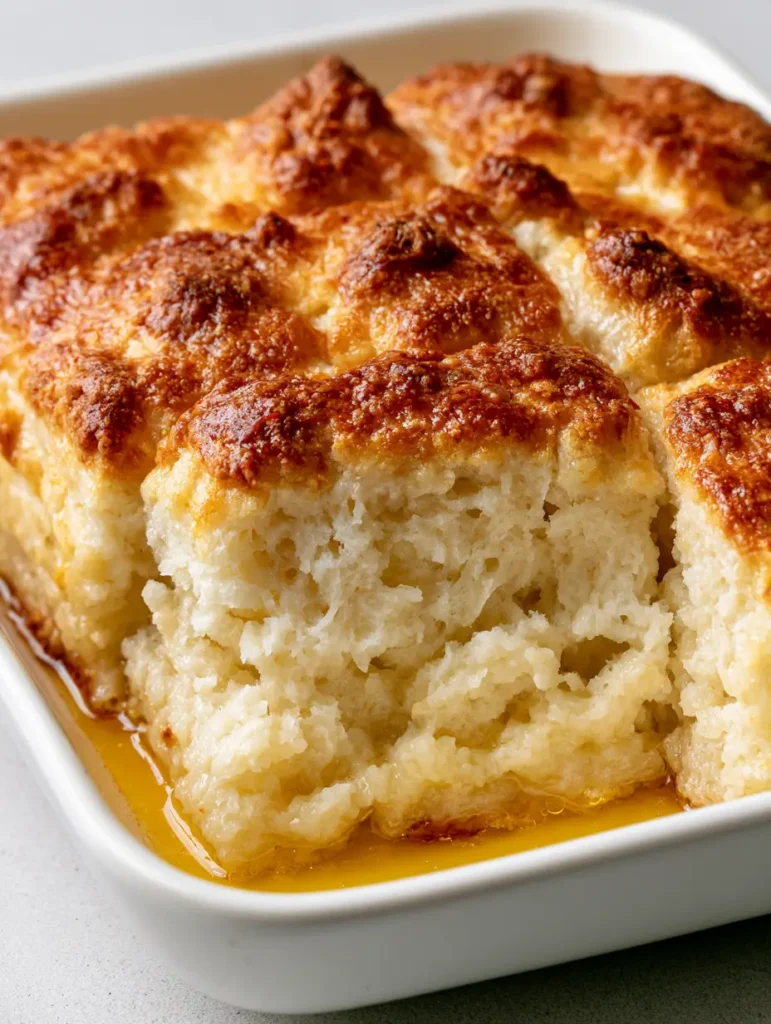
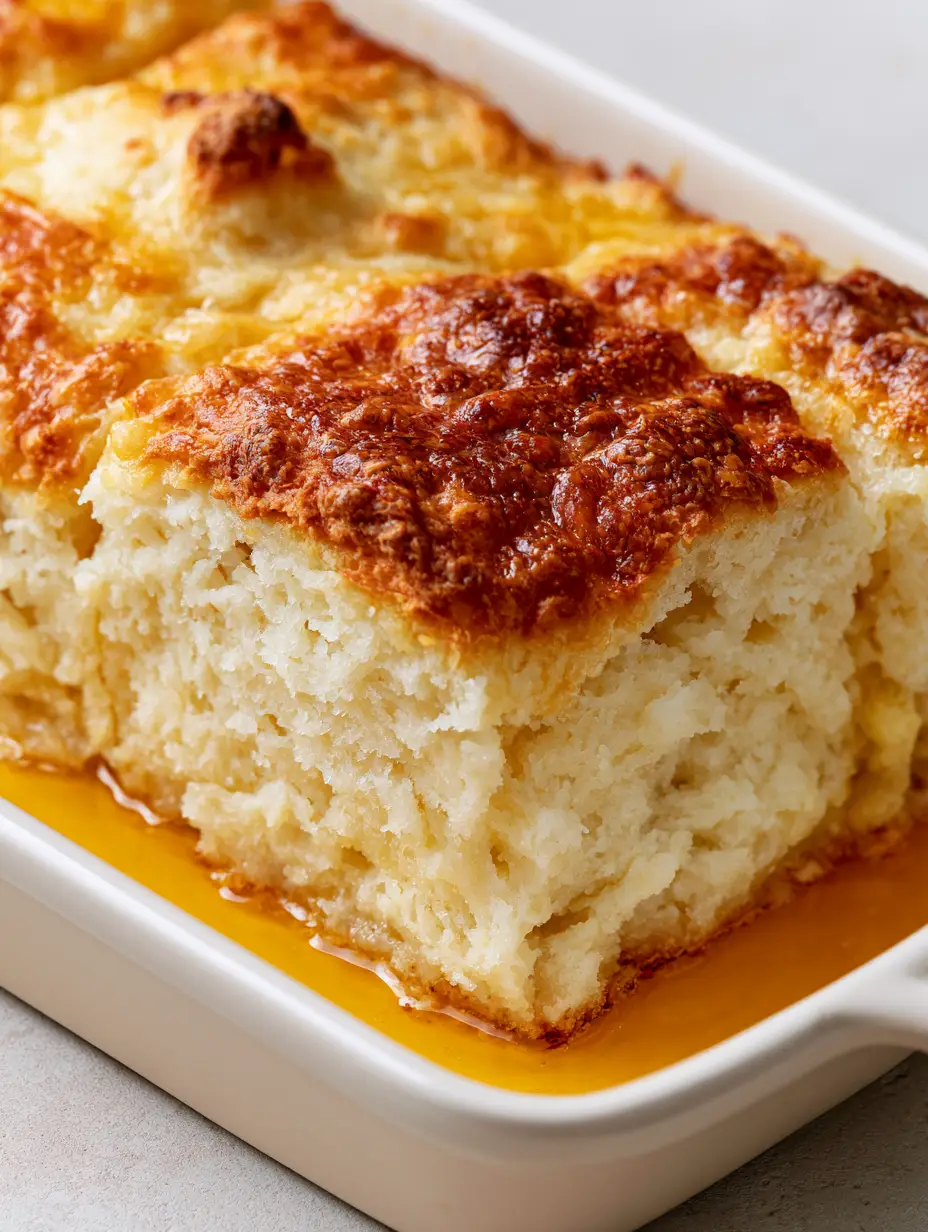
There is nothing quite like the sight of fresh Butter Swim Biscuits emerging from the oven. Imagine thick, towering squares of golden-brown dough nestled in a shimmering, liquid golden pool of melted butter. As you lift a piece from the white ceramic baking dish, the steam carries the scent of toasted flour and rich dairy, revealing a porous, fluffy white interior crumb that is practically begging to be slathered in honey or jam.
This recipe isn’t just about baking; it’s about a culinary technique that defies traditional biscuit-making rules. Unlike standard rolled biscuits, these are “swimming” in butter before they ever hit the heat, resulting in a deeply browned, craggy top crust and a bottom that is essentially fried in butter to a crisp, salty finish. Whether you are hosting a weekend brunch or looking for the perfect side for dinner, these biscuits deliver a sensory experience that smartphone photos can barely capture.
Why This Butter-Drenched Method Works Every Single Time
- The “Swim” Factor: By melting the butter directly in the pan, the dough absorbs the fat from the bottom up, creating a texture that is simultaneously soft and crispy.
- No-Knead Simplicity: Forget the rolling pin and the messy flour-covered countertops; this high-hydration dough is stirred and dropped for maximum fluffiness.
- Visual Crag and Crunch: The rough dough creates natural peaks and valleys that catch the heat, resulting in those signature mahogany-colored ridges.
- Porous Crumb Structure: The interaction between cold buttermilk and high-quality leaveners ensures an airy, light interior that balances the richness of the butter.
Essential Elements for the Perfect Butter Bath
To achieve the specific visual and textural results found in our professional blueprint, you must use high-quality ingredients. Each component serves a scientific purpose in the “swim” process.
All-Purpose Flour: 2 ½ cups (312g). This provides the structural foundation; its moderate protein content ensures the biscuits stay tender while still holding their thick square shape.
Baking Powder: 1 tbsp (14g). This is the primary lifting agent responsible for the porous interior crumb and the tall height of each biscuit square.
Granulated Sugar: 1 tbsp (12g). Beyond a hint of sweetness, sugar aids in the Maillard reaction, helping to achieve that deeply browned, craggy top crust described in the visual prompt.
Kosher Salt: 1 tsp (6g). Salt is non-negotiable for flavor balance, especially when working with such a significant amount of rich, melted butter.
Buttermilk: 2 cups (480ml). The acidity in buttermilk reacts with the leaveners to create air bubbles, ensuring the interior is white, fluffy, and perfectly aerated.
Unsalted Butter: ½ cup (113g). This is the star of the show, forming the liquid golden pool that surrounds the base and edges of the biscuits during the bake.
Professional Tools for Superior Results
The choice of vessel is critical for heat distribution. We highly recommend a white ceramic rectangular baking dish (roughly 9×13 inch or 8×11 inch). Ceramic holds heat steadily, allowing the butter to sizzle against the dough without scorching too quickly.
You will also need a large mixing bowl, a sturdy silicone spatula for folding the high-hydration dough, and a sharp knife or bench scraper to score the squares before they enter the oven. A neutral light gray background for your cooling rack can also help mimic the professional aesthetic of our visual guides.
The Step-by-Step Guide to Golden Perfection
Preparing the Butter Foundation
Preheat your oven to 450°F (232°C). Place the ½ cup (113g) of unsalted butter directly into your white ceramic baking dish. Slide the dish into the oven for 3-5 minutes, watching closely until the butter is completely melted and shimmering. Do not let it brown yet; you want a clear, liquid golden pool that smells sweet and creamy.
Mixing the High-Hydration Dough
In a large bowl, whisk together the flour, sugar, baking powder, and salt. Pour in the cold buttermilk all at once. Use your spatula to gently fold the mixture until a very wet, shaggy dough forms. Do not overmix! Look for a rough texture with visible small lumps; these will create the “peaks and valleys” on the top surface during the bake.
The Assembly and Scoring Process
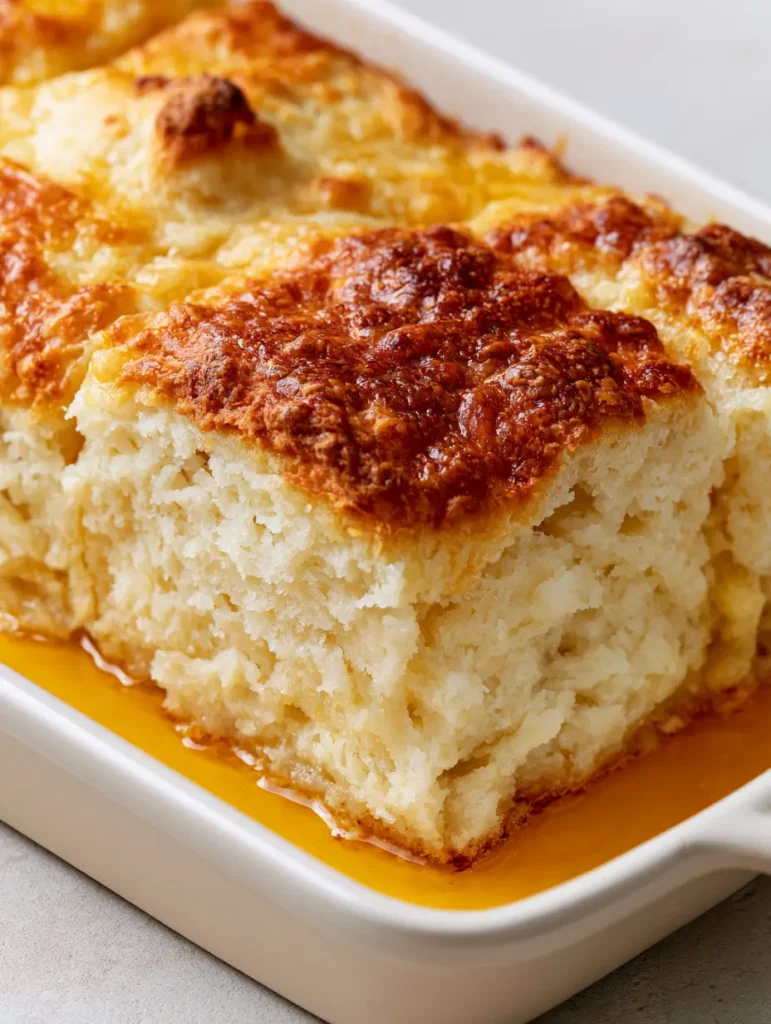
Carefully remove the hot ceramic dish from the oven. Pour the dough directly into the center of the melted butter pool. Use your spatula to gently spread the dough to the edges. It will look like the dough is “swimming”—this is exactly what we want. Use a knife to score the dough into 9 or 12 large squares. This allows the heat to penetrate the center, ensuring a fluffy interior.
Baking for Visual and Textural Contrast
Bake for 20-25 minutes. Watch for the sensory cues: the edges should be bubbling with butter, and the tops should transform into a deeply browned, craggy crust. The contrast between the mahogany peaks and the lighter valleys is a sign of a perfect bake. The biscuits are done when they feel firm to the touch and the butter has been mostly absorbed into the bottom crust.
Expert Tips for Success
- Cold Buttermilk is Key: Ensure your buttermilk is chilled. The temperature difference between the cold dough and the hot butter pool creates an immediate steam release for a better rise.
- Don’t Drain the Butter: When you pull the dish out, there may still be a bit of shimmering butter around the edges. Leave it! As the biscuits cool for 5 minutes, they will soak up that remaining flavor.
- Score Deeply: When cutting your squares before baking, try to touch the bottom of the dish. This ensures the butter can flow into the cracks, flavoring the sides of every square.
- Ceramic vs. Metal: If using a metal pan, reduce the temperature by 25°F to prevent the bottom from browning too fast before the interior is fluffy.
The Best Way to Store and Reheat
These biscuits are best enjoyed fresh and warm, but they do store well. Keep them in an airtight container at room temperature for up to 2 days. For longer storage, wrap them individually in foil and freeze for up to 3 months.
To reheat, avoid the microwave as it can make the butter-crisped crust soggy. Instead, place them in a 350°F (175°C) oven for 5-8 minutes until the exterior regained its crunch and the center is steamy.
What to Serve With Butter Swim Biscuits
These versatile squares are the ultimate companion for savory dishes. They are sturdy enough to soak up the sauce from a creamy baked macaroni and cheese or to serve alongside a hearty tater tot casserole for a true comfort meal.
If you’re leaning into breakfast, pair them with ham and cheese egg muffins for a protein-packed start to your morning. For a decadent dessert twist, serve a warm biscuit with a side of chocolate peanut butter dump cake and a scoop of vanilla bean ice cream.
Frequently Asked Questions
Absolutely! Fold in 1 cup of shredded cheddar or 2 tablespoons of fresh herbs into the dry ingredients before adding the buttermilk for a savory twist.
Buttermilk is essential for the reaction with baking powder to create the porous crumb. If you don’t have it, add 1 tablespoon of lemon juice to 2 cups of milk and let it sit for 5 minutes.
While ceramic is best for steady heat, you can use glass or metal. For metal, watch the bottom closely as it may brown faster than the interior cooks.
This usually happens if the oven temperature is too low or if you don’t bake them long enough. Ensure your oven reaches 450°F (232°C) to properly ‘fry’ the bottom in the butter.
Check the expiration date on your baking powder. Also, make sure you don’t overmix the dough, as this can deflate the air bubbles needed for a fluffy rise.
The Official Butter Swim Biscuits Recipe
Butter Swim Biscuits: The Ultimate Guide to Fluffy, Golden Perfection
Ingredients
Equipment
Method
- Preheat oven to 450°F (232°C). Place butter in the ceramic dish and melt in the oven until liquid and shimmering.
- Whisk flour, baking powder, sugar, and salt in a large bowl until well combined.
- Add cold buttermilk to the dry mix. Fold with a spatula until a wet, shaggy dough forms. Do not overmix.
- Pour the dough into the hot melted butter. Spread gently to the edges and score into squares with a knife.
- Bake for 20-25 minutes until the top is deeply browned and craggy. Let cool for 5 minutes to absorb excess butter.
Notes
Do not drain the extra butter after baking; it absorbs as it cools.

Join the Community and Share Your Bake
There is nothing more satisfying than seeing a tray of these golden-brown beauties on your own kitchen table. The combination of the craggy, buttery top and the porous, light crumb makes these Butter Swim Biscuits a recurring favorite for a reason. If you make this recipe, please leave a comment below and tell us about your results!
Don’t forget to take a photo of your shimmering butter pool and share it with us on Pinterest. Your feedback helps us continue to develop elite-level recipes for home cooks everywhere!