Crispy Malibu Chicken is the ultimate comfort food classic that combines textures and flavors in a way few other dishes can. If you grew up visiting family-style steakhouses, you likely remember that iconic golden-brown cutlet topped with savory ham and gooey cheese. This recipe elevates that nostalgia, focusing on a forensic level of detail to ensure every bite delivers a shattering crunch and a rich, melted finish.
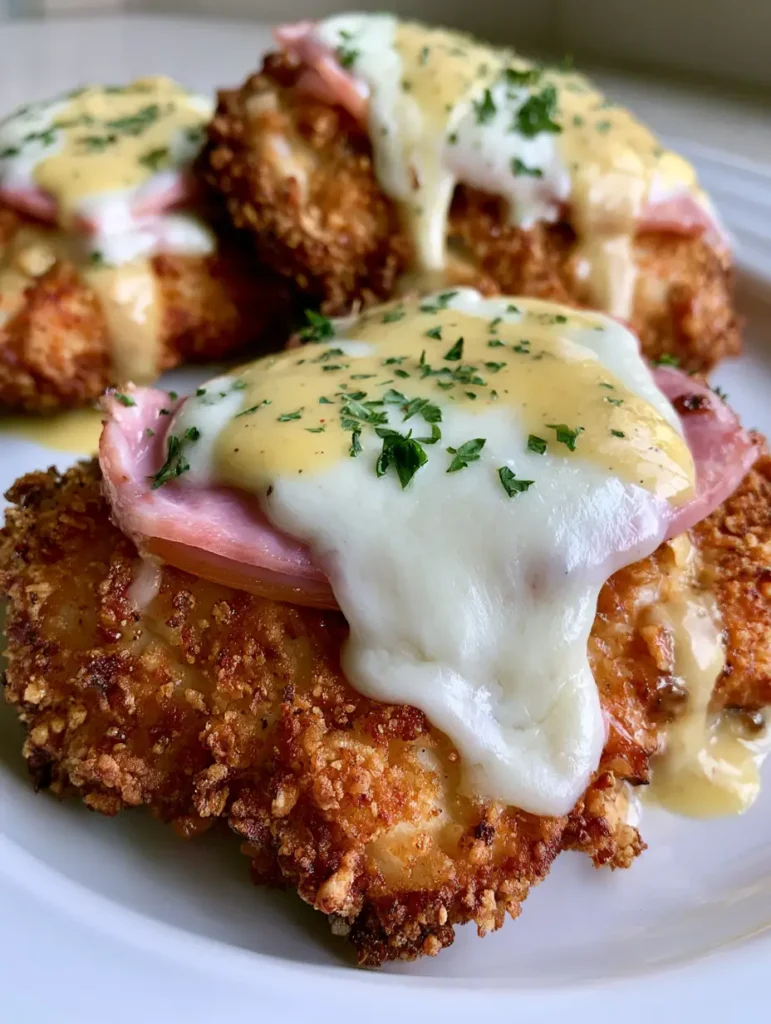
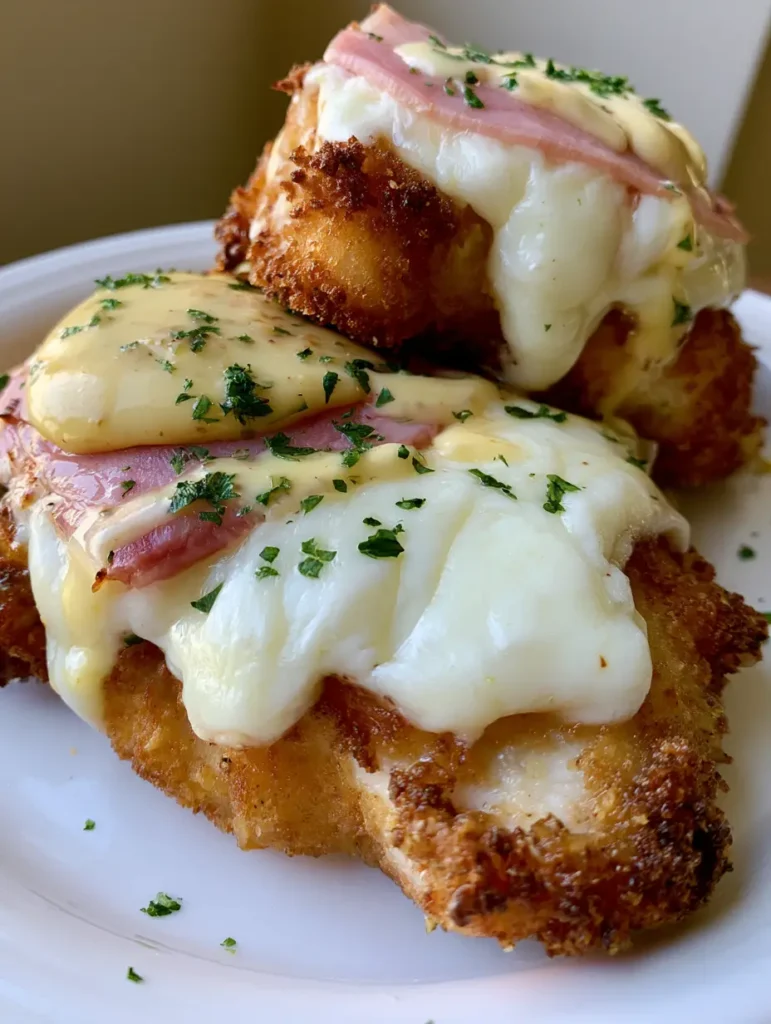
The secret to a truly exceptional Crispy Malibu Chicken lies in the architecture of the breading and the temperature of the melt. We aren’t just making fried chicken; we are building a multi-layered masterpiece that features a thin slice of pink deli ham and a thick layer of bubbly white Swiss cheese. The final drizzle of pale yellow honey mustard sauce provides the necessary acidity to cut through the richness of the fried cutlet.
In this guide, we will walk through the professional techniques required to achieve that smartphone-perfect, unedited food photography look right in your own kitchen. From pounding the chicken to the precise science of the panko crust, you will learn how to master this restaurant favorite. Get ready to serve a dish that looks as incredible as it tastes, finished with a bright sprinkle of fresh green parsley.
Why This Crunchy Restaurant Classic Still Reigns Supreme
- Shattering Panko Texture: By using a specific dredging technique, we ensure the breading stays attached to the chicken and develops a deep golden-brown, jagged surface.
- Perfectly Melted Swiss: We focus on the “bubbly” aspect, using high-moisture Swiss cheese that drapes elegantly over the savory ham.
- Balanced Flavor Profile: The sweetness of the honey mustard perfectly complements the salty notes of the deli ham and the savory chicken breast.
- Visual Appeal: With the contrast of the pink ham, white cheese, and green parsley, this dish is a visual powerhouse that looks stunning on a simple white plate.
The Anatomy of a Perfect Malibu Cutlet: Essential Ingredients
To achieve the visual and textural results seen in our blueprint, every ingredient must serve a specific culinary purpose. We don’t just use “chicken”; we use carefully prepared cutlets designed for fast, even cooking and maximum surface area for breading.
Chicken Breasts (approx. 1.5 lbs / 680g): Choose boneless, skinless breasts and slice them into even cutlets to ensure they cook through at the same time the breading reaches peak golden-brown.
Panko Breadcrumbs (2 cups / 120g): Unlike standard crumbs, panko provides those large, airy flakes that create the “crunchy, panko-like texture” specified in our visual blueprint.
All-Purpose Flour (1/2 cup / 65g): This foundational “invisible” ingredient acts as the primer, absorbing surface moisture so the egg wash has something to cling to.
Large Eggs (2): Whisked thoroughly, these provide the biological “glue” that bridges the gap between the flour and the panko flakes.
Deli Ham (4-6 thin slices): Opt for a high-quality, slightly sweet honey ham or smoked ham to provide that signature pink contrast against the white cheese.
Swiss Cheese (4-6 thick slices): You want a Swiss with good melting properties (like Emmental) to achieve that thick, bubbly layer of white cheese.
Honey Mustard Components: A blend of mayonnaise (1/2 cup / 120ml), Dijon mustard (2 tbsp / 30ml), honey (2 tbsp / 30ml), and a pinch of cayenne for a creamy, pale yellow sauce.
Fresh Parsley (2 tbsp / 8g): Finely chopped green flakes are essential for that final pop of color and a hit of earthy freshness.
Neutral Frying Oil (1 cup / 240ml): Use grapeseed or vegetable oil to achieve a clean sear without the smoke points of butter or olive oil.
Precision Tools for Professional Frying Results
Achieving the perfect Crispy Malibu Chicken requires more than just a pan; it requires the right heat distribution and surface area. A large heavy-bottomed skillet, preferably cast iron or stainless steel, is vital for maintaining a consistent oil temperature.
You will also need a meat mallet or a heavy rolling pin to pound the chicken to a uniform thickness of 1/2 inch (1.3cm). This ensures the chicken is cooked through without the breading burning. A wire cooling rack set over a baking sheet is another “secret” tool—it prevents the bottom of the chicken from becoming soggy while you melt the cheese.
Mastering the Cutlet: Preparation and Pounding
Standardizing the Chicken Thickness
Start by placing your chicken breasts between two sheets of plastic wrap. Using the flat side of a meat mallet, gently but firmly pound the chicken from the center outward until it is an even thickness.
This step is non-negotiable for the Crispy Malibu Chicken. If the breast is thicker in the middle, the edges will dry out before the center reaches the safe internal temperature of 165°F (74°C).
The Triple-Dredge Breading Station
Set up three shallow bowls. The first contains seasoned flour (salt, pepper, garlic powder), the second contains the beaten eggs, and the third contains the panko breadcrumbs.
Dredge the chicken in flour and shake off the excess. Dip into the egg wash, ensuring full coverage, then press firmly into the panko. The pressure is key—you want to embed the panko into the egg wash to create that rugged, crunchy texture.
The Art of the Shallow Fry: Achieving Golden-Brown Perfection
Heating the Oil for the Perfect Sear
Add your neutral oil to the skillet until it reaches a depth of about 1/4 inch (0.6cm). Heat over medium-high until the oil shimmers or a few breadcrumbs dropped in sizzle immediately.
Carefully lay the chicken cutlets into the pan, working in batches to avoid overcrowding. Overcrowding drops the oil temperature, leading to a greasy, limp crust rather than a crispy one.
Visual Cues for Frying Success
Fry the chicken for 3-4 minutes per side. You are looking for a deep, golden-brown crust that matches our visual prompt. The sound should be a consistent, vigorous sizzle.
Once flipped, the second side will usually cook slightly faster. Use a meat thermometer to ensure the internal temperature is nearing 160°F (71°C), as it will continue to rise during the melting phase.
The Finishing Touch: Melting the Bubbly Swiss Cheese
Layering the Flavors
Transfer the fried chicken cutlets to a baking sheet. Place one or two thin slices of pink deli ham on each cutlet, folding them to fit the shape of the chicken.
Top the ham with a thick slice of Swiss cheese. Place the tray under a preheated broiler for 1-2 minutes. Watch closely—you want the cheese to become “thick, melted, and bubbly,” just like the smartphone photo description.
The Final Presentation
Once the cheese is bubbling, remove from the oven. Drizzle the creamy, pale yellow honey mustard sauce in a decorative zig-zag pattern over the top. Finish with a generous sprinkle of finely chopped green parsley flakes.
If you enjoy this flavor profile, you might also like the similar vibes of our Hawaiian ham and cheese sliders or the creamy texture of our homemade creamy dressing.
Expert Tips for the Ultimate Crispy Malibu Chicken
- Keep the Panko Dry: If the panko starts to get clumpy from egg drips, sift it or replace it with fresh crumbs to maintain that distinct, crunchy texture.
- Salt Immediately: As soon as the chicken comes out of the frying oil, give it a tiny pinch of salt. The salt sticks best to the hot oil, enhancing the overall flavor profile.
- Sauce Temperature: Ensure your honey mustard is at room temperature. Drizzling ice-cold sauce over hot, bubbly cheese can cause the cheese to seize and lose its luster.
- Cheese Choice: For the most visual “bubbles,” use a Swiss cheese with a higher fat content. Avoid “processed Swiss slices” which melt flat rather than bubbling.
Serving Suggestions and Side Dish Pairings
Crispy Malibu Chicken is a heavy, protein-rich main, so it pairs beautifully with lighter, acidic sides. A fresh peach and burrata salad provides a sweet and creamy contrast that highlights the honey in the mustard sauce.
If you prefer a more traditional route, a starch like creamy macaroni salad or a light roasted vegetable orzo works perfectly to balance the plate without overshadowing the chicken’s crunch.
Storage and Reheating Advice
While this dish is best served immediately to enjoy the “shattering crunch,” you can store leftovers in an airtight container for up to 3 days. To reheat, avoid the microwave, as it will make the breading soggy and the ham rubbery.
Instead, place the chicken in a 350°F (175°C) oven or an air fryer for 5-7 minutes. This will help re-crisp the panko and melt the Swiss cheese back to its bubbly state without overcooking the meat.
Frequently Asked Questions
Yes! Preheat the air fryer to 400°F (200°C). Spray the panko-breaded chicken generously with oil and cook for 10-12 minutes, flipping halfway. Add the ham and cheese for the last 2 minutes.
You can dredge the chicken in panko and store it in the fridge for up to 4 hours before frying. Do not add the sauce or cheese until you are ready to serve to maintain the crunch.
Use the broiler setting on your oven. Since the chicken is already cooked from frying, a quick 1-2 minute blast of high heat will bubble the cheese without drying out the meat.
A thinly sliced honey ham or black forest ham works best. The slight sweetness of honey ham complements the honey mustard sauce perfectly.
This usually happens if the chicken surface is too wet or if you don’t press the panko firmly into the egg wash. Ensure you pat the chicken dry before dredging in flour.
The Official Crispy Malibu Chicken Recipe Card
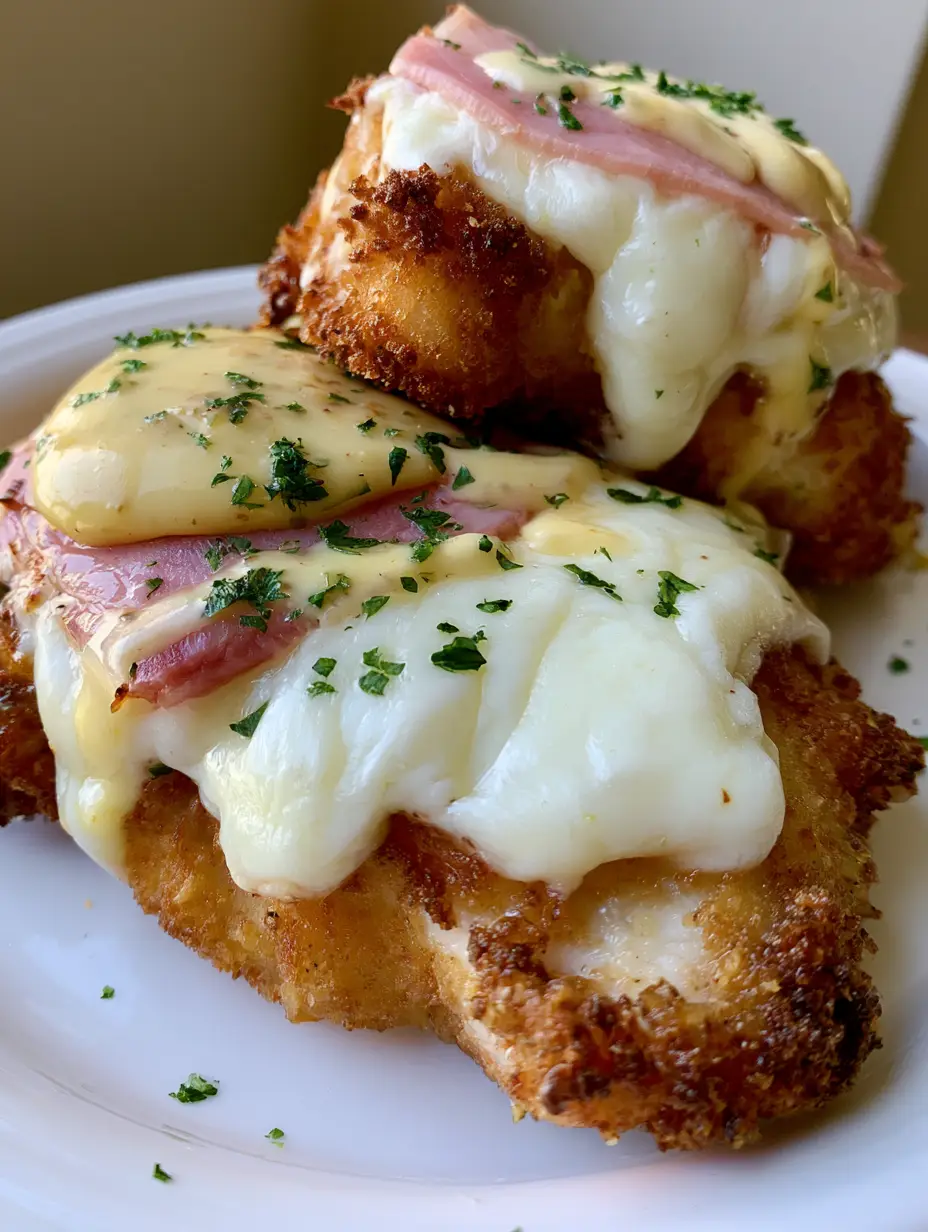
Crispy Malibu Chicken with Bubbly Swiss and Creamy Honey Mustard
Ingredients
Equipment
Method
- Place chicken cutlets between plastic wrap and pound to a uniform 1/2 inch thickness.
- Coat chicken in flour, dip in beaten eggs, and press firmly into panko breadcrumbs.
- Fry in 1/4 inch of oil over medium-high heat for 3-4 minutes per side until golden-brown and crispy.
- Top with ham and Swiss cheese; broil for 1-2 minutes until cheese is bubbly and white.
- Drizzle with honey mustard sauce and sprinkle with chopped fresh parsley.
Notes
Ensure the oil is hot enough before adding chicken to prevent sogginess.
Closing Thoughts on This Culinary Classic
Mastering Crispy Malibu Chicken is a rite of passage for any home cook who loves classic American comfort food. By focusing on the textural contrast between the crunchy panko and the bubbly Swiss cheese, you create a restaurant-quality meal that satisfies every craving. Don’t forget to snap your own handheld smartphone photo before you dive in!
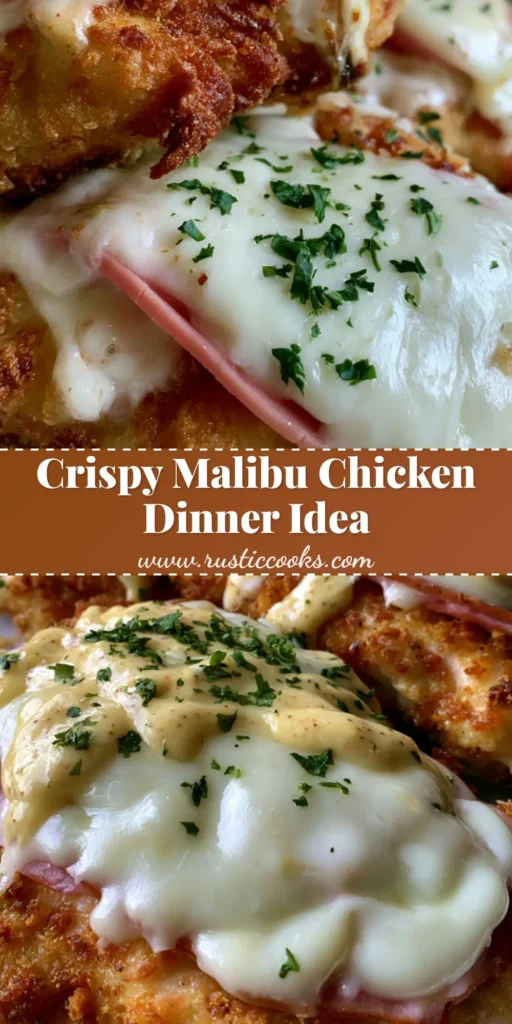
If you enjoyed this recipe, please leave a comment below and share your results. For more visual recipe inspiration, follow us on Pinterest and pin this to your favorite dinner boards!