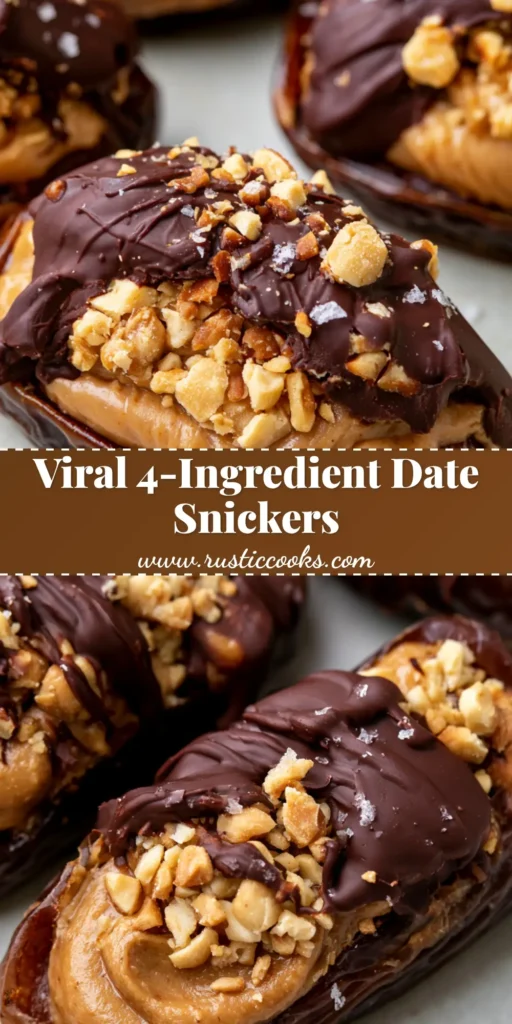
If you are looking for a snack that tastes exactly like a candy bar but uses wholesome ingredients, these Date Snickers Bars are about to become your new obsession. Imagine a plump, jammy Medjool date acting as the “caramel,” filled with a velvety peanut butter swirl and topped with the distinct crunch of roasted nuts. It is the ultimate combination of sweet, salty, and satisfying.
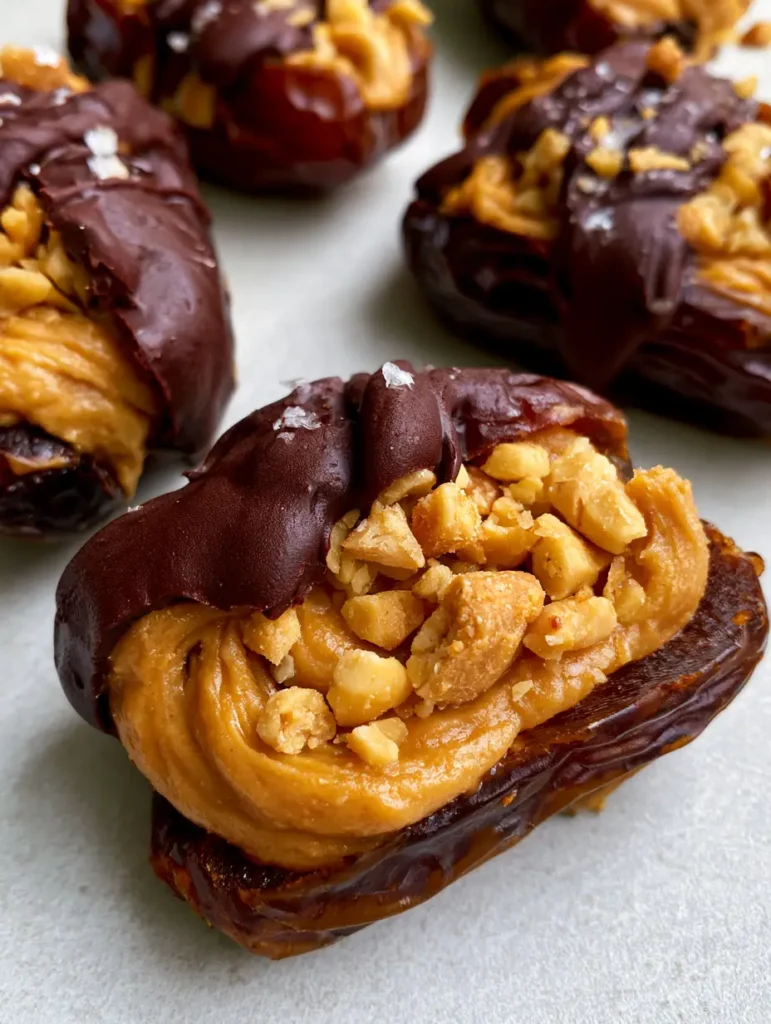
The visual appeal of these bars is undeniable, featuring a heavy drizzle of matte dark chocolate and a delicate dusting of flaky sea salt that catches the light. Whether you are prepping a quick afternoon pick-me-up or looking for a crowd-pleasing dessert, this recipe delivers professional results with minimal effort. Let’s dive into how to create these viral treats in your own kitchen.
Why These Viral Date Snickers Bars Are the Ultimate Guilt-Free Treat
- The Perfect Texture: You get a soft, chewy bite from the Medjool dates contrasted by the snap of chilled dark chocolate and the crunch of roasted peanuts.
- Natural Sweetness: By using dates as the base, we eliminate the need for processed corn syrups found in traditional candy bars.
- Visually Stunning: The contrast between the dark, matte chocolate and the bright white salt crystals makes these look like they came from a high-end chocolatier.
- Customizable: While we love the classic peanut butter filling, you can easily adapt this to your dietary needs.
Essential Components for the Perfect Homemade Snickers Date
Pitted Medjool Dates: These are the “bones” of your Date Snickers Bars; ensure they are fresh and soft so they provide that signature caramel-like chew. If your dates feel a bit firm, soak them in warm water for 5 minutes before beginning.
Creamy Peanut Butter: A smooth, drippy peanut butter works best for creating that thick, aesthetic swirl inside the date. Avoid the stiff, “no-stir” varieties if you want that professional, swirled look described in our visual blueprint.
Chopped Roasted Peanuts: Roasting the peanuts is non-negotiable as it unlocks the oils and provides a deep, toasted aroma. Using pre-chopped pieces ensures every bite has an even distribution of crunch.
Dark Chocolate Chips: We recommend a 70% cocoa dark chocolate for that sophisticated, matte finish. This balances the intense sweetness of the dates and the saltiness of the nuts.
Coconut Oil (The Secret Ingredient): Adding a tiny amount of oil to your chocolate helps it melt smoothly and ensures it doesn’t crack when you bite into the chilled bar. It also contributes to that beautiful matte sheen.
Flaky Sea Salt: Large crystals like Maldon are essential for the final touch. They provide a sensory “pop” that cuts through the richness of the peanut butter and chocolate.
The Tools You Need for Mess-Free Chocolate Drizzling
To achieve the handheld smartphone photo look from our guide, you don’t need fancy equipment, but a few basics help. A sharp paring knife is necessary for clean slits in the dates. A small piping bag or even a zip-top bag with the corner snipped off will give you the control needed for the thick peanut butter swirl.
For the chocolate, a microwave-safe glass bowl or a small double boiler will work perfectly. Finally, use a sheet of parchment paper on a flat plate or baking tray to ensure your Date Snickers Bars don’t stick as the chocolate sets.
Step-by-Step Guide to Crafting These Sweet and Salty Delights
Preparing the Medjool Foundation
Start by slicing each Medjool date lengthwise to create a pocket, being careful not to cut all the way through. Remove the pit and discard it. Use your thumbs to gently press the sides open, creating a wide “vessel” ready to hold the filling.
The Art of the Peanut Butter Swirl
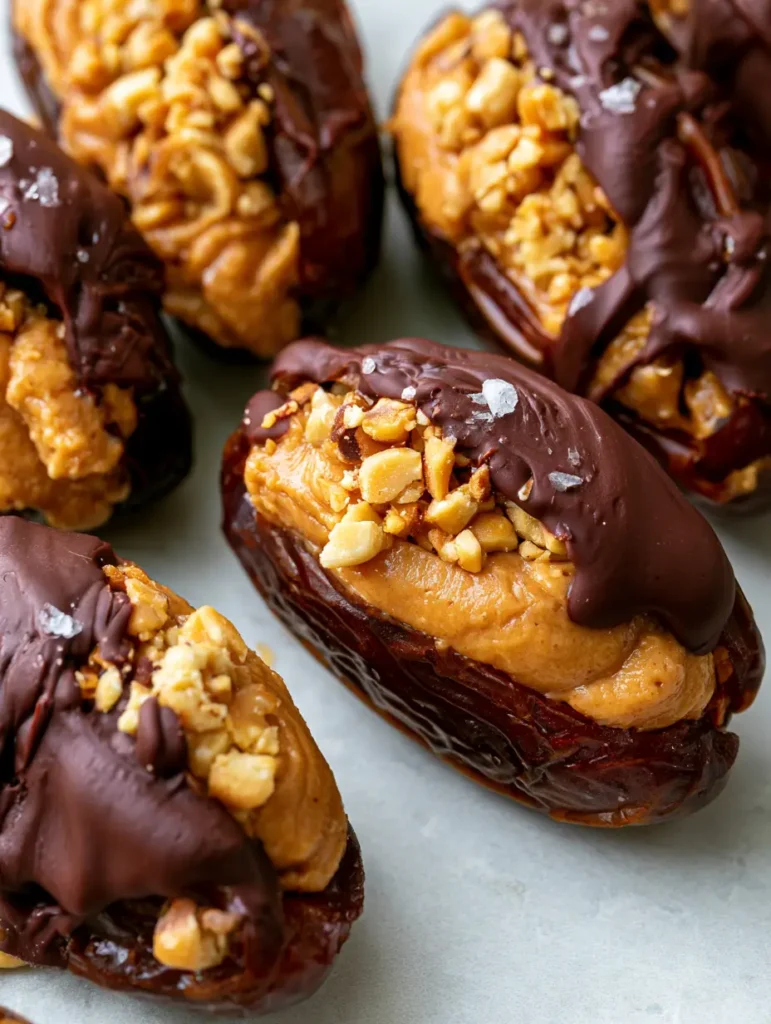
Using a small spoon or a piping bag, fill each date with approximately 1 tsp (5g) of creamy peanut butter. Aim for a “thick swirl” effect by rotating your wrist as you deposit the butter. Immediately press about 1/2 tsp (2g) of chopped roasted peanuts into the peanut butter while it is still wet so they adhere firmly.
Achieving the Perfect Matte Chocolate Finish
Melt your dark chocolate with the coconut oil in 30-second bursts in the microwave, stirring until completely smooth. Using a fork or a small spoon, heavily drizzle the chocolate over the top of the filled dates. You want them to be partially coated, allowing some of the peanut butter and dates to peek through for that rustic, homemade aesthetic.
The Final Flourish
While the chocolate is still wet and glossy, sprinkle a few crystals of flaky sea salt over each bar. Place the tray in the refrigerator for at least 15-20 minutes. You will know they are ready when the chocolate loses its shine and takes on a beautiful, smooth matte appearance.
Pro-Level Tips for the Best Date Snickers Bars
- Temperature Control: If your kitchen is warm, chill the filled dates for 10 minutes before drizzling the chocolate to help the chocolate set faster.
- Peanut Butter Hack: If your peanut butter is too thick to swirl, microwave it for 10 seconds to make it more fluid.
- Salt Timing: Don’t wait too long to add the salt! If the chocolate sets, the crystals will simply slide off.
- The “Snap”: For the best texture, store these in the freezer; the date stays chewy while the chocolate gets an incredible snap.
How to Store and Refresh Your Healthy Snickers Bars
These treats are remarkably shelf-stable. You can keep them in an airtight container in the refrigerator for up to 2 weeks. For longer storage, the freezer is your best friend—they will last up to 2 months and can be eaten straight from the cold.
If you are serving these at a party, keep them chilled until the last moment. Because of the natural oils in the peanut butter and the coconut oil in the chocolate, they can soften if left in a warm room for too long.
Delicious Pairings to Complete Your Snack Spread
If you are serving these as part of a larger dessert platter, they pair beautifully with creamy ricotta cannoli squares for a mix of textures. For those who love a bit of nostalgia, try serving them alongside chewy rice krispie chocolate chip cookies.
If you’re looking for more fun family dinner ideas to serve before dessert, these bars make the perfect light finish after a savory meal. They even work as a high-energy snack after a morning of eating ham and cheese egg muffins for breakfast.
Your Most Pressing Date Snickers Bars Questions Answered
Yes, as long as you use dairy-free dark chocolate chips, this recipe is naturally vegan and gluten-free.
Absolutely! Any nut or seed butter (like sunflower butter) will work, provided it has a drippy consistency for the swirl.
The secret is adding a teaspoon of coconut oil to the melted chocolate. It softens the chocolate just enough so it remains biteable even when cold.
Medjool dates are the gold standard because they are larger, softer, and have a natural caramel-like flavor and texture compared to Deglet Noor dates.
A matte finish is usually achieved by using dark chocolate with a higher cocoa percentage (70%+) and chilling it. Adding a little coconut oil also helps the texture stay smooth rather than waxy.
Master Recipe: Date Snickers Bars
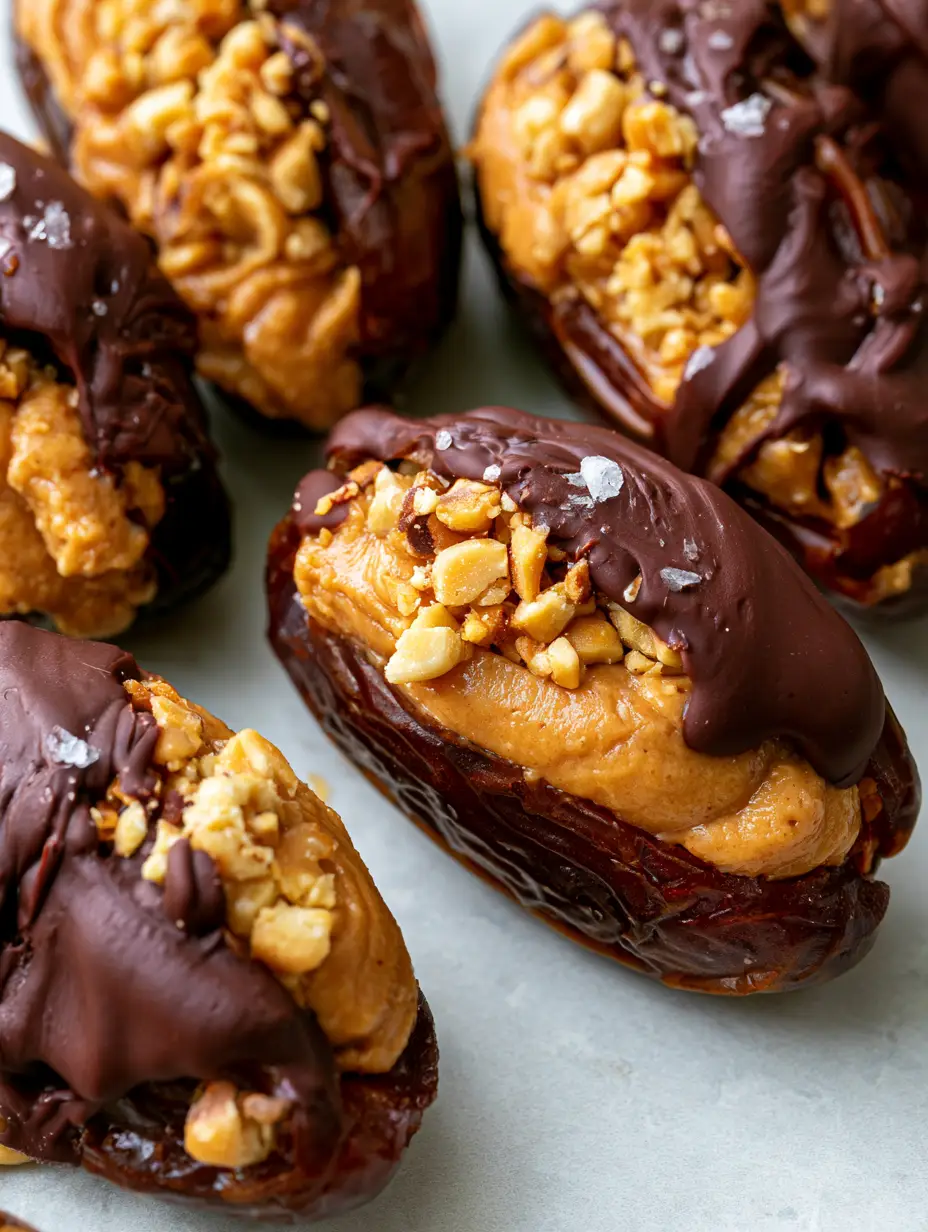
Date Snickers Bars with Creamy Peanut Butter and Dark Chocolate
Ingredients
Equipment
Method
- Slice each Medjool date lengthwise and remove the pit. Open the date slightly to create a pocket for the filling.
- Using a small spoon or piping bag, add a thick swirl of creamy peanut butter into the center of each date.
- Press the chopped roasted peanuts firmly into the peanut butter swirl.
- Combine dark chocolate and coconut oil in a microwave-safe bowl. Heat in 30-second intervals until smooth and glossy.
- Heavily drizzle the melted chocolate over the dates. While wet, sprinkle with flaky sea salt.
- Refrigerate for 20 minutes until the chocolate sets to a matte finish.
Notes
Store in the freezer for an extra snappy chocolate coating.
Closing & Call to Action
These Date Snickers Bars prove that you don’t have to sacrifice flavor for better-for-you ingredients. With their thick peanut butter centers, crunchy roasted peanuts, and rich dark chocolate coating, they satisfy every craving. If you enjoyed this recipe, please leave a comment below and let us know how yours turned out! Don’t forget to follow us and share your creations on Pinterest.