If you have ever struggled with the gritty texture of traditional powdered sugar frostings or the technical complexity of a Swiss meringue, then Russian Buttercream Frosting is the culinary revelation you have been waiting for. This “magical” frosting relies on a simple yet profound emulsion between high-quality butter and sweetened condensed milk.
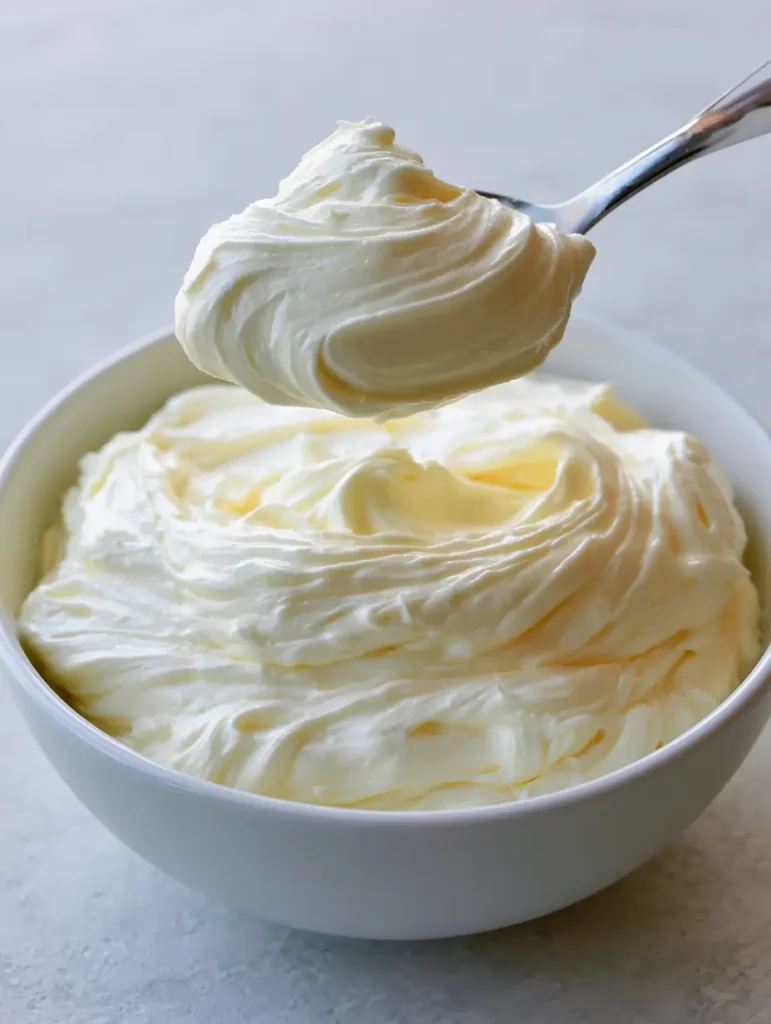
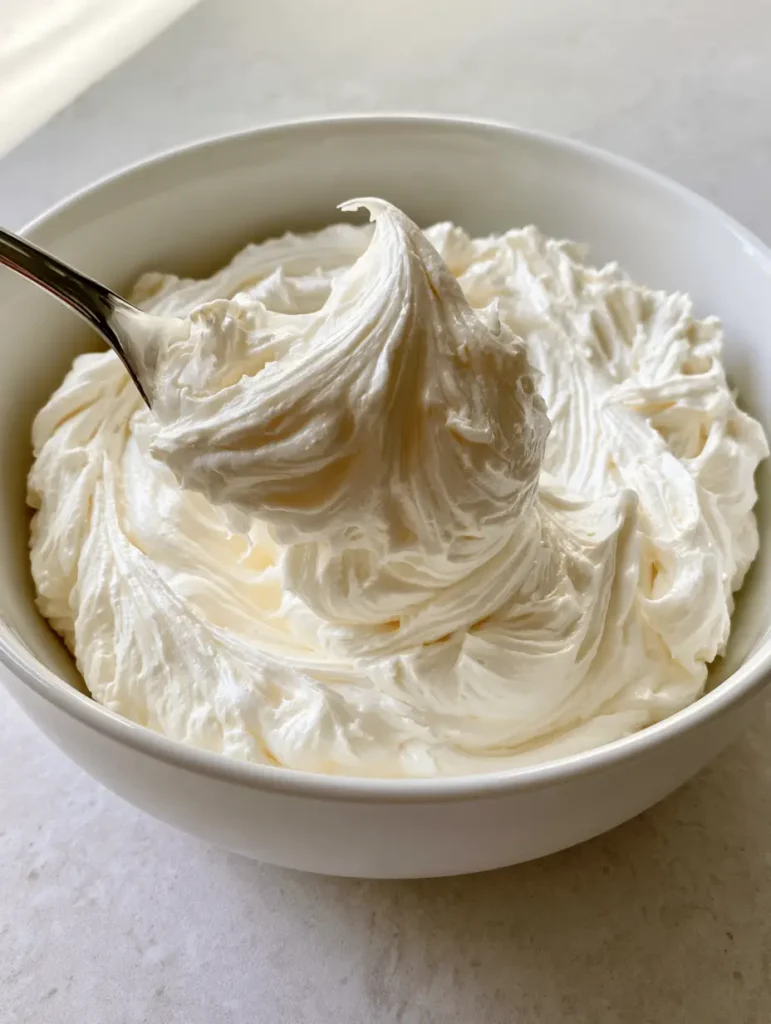
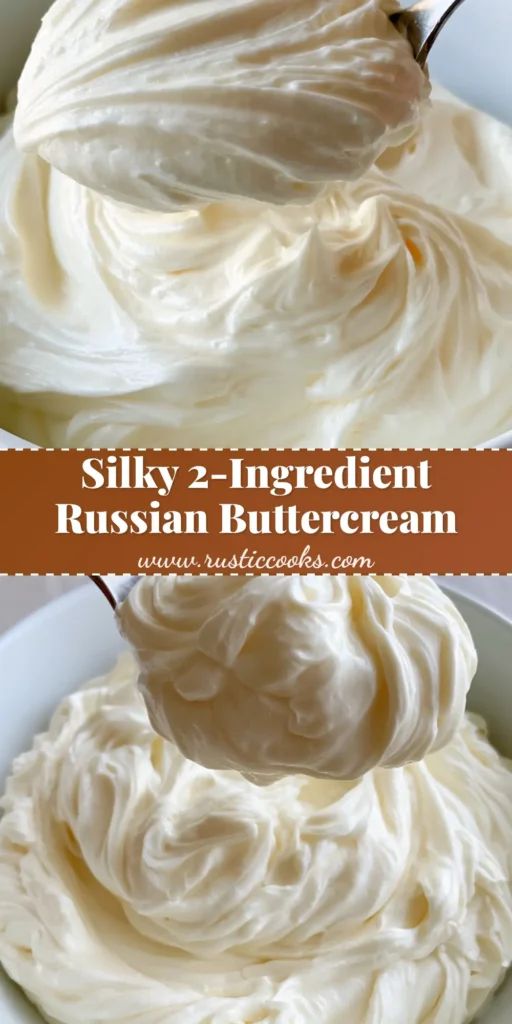
The result is a pale cream-colored masterpiece that is exceptionally smooth and glossy. As you can see in the handheld smartphone photos from our kitchen, this frosting holds thick, stable peaks that are perfect for piping, yet it maintains a silky dollop consistency that melts on the tongue.
By following this guide, you will master the art of the emulsion, ensuring your Russian Buttercream Frosting never splits and always achieves that signature soft-ridge texture. Whether you are topping a delicate sponge or looking for a stable filling, this recipe provides the professional finish every home baker craves.
The Visual Allure of Glossy Condensed Milk Frosting
- Exceptional Gloss: Unlike American buttercream, which can look matte or “crusty,” this frosting has a high-shine, silky finish that reflects light beautifully.
- Pale Cream Palette: The natural ivory hue of the butter and condensed milk creates a sophisticated, off-white look that appears stunning in a simple white ceramic bowl.
- Structural Integrity: This recipe produces thick whipped peaks that are stable enough for intricate piping but soft enough to spread with a silver metal spoon.
- Dense yet Airy: The forensic texture of this frosting is unique—it feels substantial and rich, yet the heavy whipping incorporates enough air to keep it from feeling “greasy.”
The Anatomy of a Perfect Emulsion: Essential Ingredients
The beauty of Russian Buttercream Frosting lies in its simplicity. Because there are so few ingredients, the quality of each one is paramount to achieving the glossy, stable result seen in our visual blueprint.
Unsalted Butter (High Fat Content): You will need 1 cup (227g) of high-quality, European-style unsalted butter. European butter has a lower water content, which is essential for creating the stable peaks and soft ridges required for a professional look.
Sweetened Condensed Milk: One 14 oz (397g) can of full-fat sweetened condensed milk acts as both the sweetener and the liquid base. It provides the signature “milky” flavor and the glossy sheen that makes this frosting famous.
Pure Vanilla Extract: Use 1 tsp (5ml) of pure vanilla extract to add depth. Since the frosting is a pale cream color, using a clear vanilla can help maintain a whiter appearance, though traditional extract adds a lovely warmth.
Fine Sea Salt: Just 1/4 tsp (1.5g) of fine sea salt is the “invisible” ingredient that balances the intense sweetness of the condensed milk. It cuts through the fat of the butter to make the flavor profile more complex.
Tools for Achieving Thick Whipped Peaks
To replicate the handheld photo’s results—specifically those soft ridges and exceptionally smooth finish—you cannot rely on hand-whisking. You need mechanical power to force the fat and sugar into a stable bond.
A stand mixer fitted with a paddle attachment or a high-powered hand mixer is mandatory. You will also want a large white ceramic bowl to monitor the color change of the butter as it aerates, and a sturdy silver metal spoon to test the “dollop” consistency before frosting your cake.
If you enjoy the “science” side of baking, much like the lightning in a jar experiment, you will find the transformation of these two liquids into a thick solid to be equally fascinating.
Mastering the Method: Step-by-Step Russian Buttercream
Phase 1: The Aeration of the Butter
Place your room temperature butter into the bowl. It must be soft enough that a finger leaves an indentation, but not so warm that it is greasy or melting. Begin whipping on medium-high speed.
Continue whipping for at least 5 to 8 minutes. You are looking for a specific visual cue: the butter must turn from a deep yellow to a very pale, ivory cream color. This indicates that enough air has been incorporated to support the weight of the condensed milk.
Phase 2: The Slow Emulsion
Turn your mixer to medium speed. Begin adding the sweetened condensed milk one tablespoon at a time. This is the most critical stage for your Russian Buttercream Frosting.
If you pour the milk in too fast, the frosting will “break” or curdle. Watch for the mixture to stay smooth and glossy. If it starts to look like cottage cheese, stop adding milk and whip on high until it smooths out again.
Phase 3: The Final Whip and Flavoring
Once all the milk is incorporated, add your vanilla and salt. Turn the mixer to high and whip for another 2 minutes. You should see thick, stable peaks forming that hold their shape even when moved with a spoon.
Stop the mixer and use a spatula to hand-fold the frosting for 30 seconds. This removes any large air bubbles, ensuring the “exceptionally smooth” finish shown in our handheld smartphone photo.
Expert Tips for Troubleshooting and Success
- Temperature is Everything: Both the butter and the condensed milk should be at the same room temperature (around 68-72°F or 20-22°C). If the milk is cold, it will seize the butter fats.
- Fixing a Broken Frosting: If your frosting looks curdled, the mixture is likely too cold. Take a small bowl of the frosting, microwave it for 5-10 seconds until melted, and then whip it back into the main batch.
- Color Correction: To get a brighter white, add the tiniest “pin-prick” of purple food coloring. This neutralizes the natural yellow tones of the butter fat.
- Storage Logistics: Because of the high milk and butter content, this frosting must be refrigerated if not consumed within 4 hours. However, it hardens significantly in the fridge, so always bring it back to room temperature before serving.
Flavor Pairings and Serving Suggestions
The rich, milky flavor of Russian Buttercream Frosting makes it incredibly versatile. It is a fantastic alternative to the heavy glazes used on a Southern Peach Cobbler Cheesecake, providing a lighter, airier contrast to the dense cream cheese.
If you are hosting a themed dinner, perhaps featuring Old Bay Crab Cakes as an appetizer, a cake topped with this frosting provides a sophisticated, sweet conclusion to a savory meal. Its stability also makes it a great “glue” for dessert sliders, much like the structural needs of fried chicken sliders.
For a surprising twist, try pairing this frosting with a cake that has a hint of acidity, such as a lemon sponge or even a dessert featuring a strawberry basil balsamic reduction. The sweetness of the condensed milk perfectly balances the tang of the fruit.
Frequently Asked Questions
Absolutely! You can fold in melted (and cooled) chocolate or cocoa powder during the final whipping phase to create a glossy chocolate version.
Yes, because it contains a significant amount of dairy (condensed milk), cakes frosted with it should be stored in the refrigerator if not being served within a few hours.
Since it contains butter and condensed milk, it is naturally pale cream. You can whiten it by whipping the butter longer (aeration) or adding a tiny drop of violet food coloring to neutralize the yellow tones.
Yes, once fully whipped to thick peaks, it is remarkably stable. However, because it is butter-based, it will soften in very warm environments. It’s best used in climate-controlled settings.
This usually happens due to a temperature difference. If the butter is too cold or the condensed milk is chilled, the emulsion won’t form. Ensure both are at room temperature (around 70°F) before mixing.
The Ultimate Russian Buttercream Recipe
Russian Buttercream Frosting: The Ultimate 2-Ingredient Glossy Hack
Ingredients
Equipment
Method
- In a large white ceramic bowl, beat the softened butter on medium-high speed for 5-8 minutes. The butter should transform from yellow to a pale ivory cream color and appear exceptionally fluffy.
- Reduce the mixer speed to medium. Slowly add the sweetened condensed milk one tablespoon at a time, ensuring each addition is fully emulsified before adding the next. The frosting will become glossy and smooth.
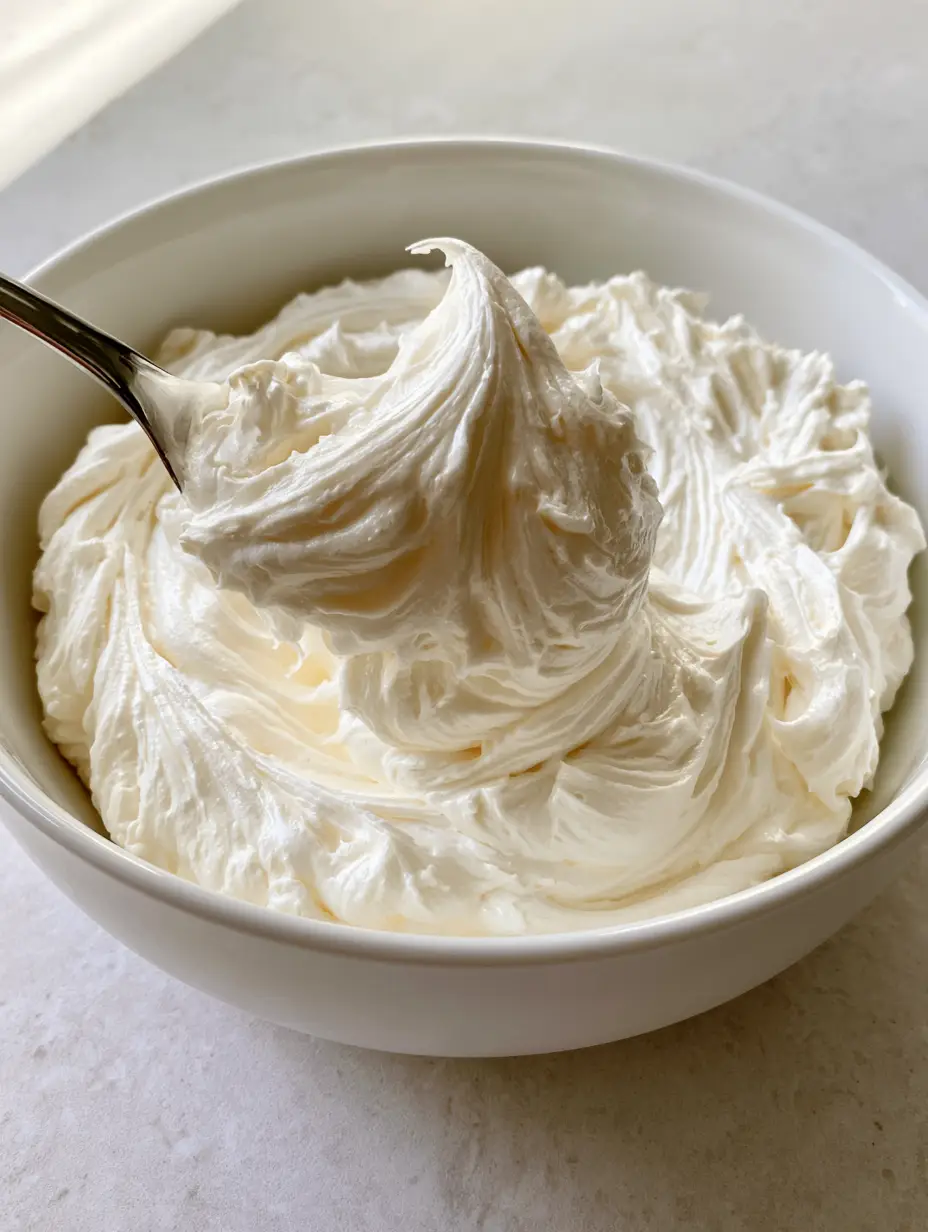
- Add the vanilla and salt. Turn the mixer to high and whip for another 2 minutes until thick, stable peaks form. If you see soft ridges from the whisk, it is ready.
- Finish by hand-folding the frosting with a spatula for 30 seconds to create a silky, dense yet airy consistency.
Notes
If the frosting splits, warm a small portion and whip it back in to restore the emulsion.
Conclusion: The Only Frosting You’ll Ever Need
Mastering Russian Buttercream Frosting is a rite of passage for any serious home baker. It offers a level of gloss and silkiness that is hard to achieve with other methods, and the 2-ingredient base makes it accessible for any occasion. The thick peaks and pale cream color will make your desserts look like they came straight from a professional patisserie.
We would love to see your glossy creations! Leave a comment below telling us how your emulsion turned out, and don’t forget to sign up for our newsletter for more forensic culinary deep-dives. If you found this guide helpful, please share it to Pinterest so other bakers can discover the magic of condensed milk frosting!